The footer customization is similar to the WordPress header customization using the ProductX WooCommerce Builder.
Here’s a quick overview for you:
Here’s how to do it:
Before doing anything, you will need to enable the WooCommerce builder:
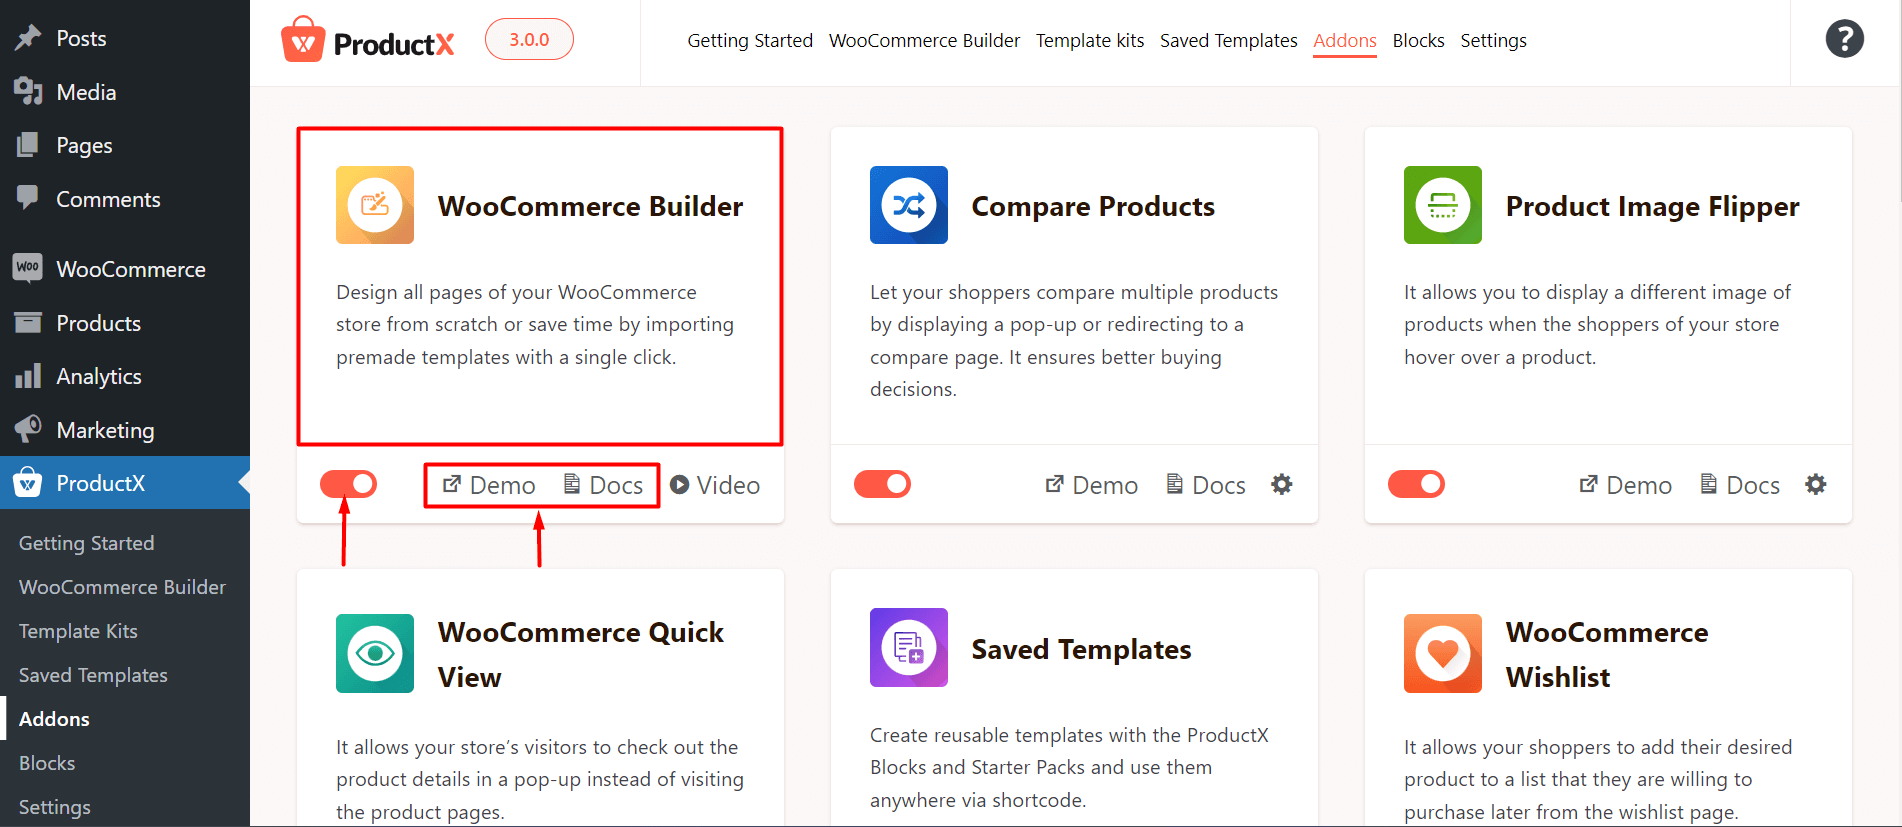
- Go to ProductX > WooCommerce Builder from your WordPress dashboard to edit footer in WordPress using ProductX.
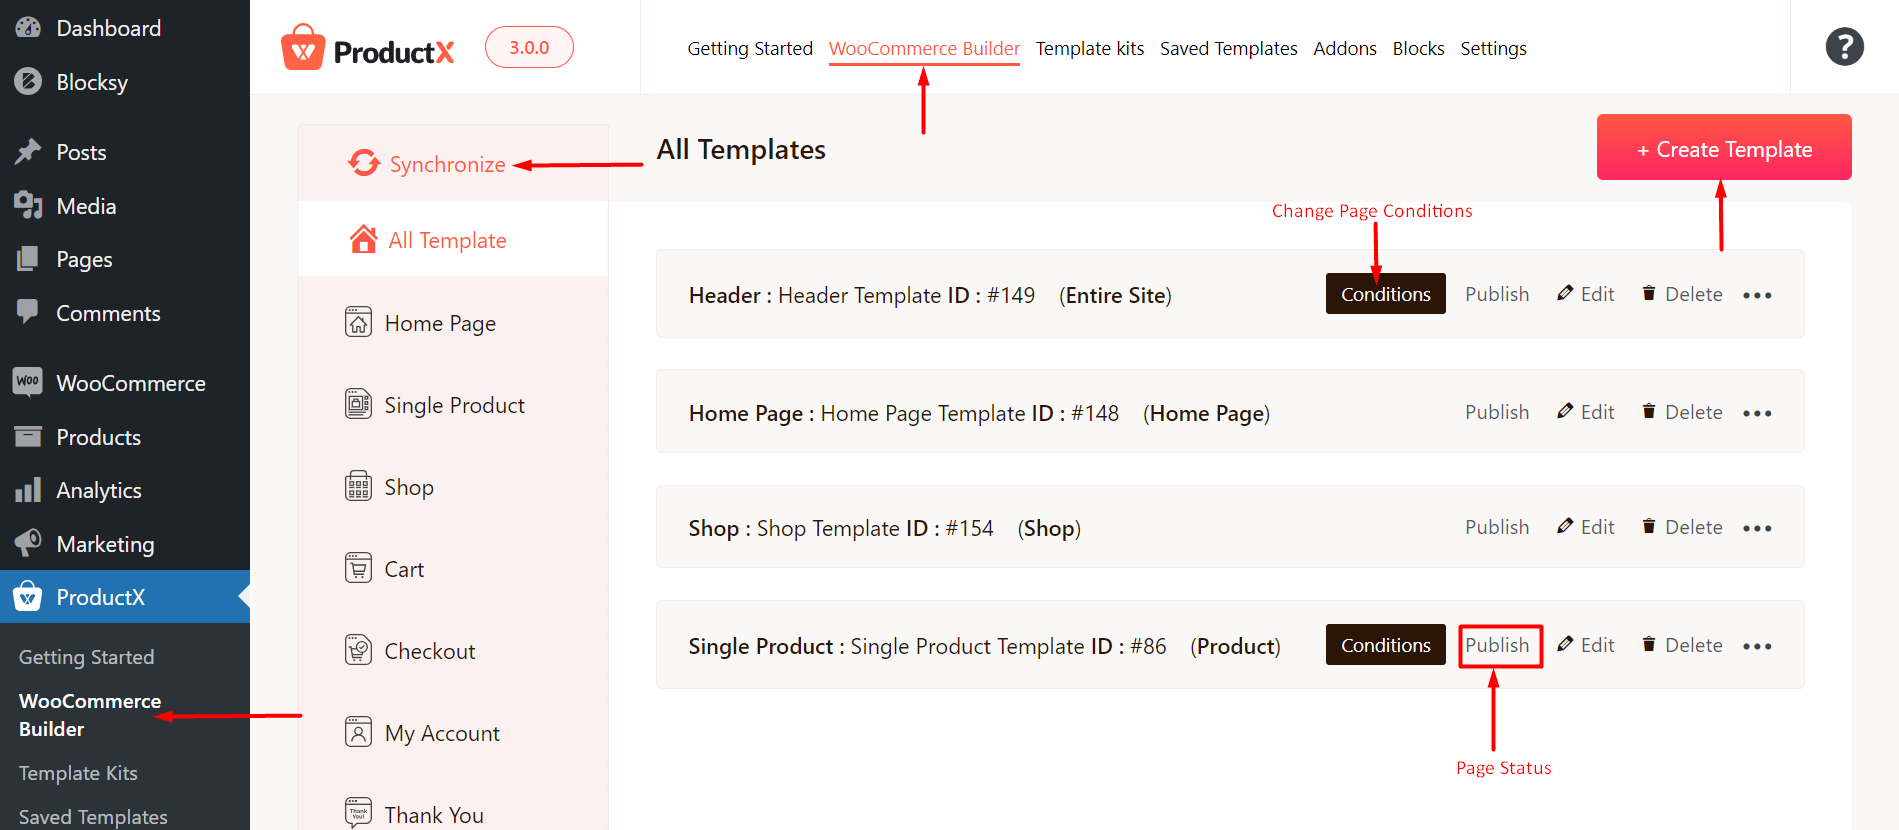
- Here you will find the Footer option. If you don’t have any templates created, then you will have the option to Start from Scratch. However, if you created a template already, it will show up on the WooCommerce builder dashboard.
Note: You can edit the templates from the ProductX WooCommerce Builder Page – under the “All Templates” page. The templates you already created will have the option to Edit, Duplicate, or Delete the template. You will also see whether the templates are published or in draft. You can also create a new template using the “Create Template” button.
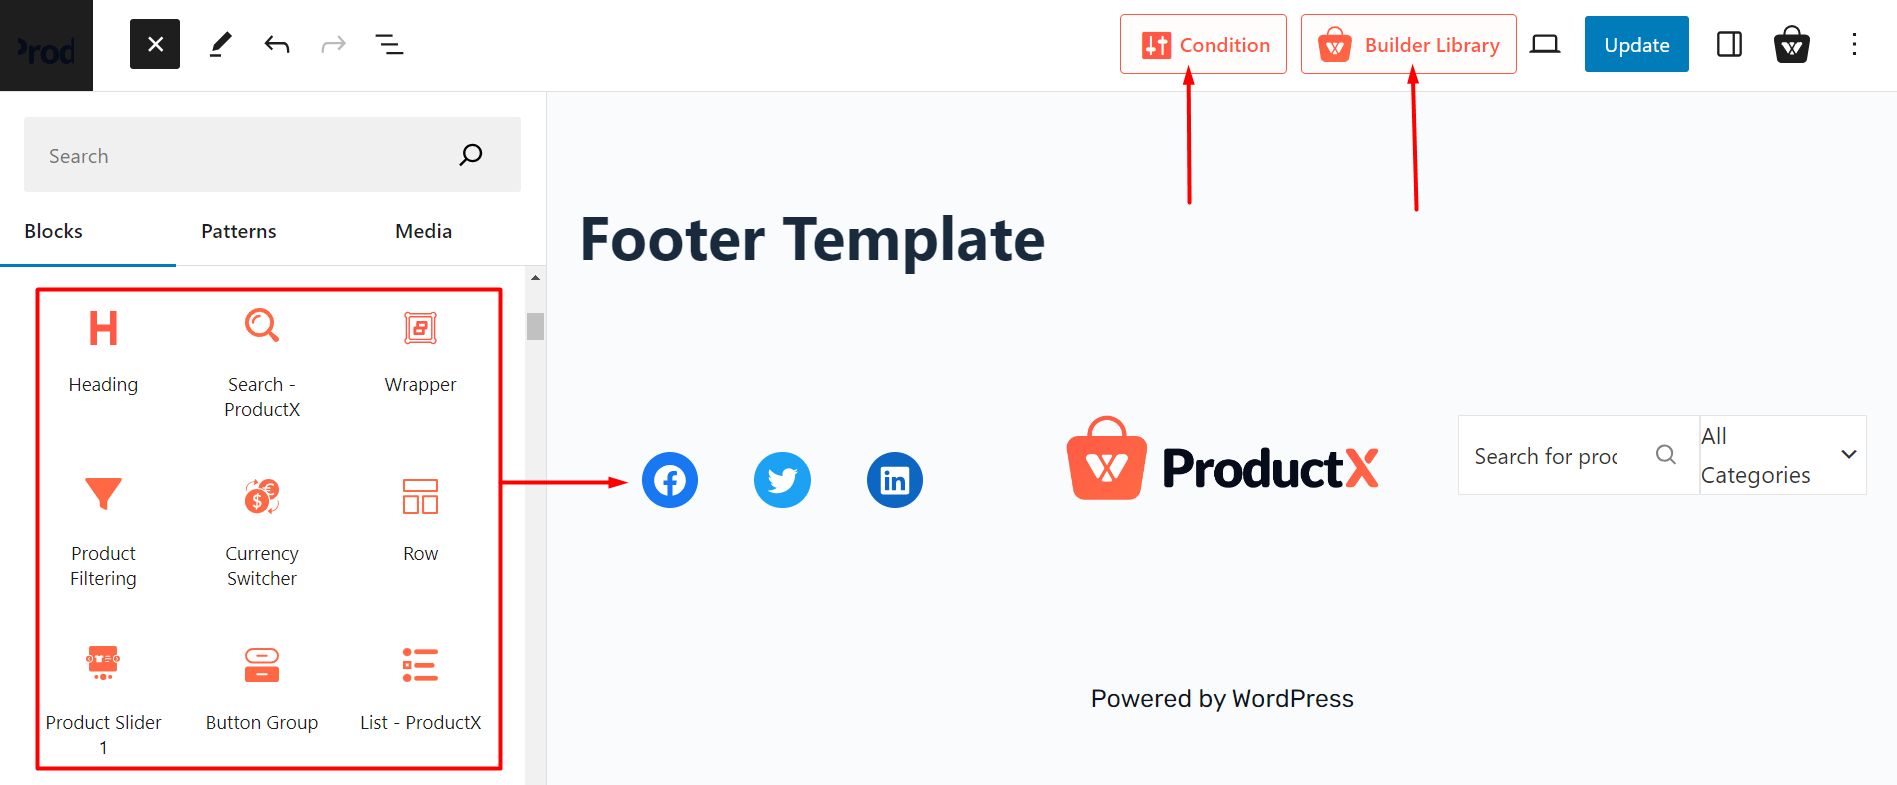
- In the footer template page, you can use various ProductX blocks to create the footer [Just like the design we created].
- Next, you will be prompted to choose the condition – on which page or pages you want to show the footer.
Note: If you are creating the footer template for the first time, you will have to set the conditions before you publish. Otherwise, you can change the condition from the ProductX Builder – where you’ll see all the page templates that are published or in draft.
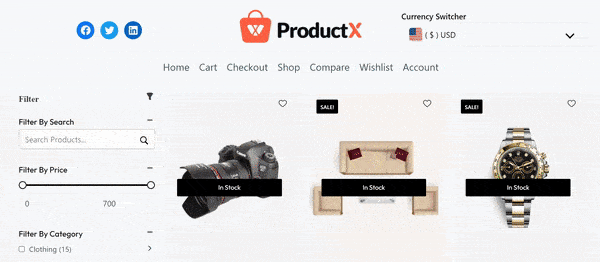
Once you publish the footer template, you will be able to use it on the desired page. Here’s how the footer looks on the front-end:
Add Custom Footer Using Pre-made Templates
Now you can use the ProductX pre-made templates to add footer to your WordPress site. You can use the footer template in all the pages of your WordPress site or set the footer to certain WordPress pages. Here’s how to do it:
- Go to ProductX > WooCommerce Builder > Footer from your WordPress dashboard. Here, you will see one of two things. Either you will see a template that is published or you will see the pre-made templates and the option to start from scratch.
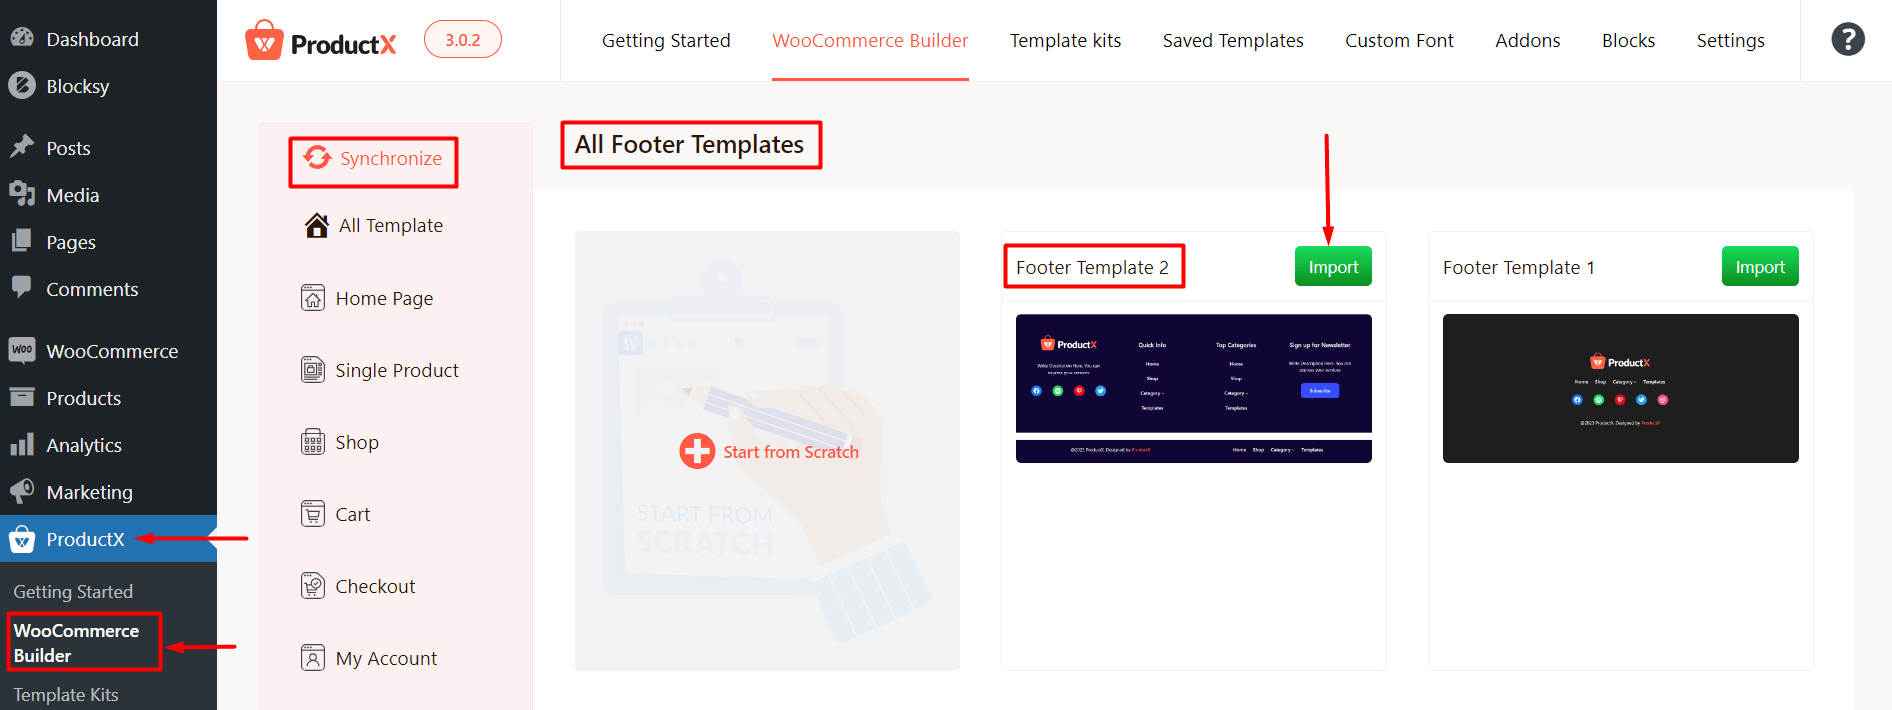
Importing a Footer Template
Note: Make sure to use the synchronize button if you don’t see the new templates when you go in to create a new footer template. If you are looking to create a second footer template, then just click on the ‘Create Footer Template’ and you will be able to create a template from scratch or choose one of the templates.
- Now just click on the Import button (for the template you are choosing).
- You will be taken to the editor page.
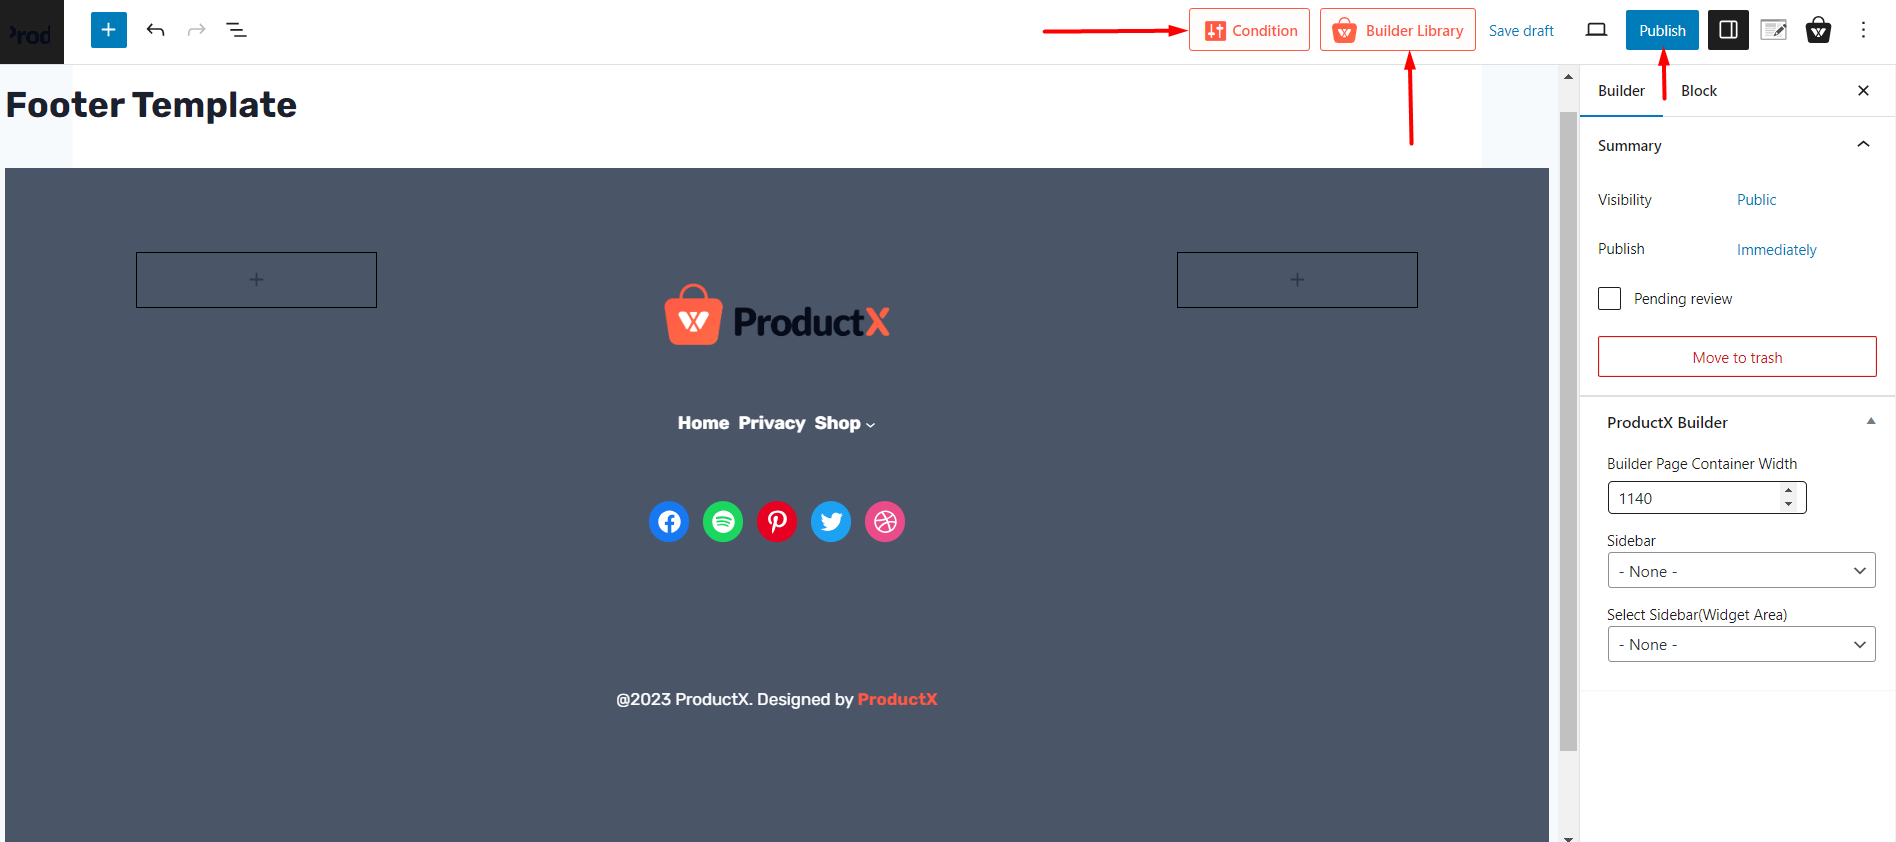
- If you wish to publish the page directly, click on publish. You will be prompted to change the conditions (where in your website do you want to show the footer template).
- Finally, save the conditions and publish the page.
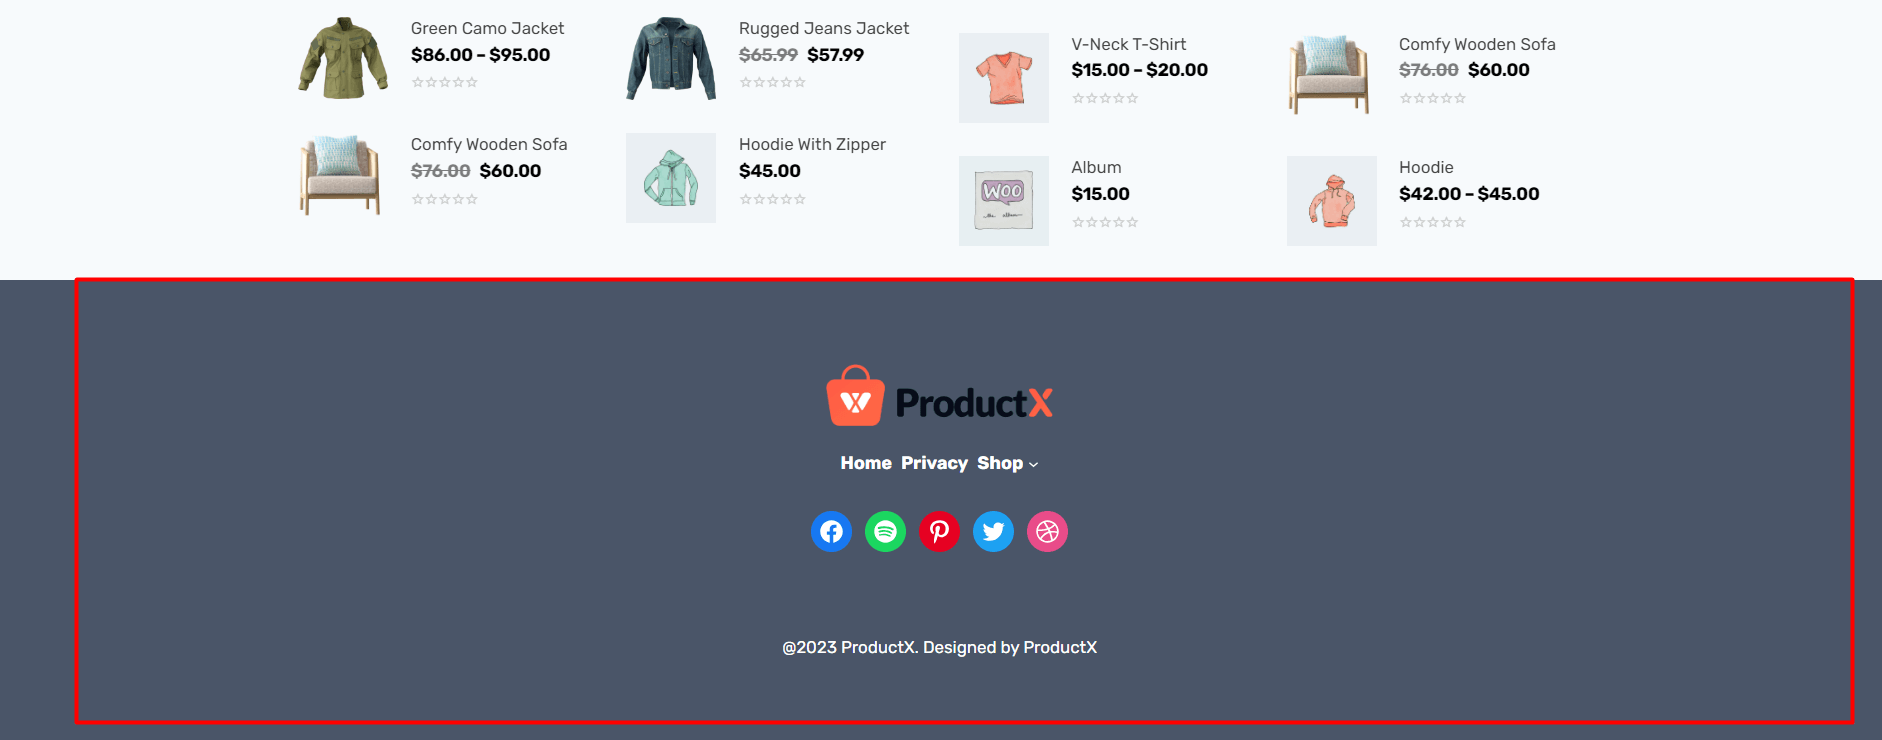
Here’s how it looks on the front end:
Read the Relevant Documentation
- How to Build a Home Page
- How to Build a Single Product Page
- How to Build a Shop Page
- How to Build a Cart Page
- How to Build a Checkout Page
- How to Create My Account Page
- How to Create a Thank You Page
- How to Create an Archive Page
- How to Edit ProductX Header Template
- How to Edit WooCommerce 404 Page
- How to Create a Product Search Page