Let us explore the Banner Maker block of WowStore.
Video Tutorial
Here is a video tutorial for you to see how to use the banner maker block visually.
Importing Banner Maker Block
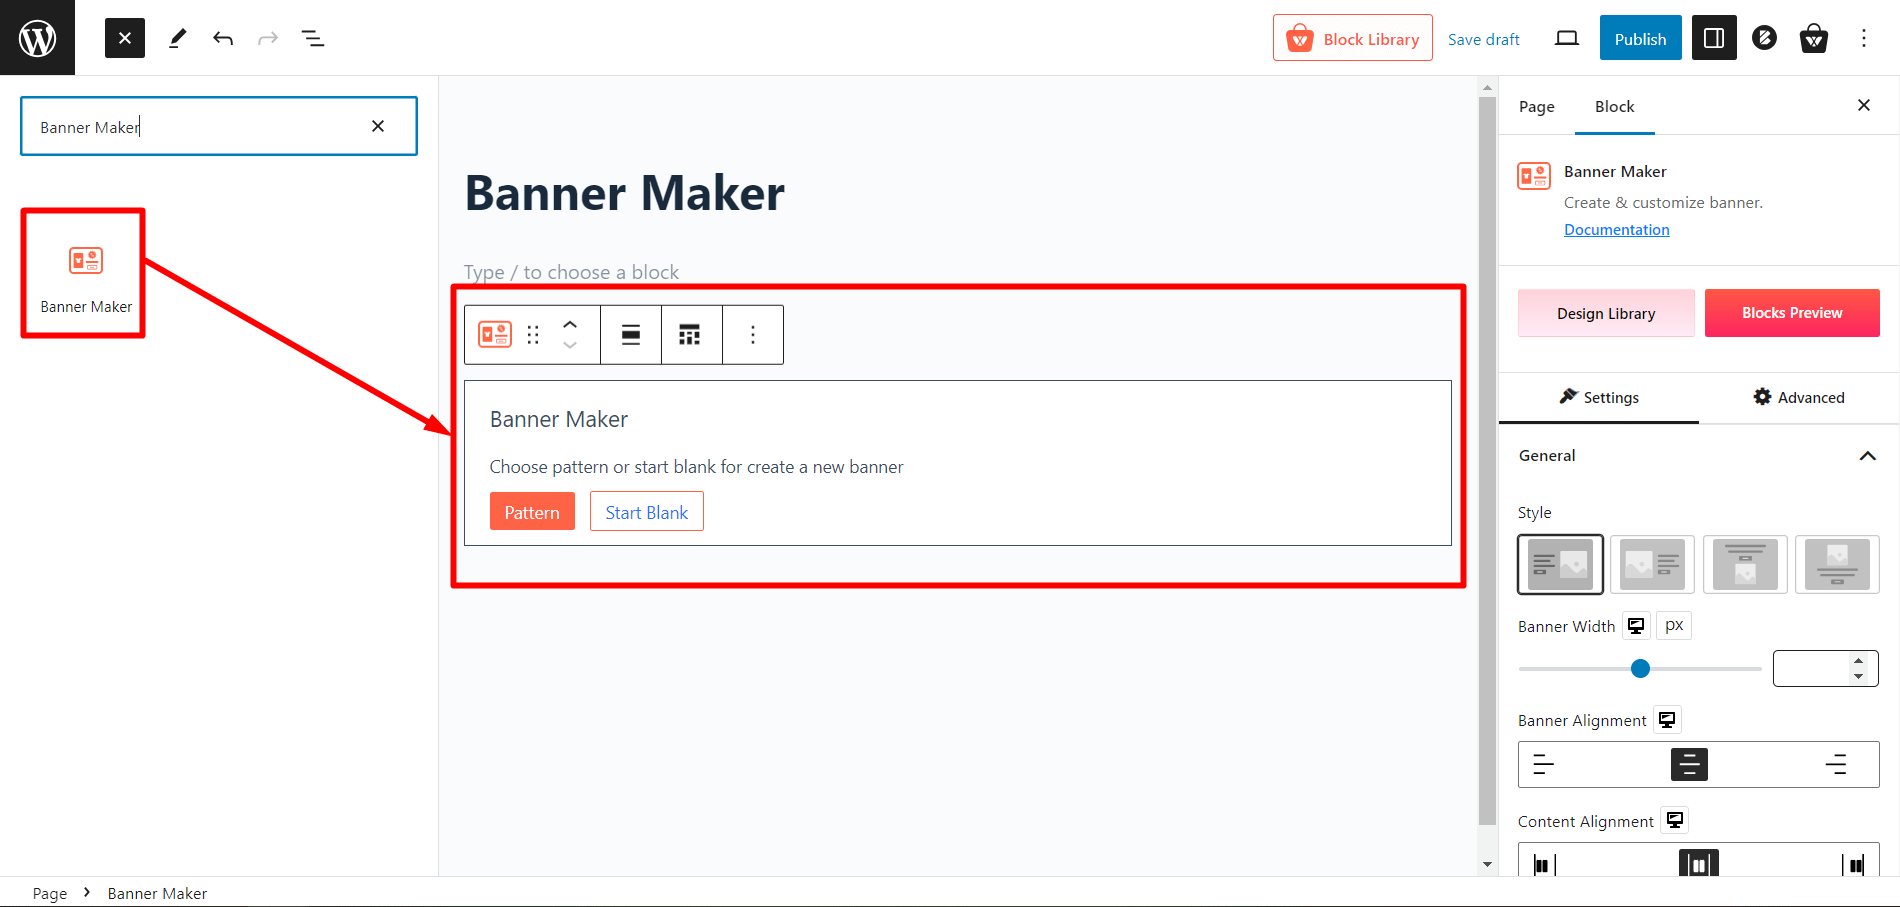
Go to a Page and click the “+” icon to see all blocks. Click or drag and drop the “Banner Maker” block on a page.
You can also import the block on WowStore’s WooCommerce Builder. It will work the exact same for both.
Getting Started: WowStore Banner Maker?
When you import the banner maker, you will see 2 options:
- Pattern
- Start Blank
Importing Patterns
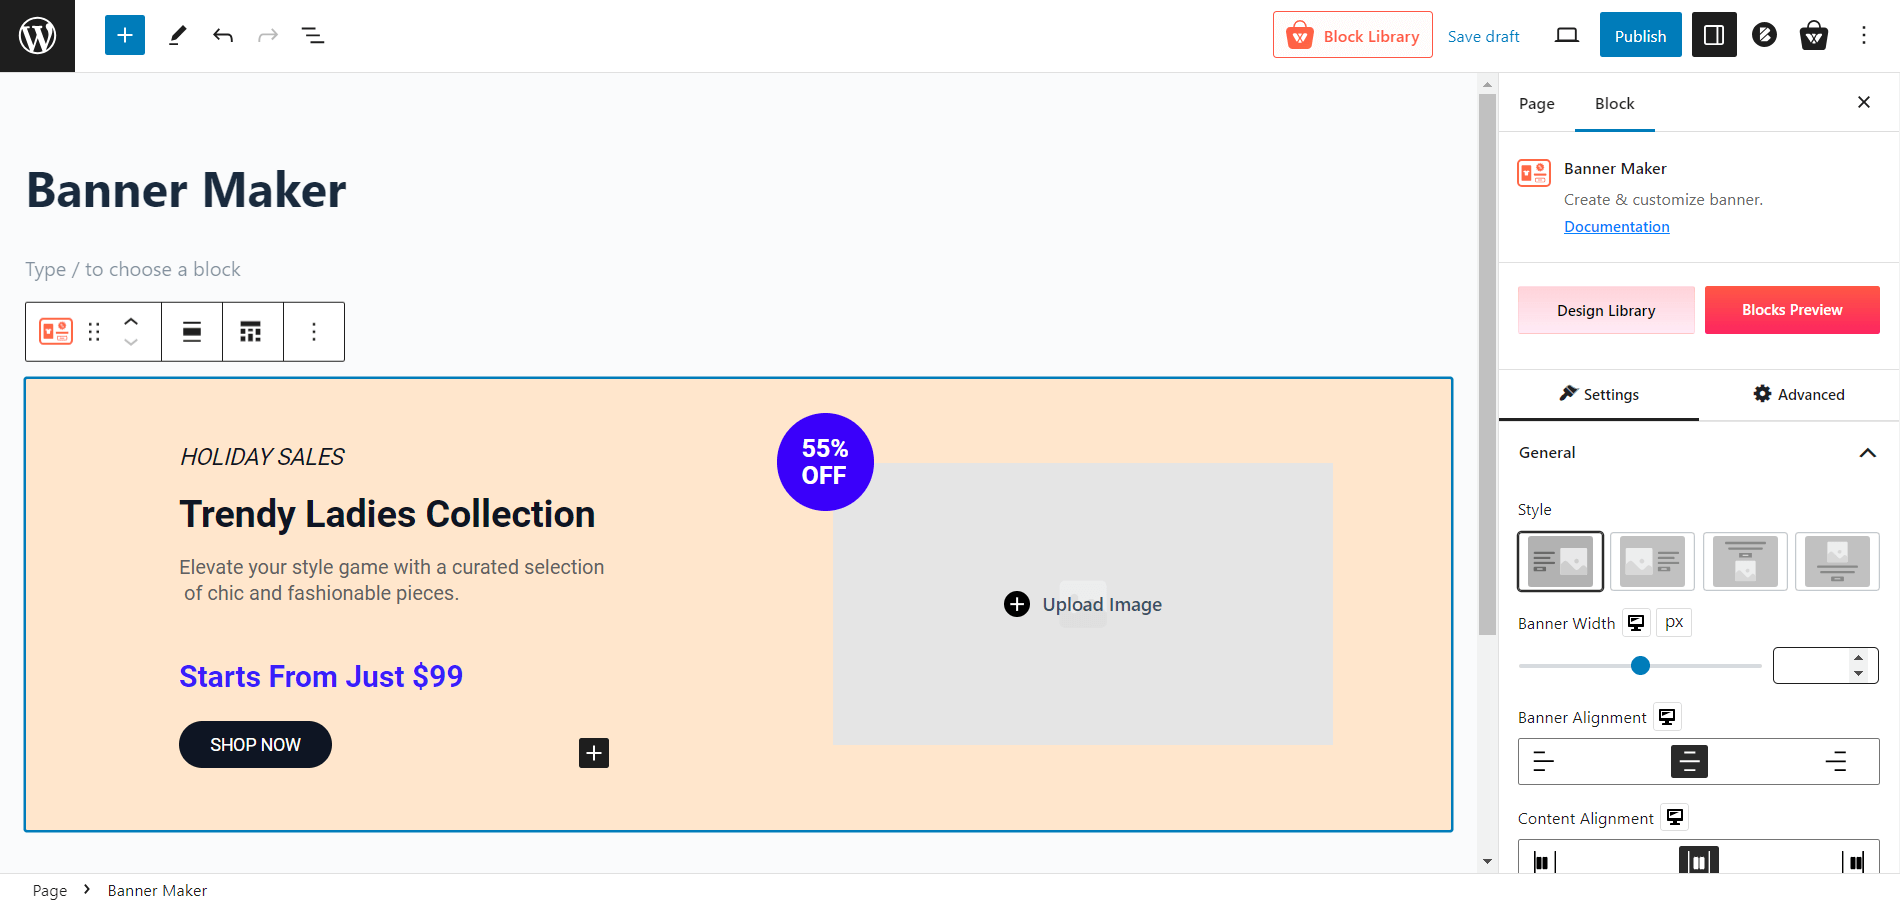
If you click the Pattern button, it will open the pattern library. You will find some beautiful premade patterns, which you can import in just a single click. Click the Import button to import the pattern directly.
After importing a pattern, you can customize it if you want. We will show all the customization settings in a bit.
Starting From Scratch
If you want to start from scratch, click the Start Blank button. And then, you can customize your banner the way you want.
Customizing WowStore Banner Maker Block
Now, let us show you all the customization options you will have with the banner maker block.
There are 5 different sections in it. Which are:
- General,
- Image,
- Content,
- Background, and
- Offer Badge.
General
The first setting you will get in general is the style. You can choose from 4 different styles. Each has its very own design.

Then, you can adjust the Width of the banner with a slider. You can also use the text box to define the Width.
After that comes the Banner Alignment, you can select left, center, and right alignment. However, make sure you have enough space when you select left or right alignment.
Then comes the Content Alignment. It aligns the contents inside the banner. You will have similar options, left, center, and right alignment, to choose from.
You can adjust the gap between the image and text with a slider. You can also use the text box to define a gap.
You can alter the responsiveness of mobile devices with the “Stack On Mobile” setting.
Image
In the banner, you will see an area to upload images. Furthermore, in the image settings, you will have the image uploading option. You can turn off the image with the toggle bar beside the Image section in settings.
You can adjust the image height and Width with a slider and also a text box to define specific dimensions.
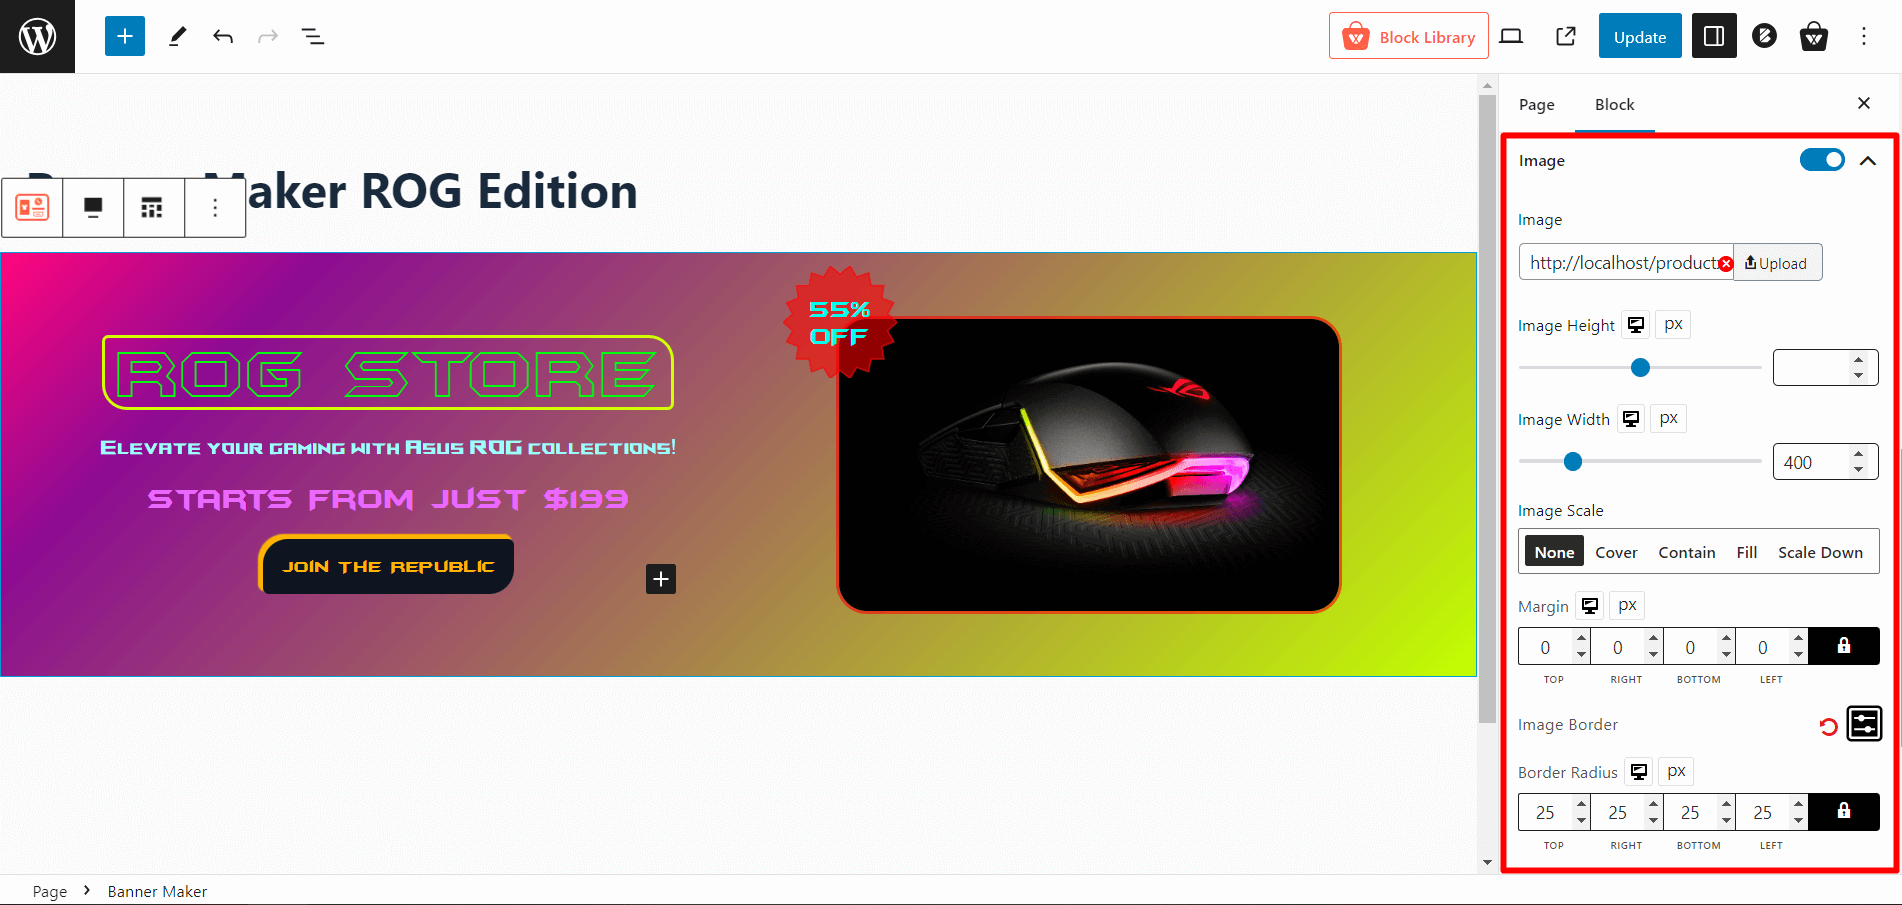
You can scale the image with options like none, cover, contain, fill, and scale down.
Also, you can easily adjust the margin of each side: top, bottom, left, and right.
You can also add an image border, select 3 different shaped borders, and adjust the border width, border color, and border radius.
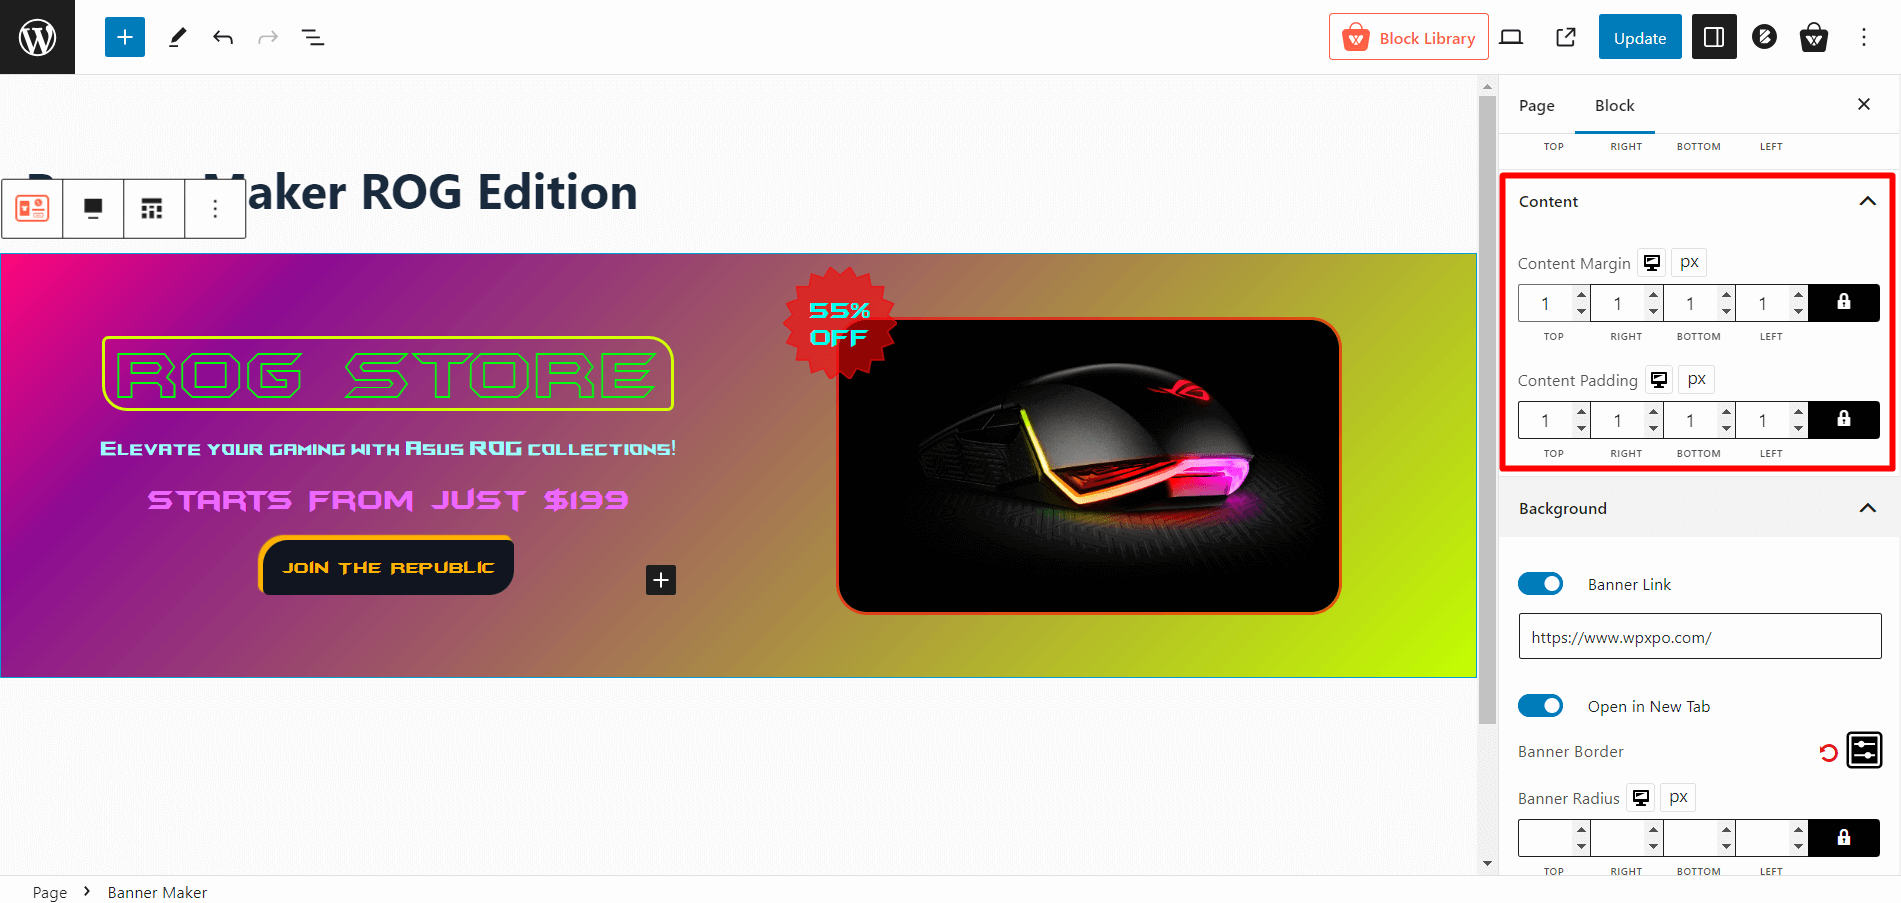
Content
In this setting, you can adjust the content margin and content padding of each side (top, bottom, left, and right).
Background
You can make the whole banner clickable by enabling the “Banner link.” It will open a text box where you can add your URL. Also, you can enable the “open in new tab” option.
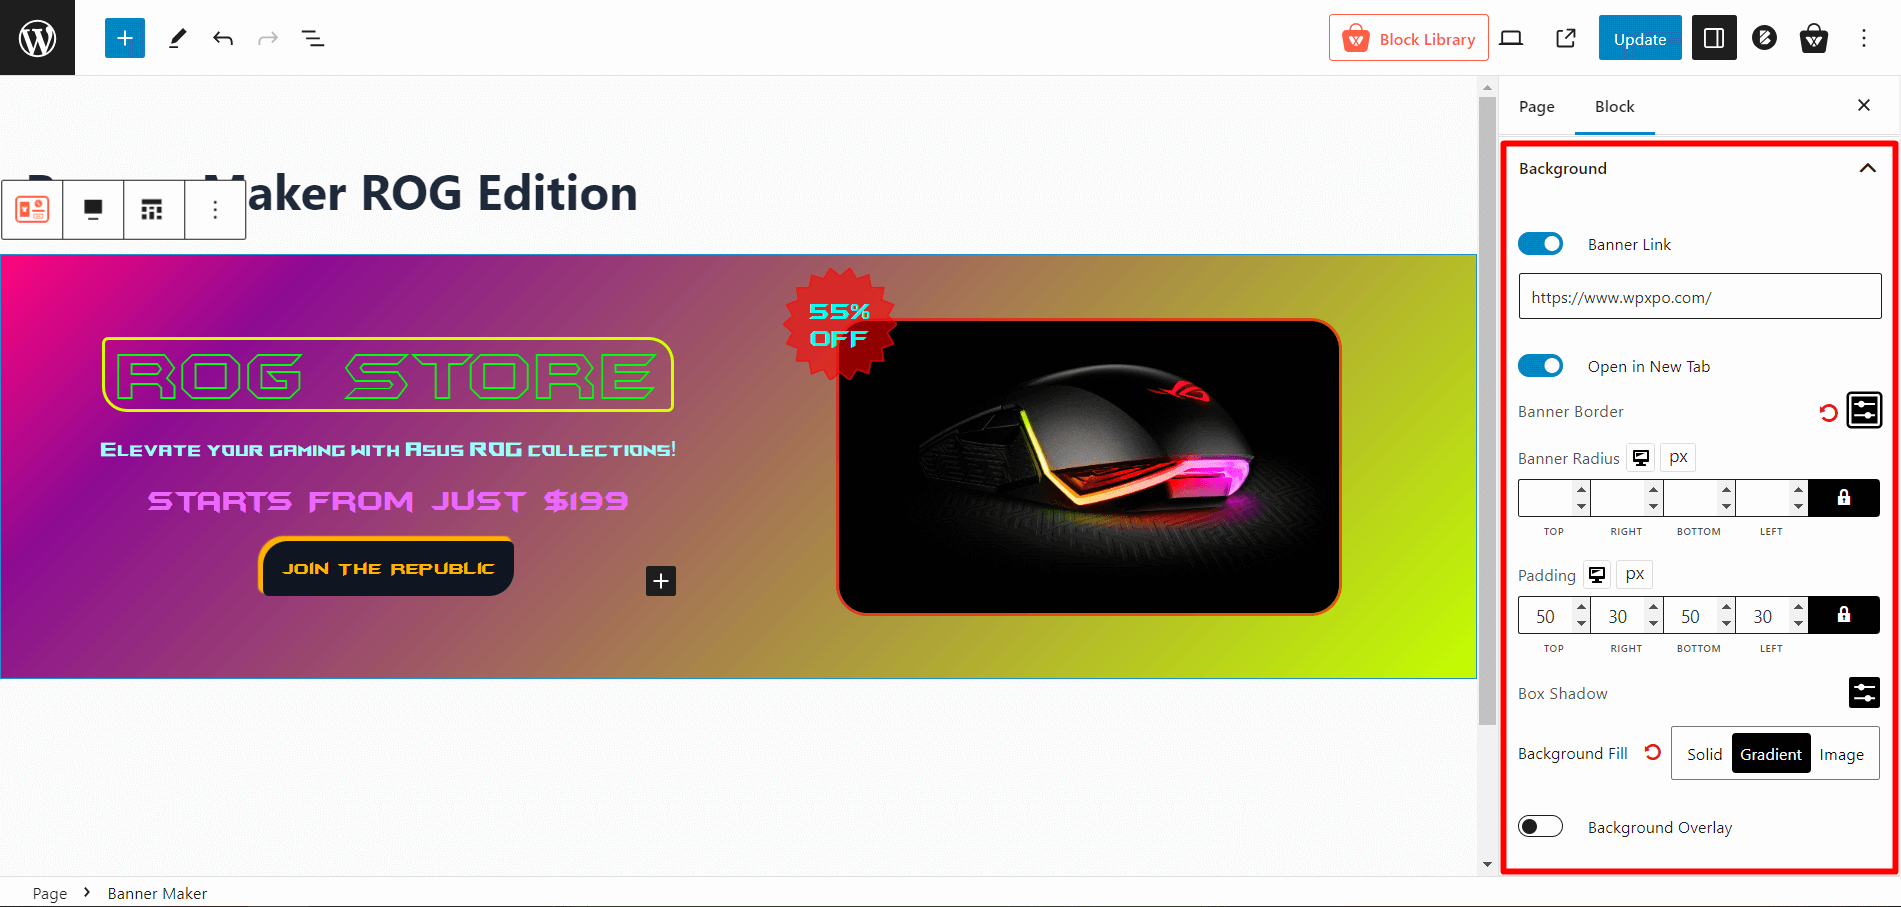
You can also add a banner border, select 3 different shaped borders, and adjust the border width, border color, and border radius.
Banner radius, padding, box shadow, and background fill can also be customized according to preference. You can also enable background overlay with a toggle bar.
Offer Badge
First, you can turn the offer badge on/off with a toggle. You will get 5 different badge styles to choose from.
Also, you can customize the text, typography, color, background color, border, badge size, margin, badge position, and badge location according to your preference.
Important Resources
You will need the heading block and button block to create a banner. To learn more about their settings you can visit the following links
And that is all with the banner maker block.