WowStore Quick View Addon allows you to enable Quick Viewing functionalities in your WooCommerce store. Check out the in-depth documentation to understand how you can use it without any kind of hassle.
How to Enable Quick View On Your WooCommerce Store
So let’s start with enabling the Quick View feature as quickly as possible. So you can understand the possibilities without spending any extra time.
Step – 1. Install WowStore
First of all, make sure that you have the WowStore plugin installed on your WooCommerce store. As it is a free add-on, so you will need to install the free version of the plugin.
Step – 2. Turn on WooCommerce Quick View Addon
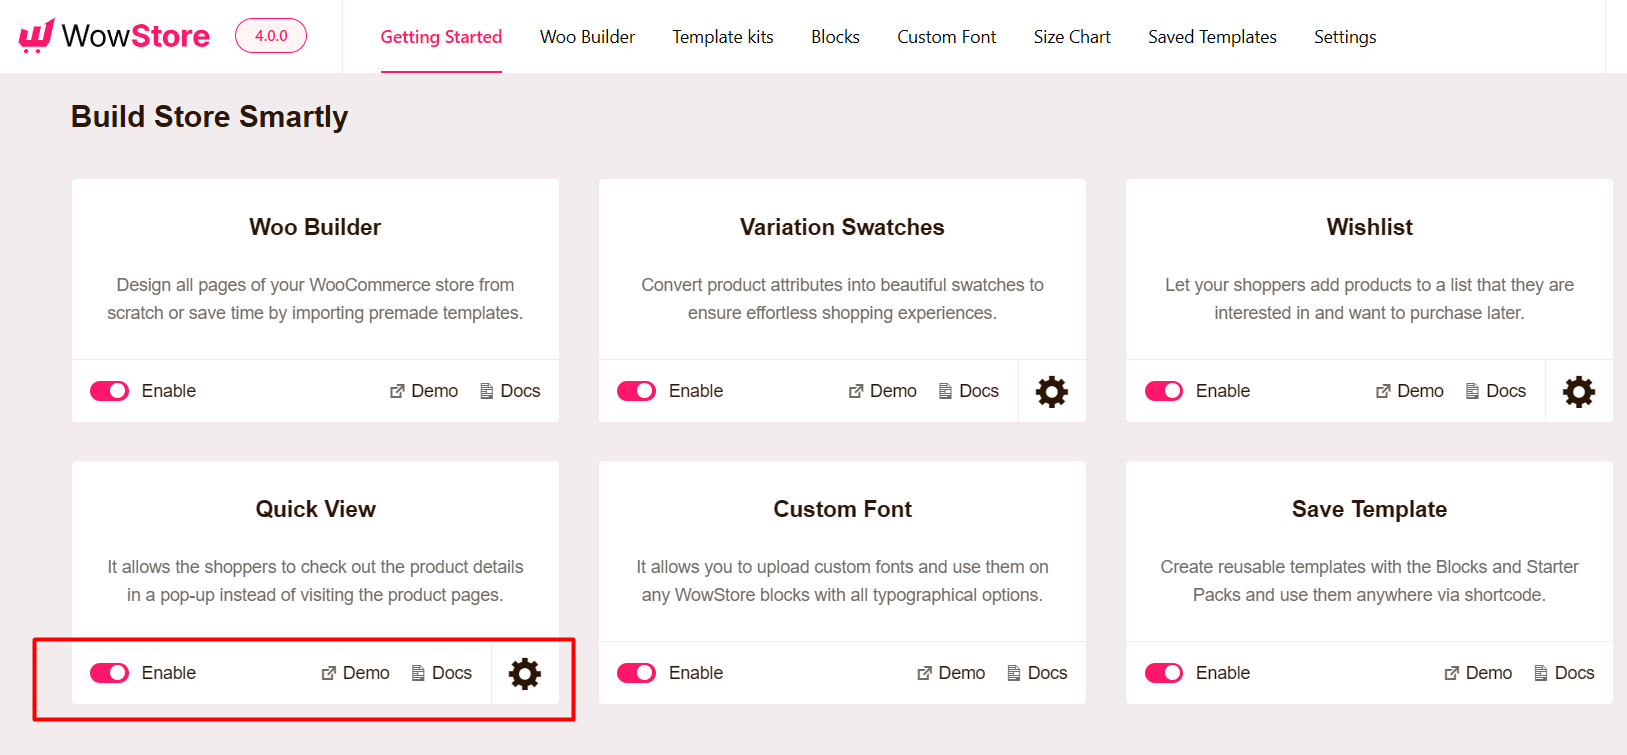
Once you probably install & activate the WowStore plugin, you can start using its features and add-ons. To enable the Quick View feature, go to the all addons section of WowStore. Here, you will see all available options of WowStore. For now, you need to turn on the Quick View addon to make it available for the customers of your WooCommerce store.
No, go to the front end of your WooCommerce store, and you will able to see the quick view icon placed with the products.
How to Customize WooCommerce Quick View Addon
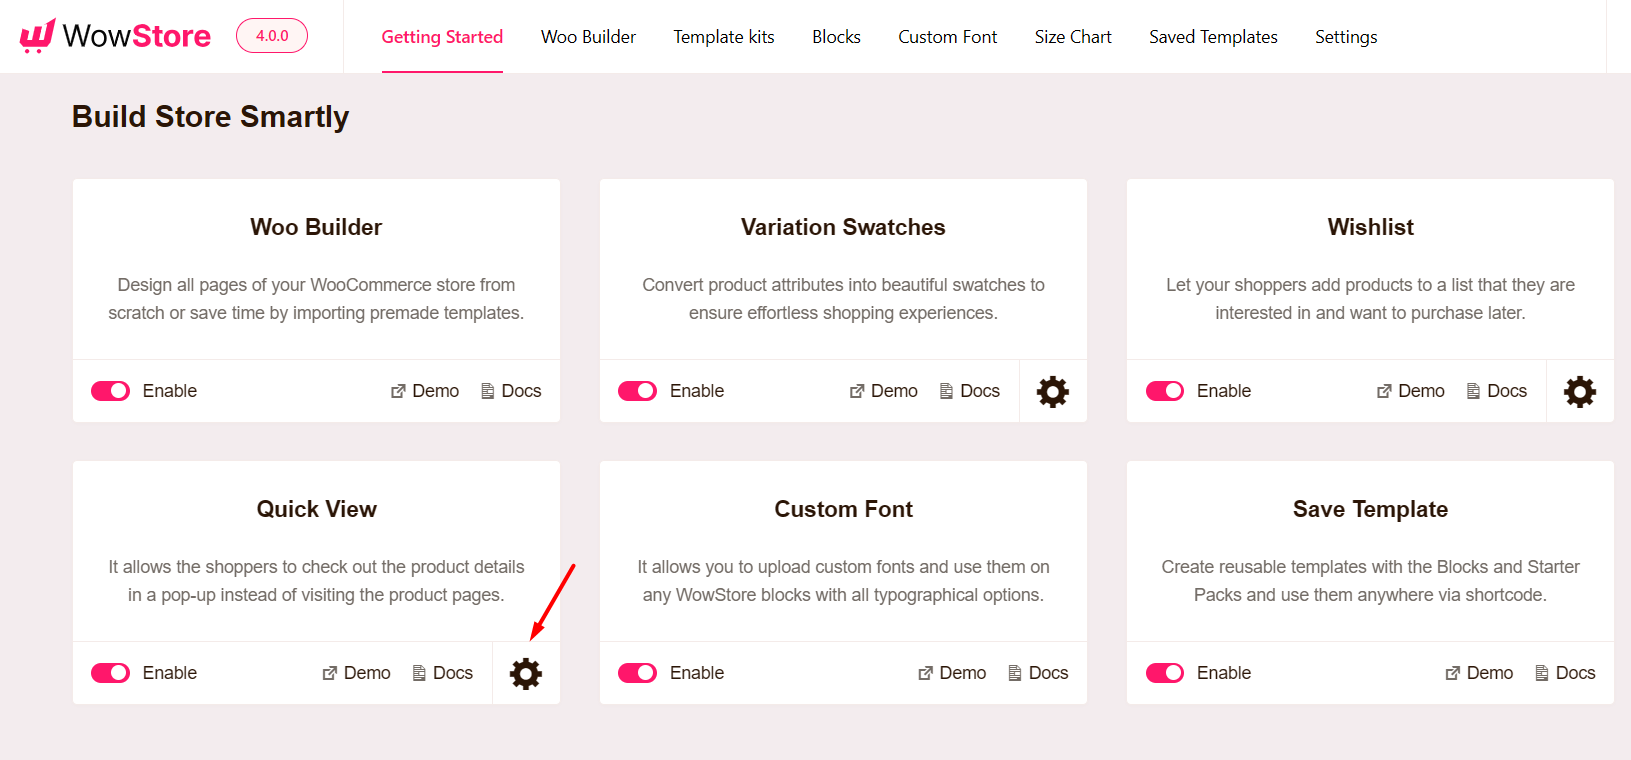
Before going into an in-depth explanation let’s take a quick look at the available options. To explore the customization options, you need to go to the WowStore addons section again. Now, you need to click on the setting icons placed along with the Quick View Icon. Here you will see all available options.
Customization Overview
Now, let’s take a quick look at all of the options one by one.
Basic Customization Settings
Starting with the basic options, you can enable or disable the Quick View feature on Mobile Devices, On the Shop Page, and on the Archive Pages.
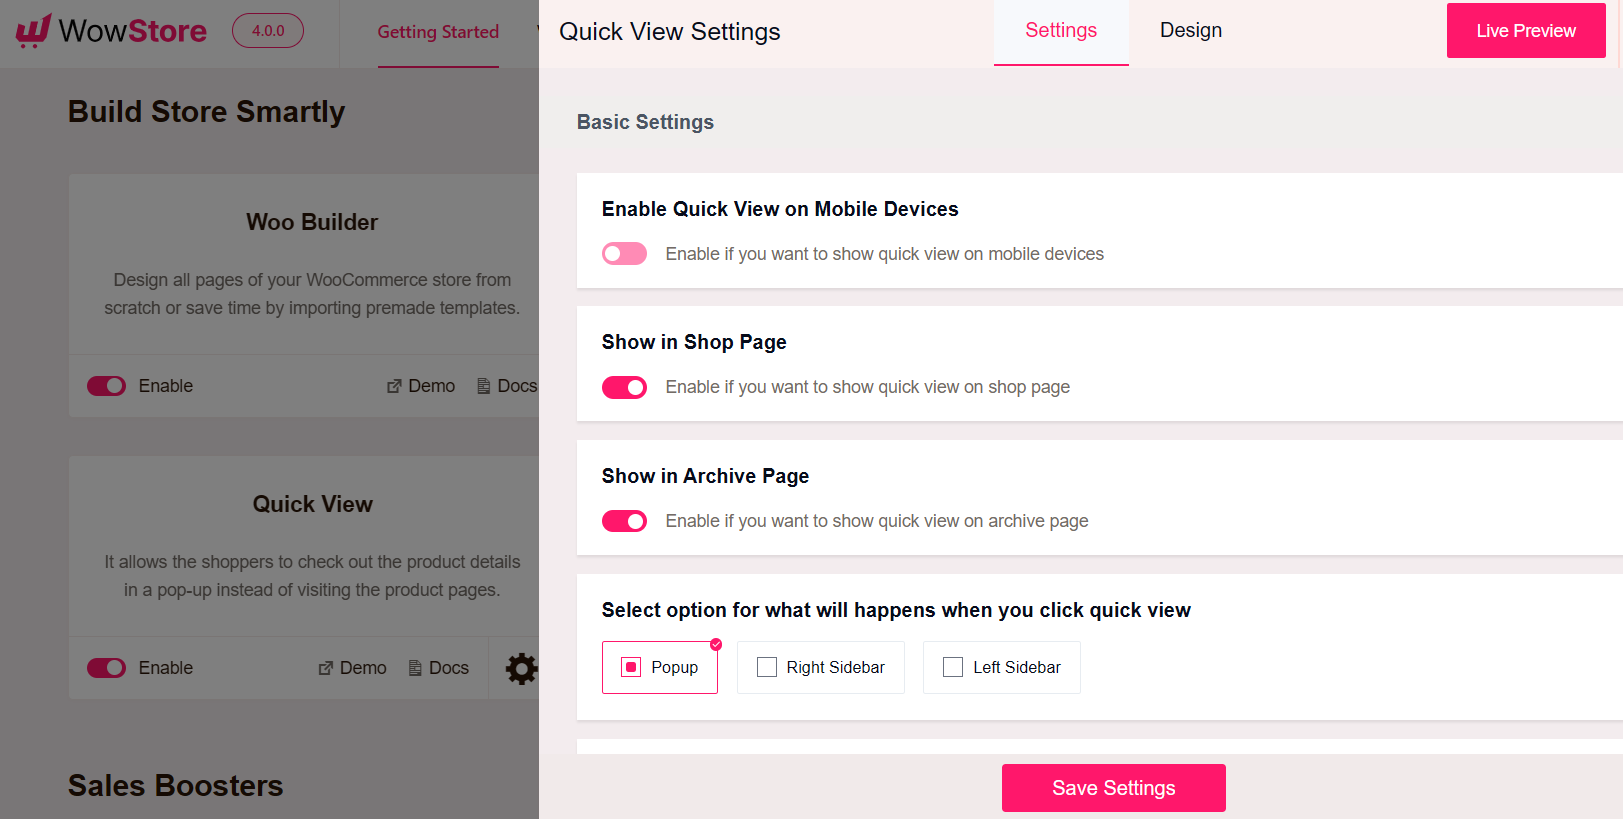
So make changes as per your requirements and let’s explore more basic options.
In the next step, you have options to choose how the Quick View will be visible. You have three options to choose from. Let’s explore them:
Pop-Up: If you choose this option, the product details will be visible on the pop-up window at the center of the screen once someone clicks on the pop-up icon.
Right Sidebar: This option enables the Quick View to appear on the right side of the screen.
Left Sidebar: Select this option, if you want to quickly display the product details on the left side of the screen.
Then you have the option to choose a loading icon that will appear right before the Quick Product details preview, upon clicking on the icon. You have a total of 7 loading icons, select whichever you want.
Moreover, you can also add opening and closing animations lets you make the Quick View feature more attractive. You have 10 options each for both the opening and closing actions. So play with the options and use the ones you like the most.
Quick View Button Setting
First of all, you need to choose the button type between Button, and Link. Then, you have the option to change the button text if required.
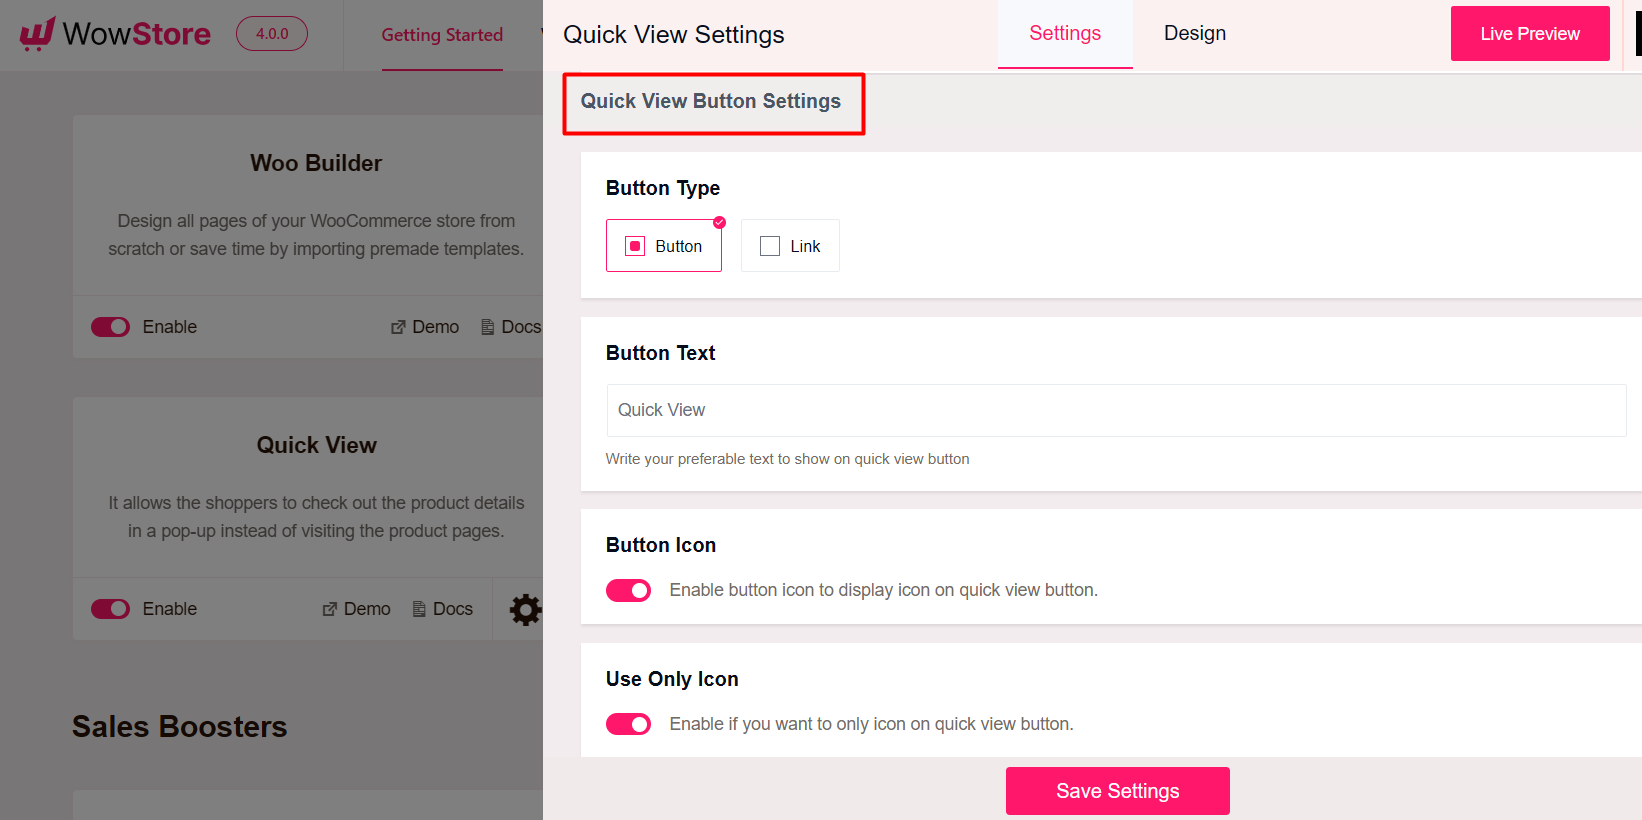
Moreover, you have the option to enable or disable the button icon. And, you also need to decide and select whether you want to display only an icon or an icon with text.
Furthermore, you can change the Quick View icon by choosing from the 6 available options.
Last but not least you can change the Quick View position as well.
Not only that, but you can also use the shortcode to place the Quick View icon in your desired position.
Quick View Modal Box Settings
After completing the basic customization it is time to configure the Quick View Modal settings. To be more specific how the customers see the product details.
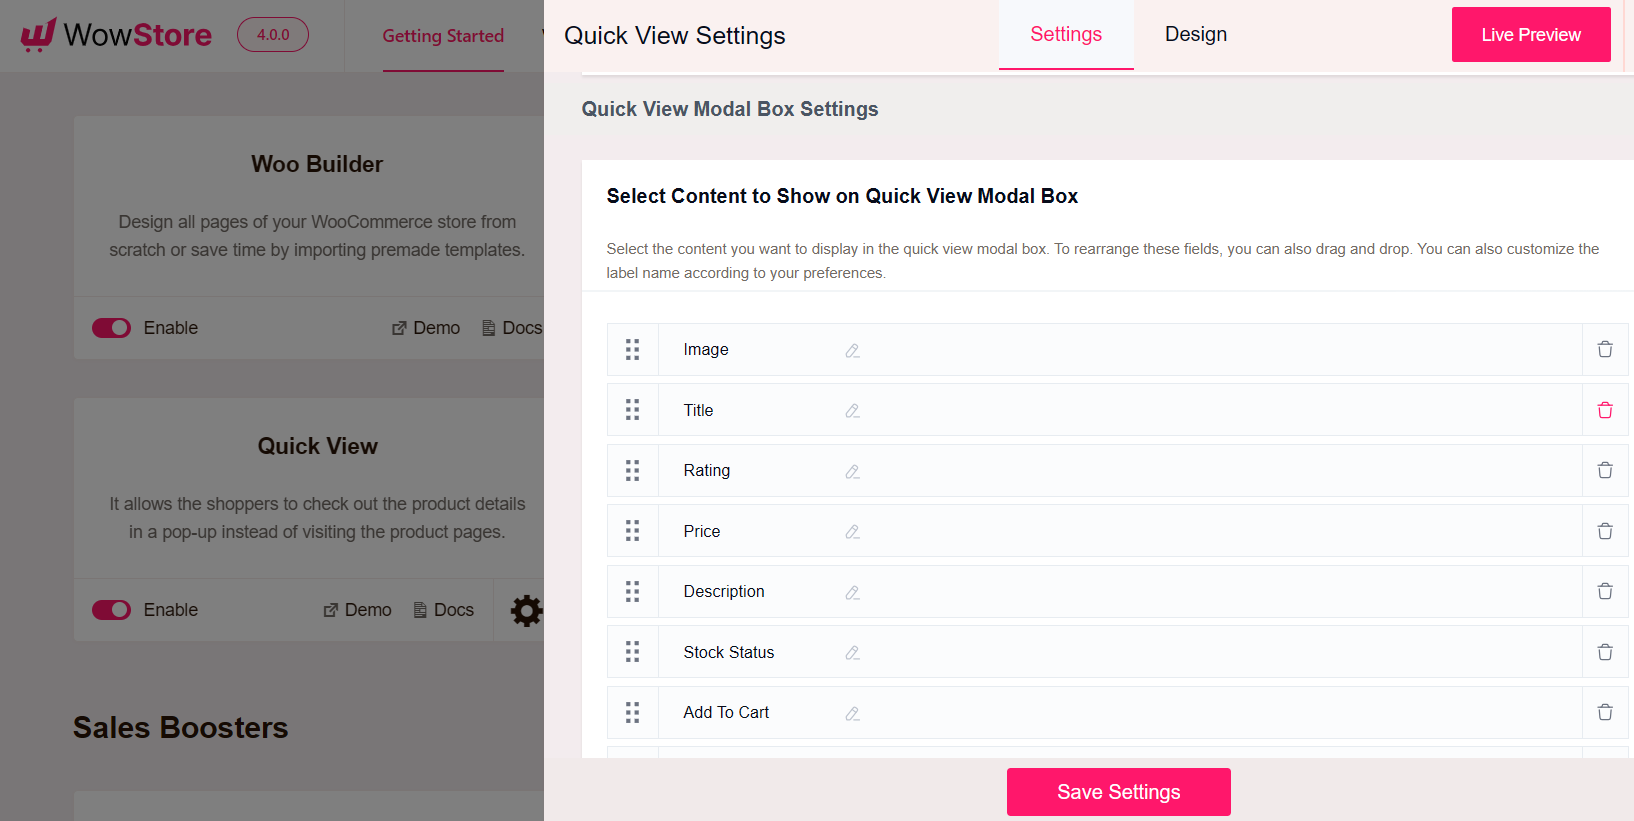
First, you can add or remove product elements (details) that you want to display in the pop-up.
Then, you need to decide and select, whether you want to display product gallery images, with the featured product image or if you want to display only the featured image. You also have thumbnail preview styles as well.
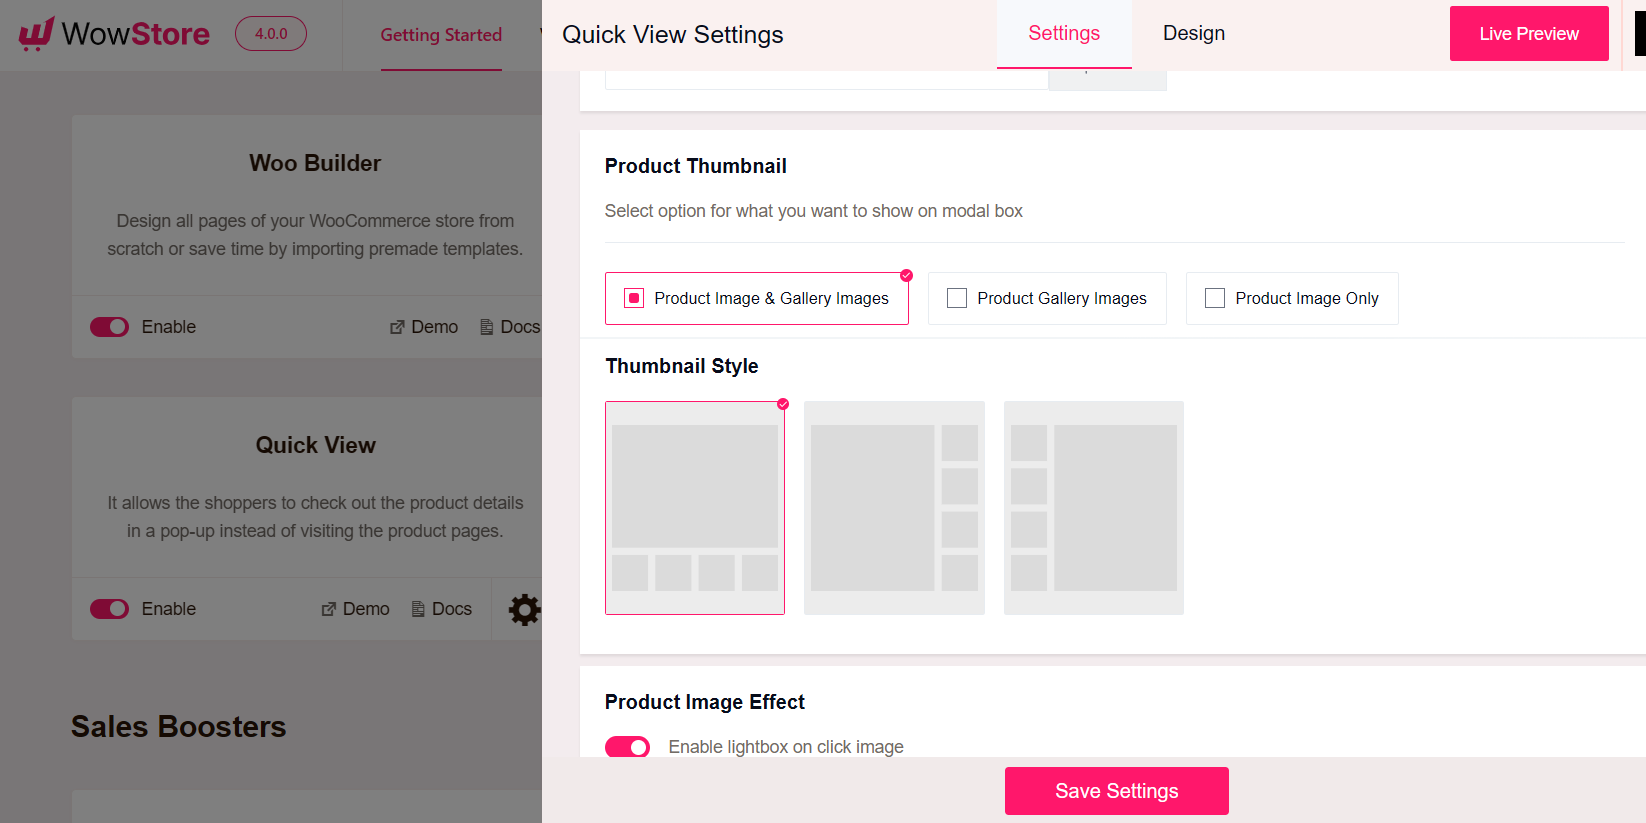
Moreover, you have the option to enable or disable the image lightbox. Enabling this option will let the shoppers zoom into the product image to get a better view. Once you enable it you will get two more image options.
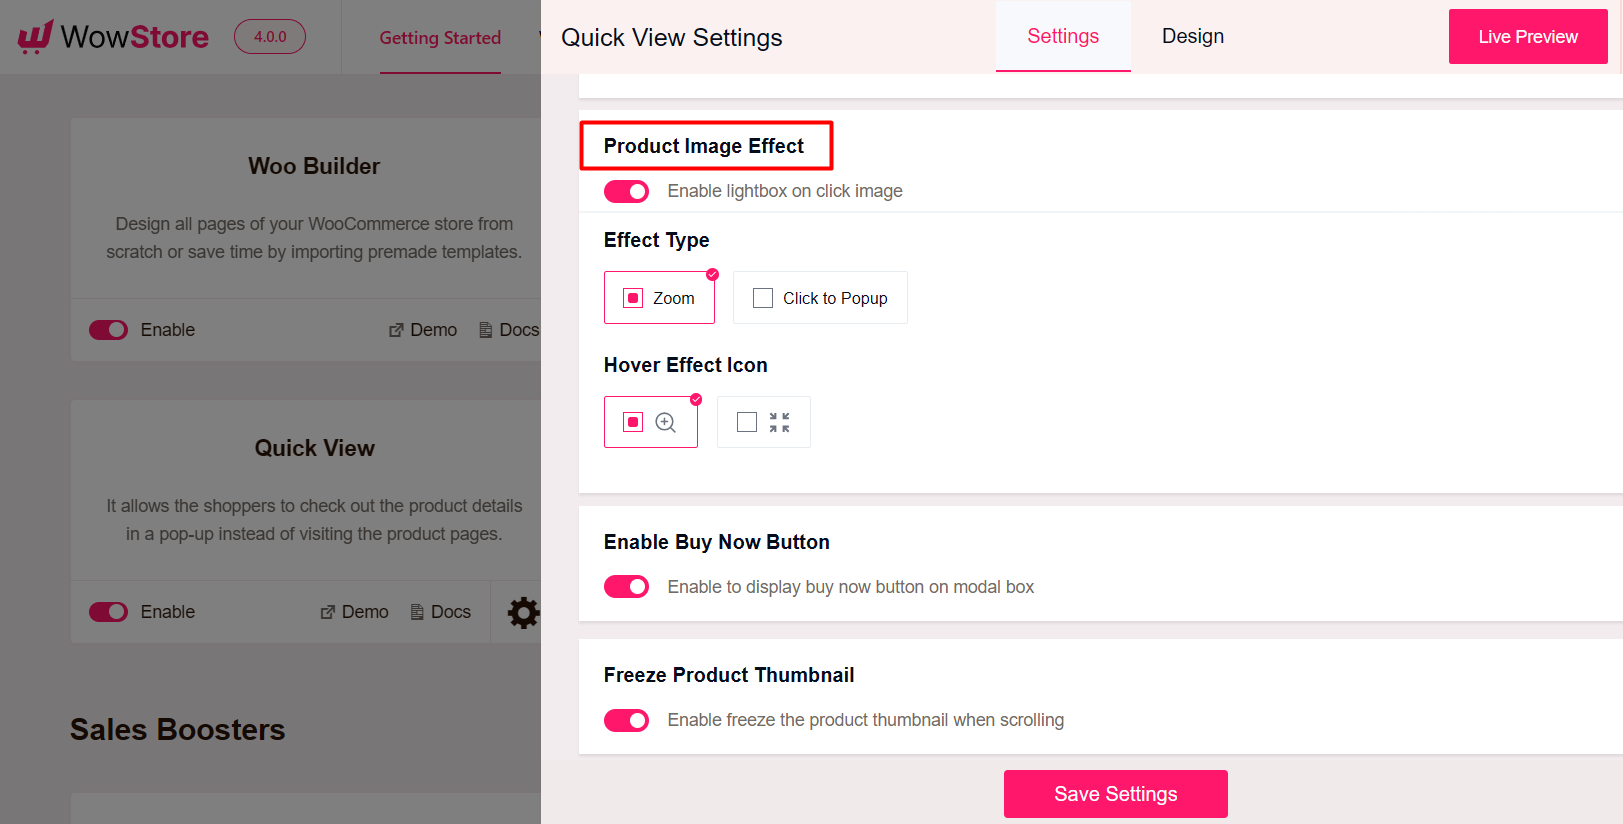
First, you need to choose whether you want to let your shoppers see a zoom effect once they hover over the image or you want to make them click on the image to see a pop-up view of the product image.
Not only that but you also have the option to choose from two hover icons. So the user can have a visual indication of the effect.
There are more options that you may want to enable or disable as per your requirements including:
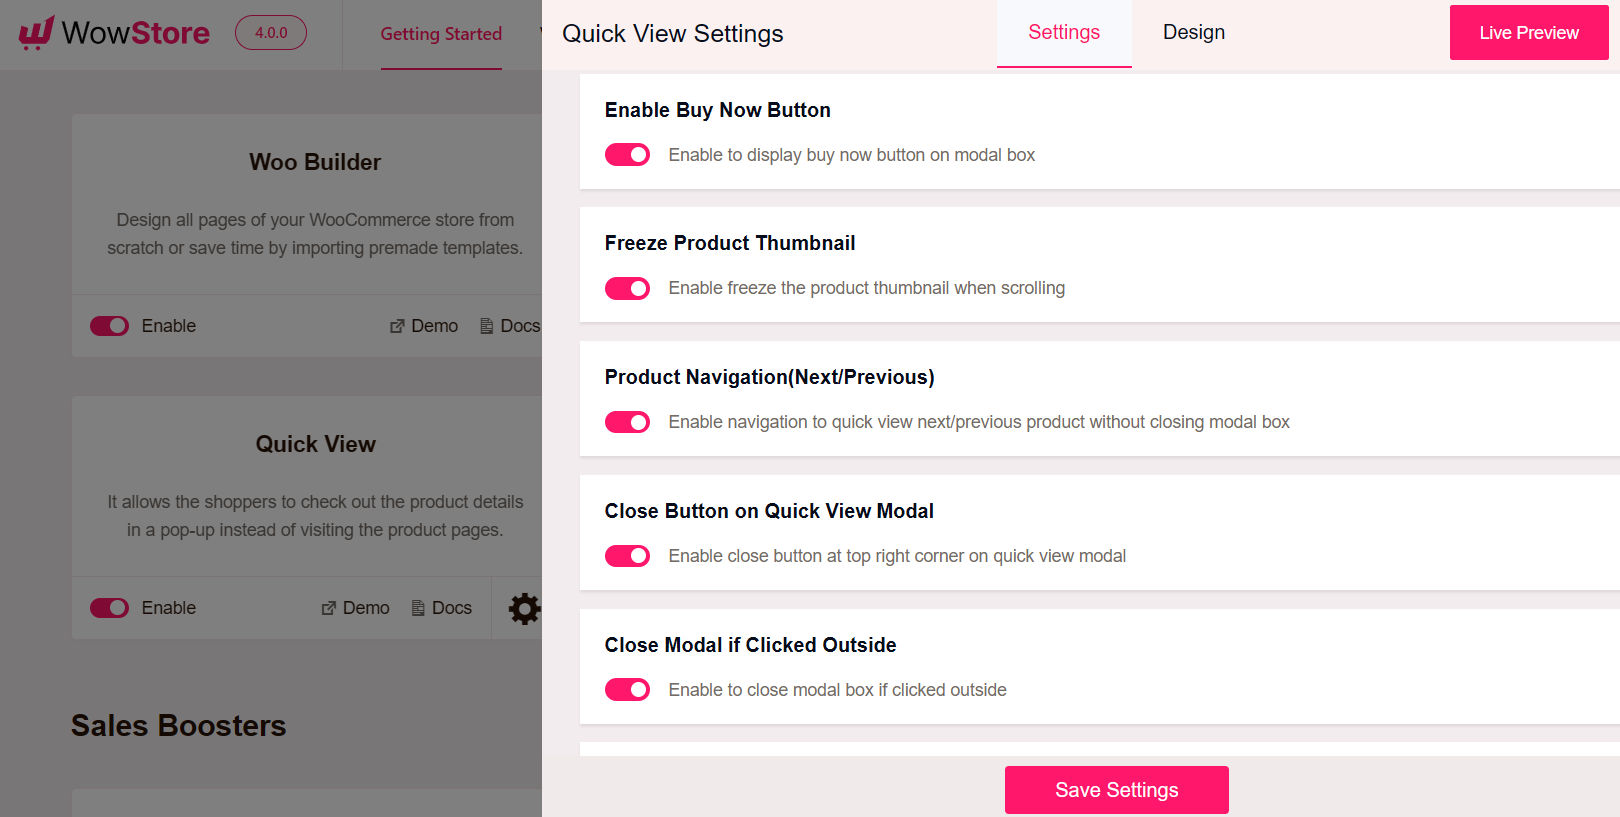
Buy Now Button: Decide and select whether you want to enable or disable the buy now on the pop-up view or not.
Freeze Product Thumbnail: Enabling this option will make the product image sticky when the shoppers scroll to see more product details in the pop-up view.
Product Navigation: Enabling this option will let the shoppers explore the next and previous products within the pop-up view.
Close Button: Enabling this option will add a closing button to let the shoppers close the pop-up view.
Close Modal: Enable this option if you want to allow the shoppers to close the pop-up upon clicking on the outside of the pop-up modal.
Close Modal Box After Add To Cart: Enable this option if you want to close the pop-up modal once the shoppers add the product to their cart.
Quick View Design Options
Besides the above-mentioned settings, you also have a separate section to customize the pop-up. At the very beginning, you will have some premade designs and color-present options. These are effective if you want to skip the customization hassle. However, you can also customize each of the elements as per your requirements.
