The WooCommerce currency switcher addon helps you let your store’s customers change the product prices into their local currencies. So you can target customers from multiple countries.
If you want to enable it on your WooCommerce site, follow the step-by-step guide:
Step – 1. Enable Currency Switcher Addon
To start using the Currency Switcher features, you must enable it. For that:
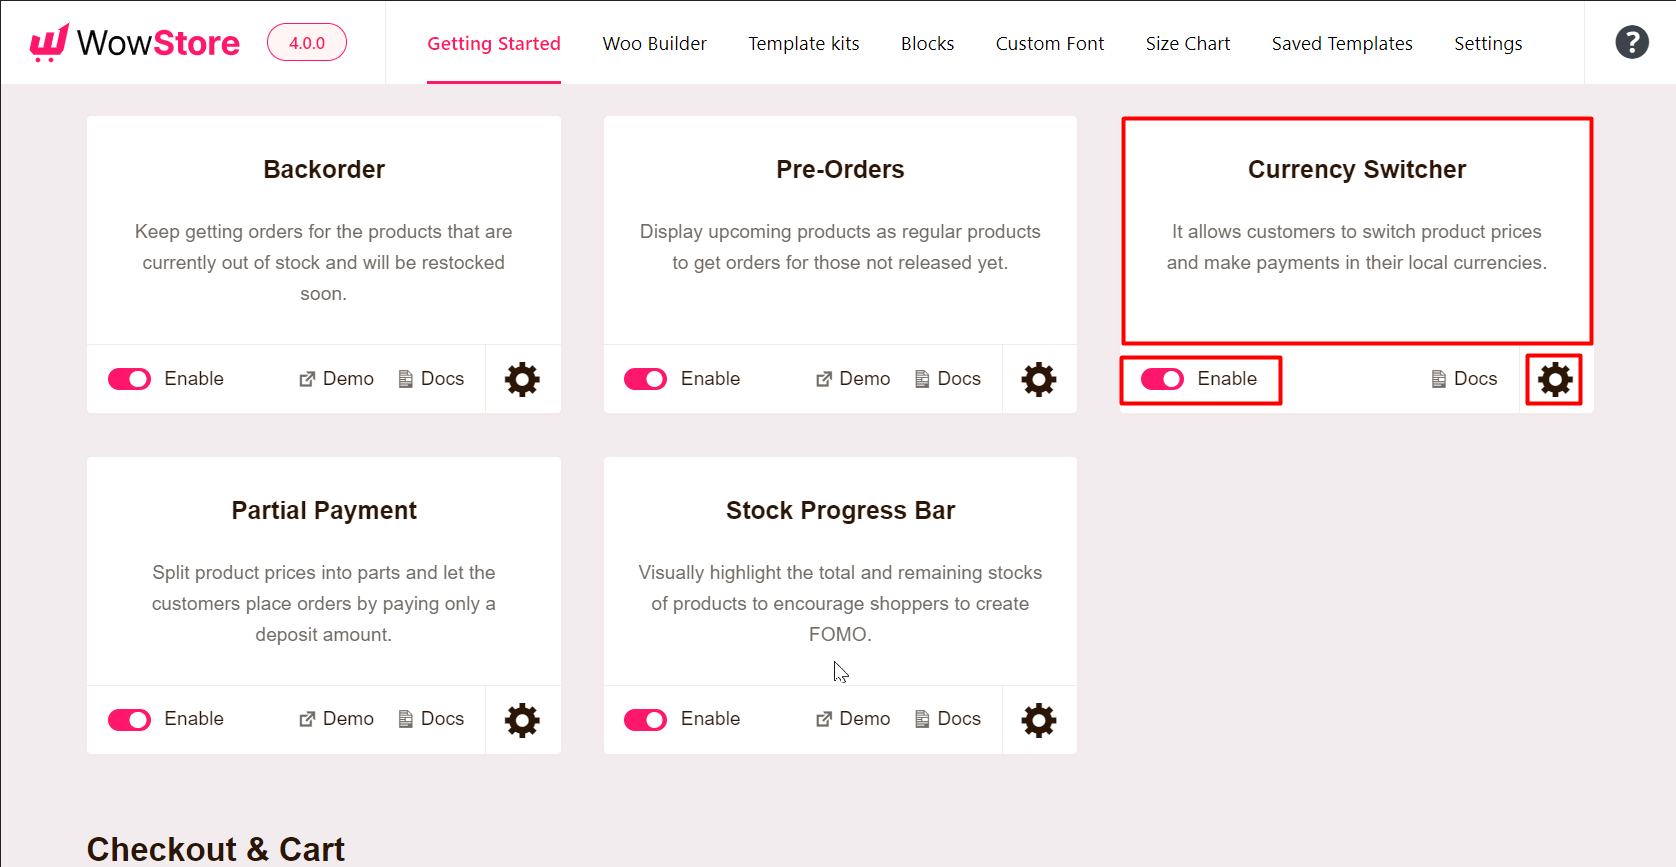
- Go to WordPress >> WowStore>> Get Started
- Scroll down and click on the toggle
Step – 2. Add and Configure a New Currency
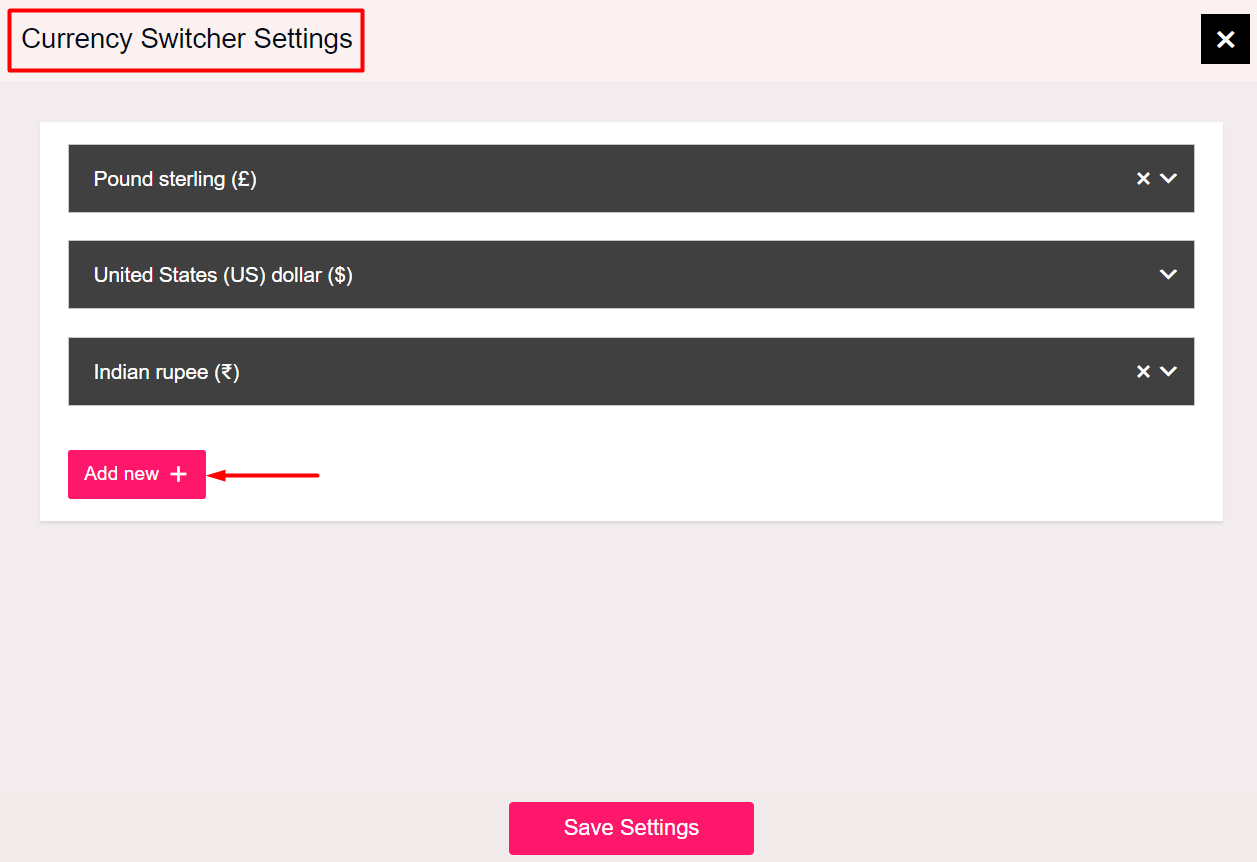
Click on the gear icon to open the settings section after enabling the add-on.
Here, you will see the current currency of your online store.
You can add your desired currency by clicking the “Add New” Button.
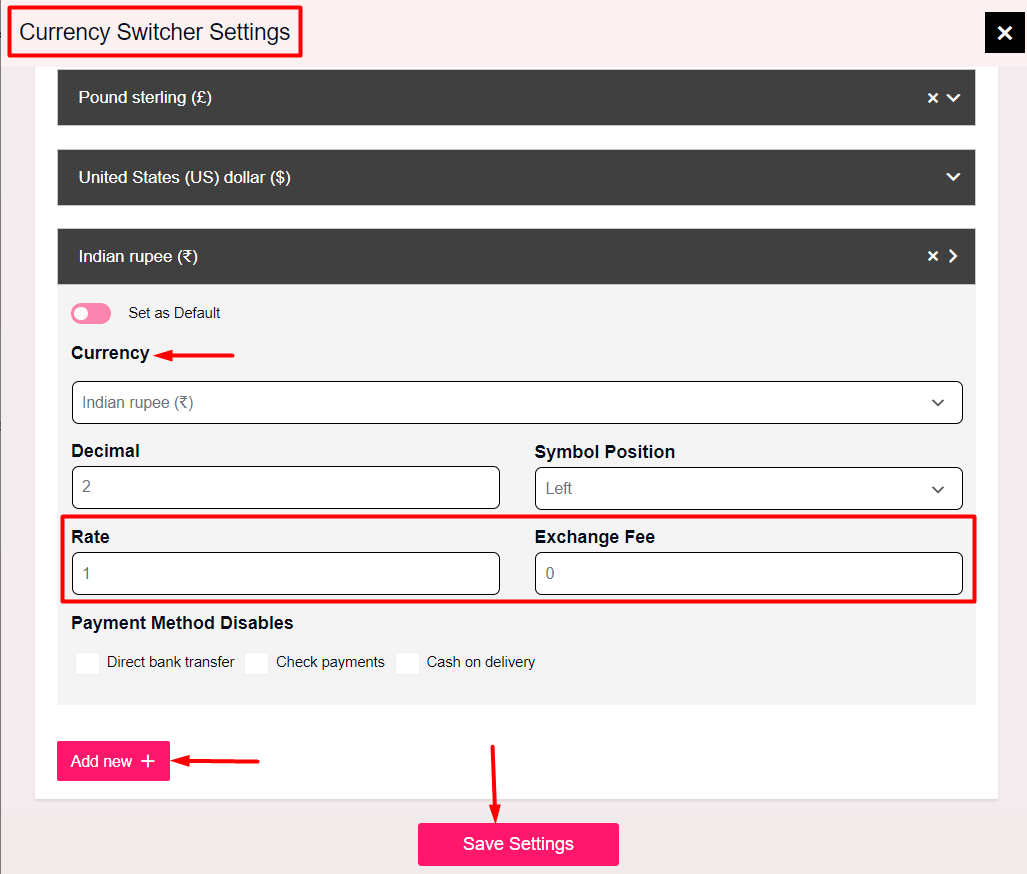
Inside a currency setting, you can choose to set it as default. All you have to do is set the toggle to the ON position.
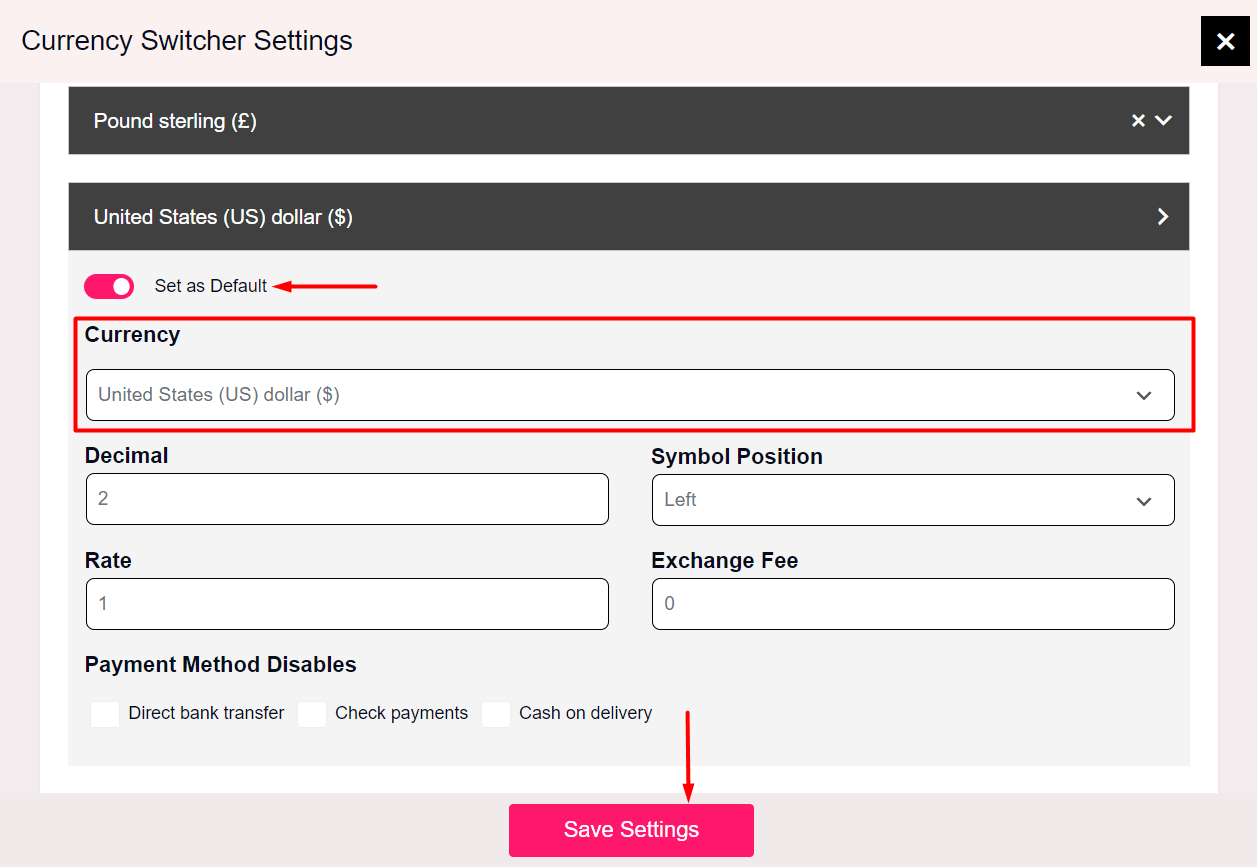
Choose your required currency and configure it as per your requirements. You need to set the exchange fee as well.
Step- 3. Add Currency Switcher On Shop Page
You need to create a custom Shop Page using WowStore builder to display the currency-switching option.
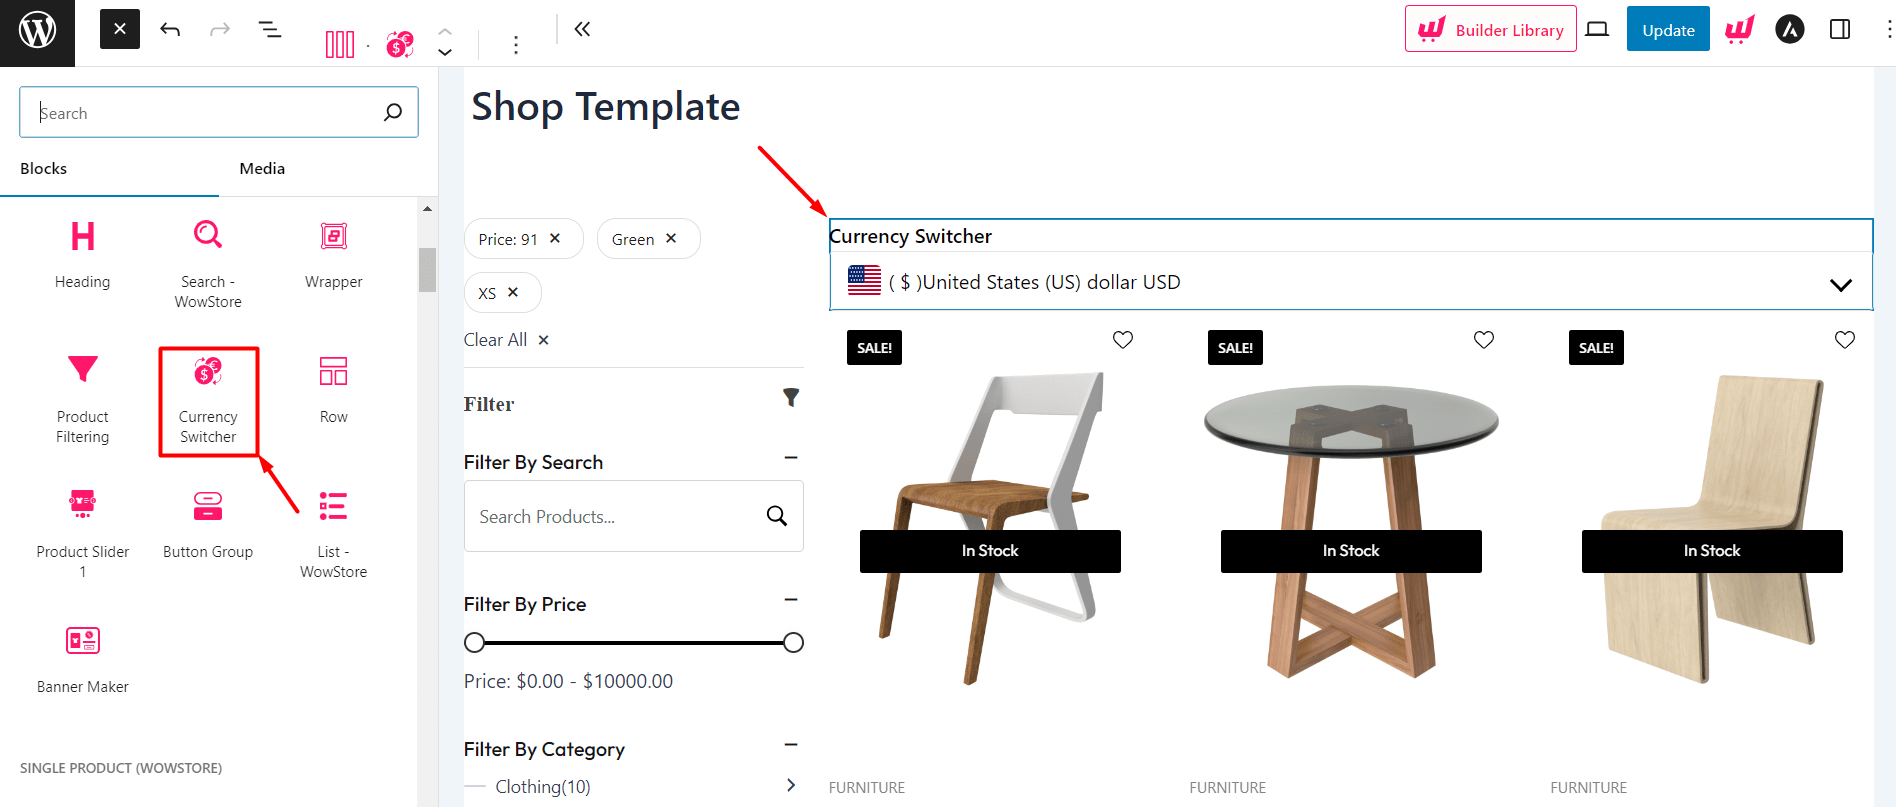
- Go to WowStore WooCommerce Builder
- Create a Shop Page template or select from premade options
- Place the Currency Switcher block in your desired position
Learn about creating and customizing the WooCommerce Shop Page Template.
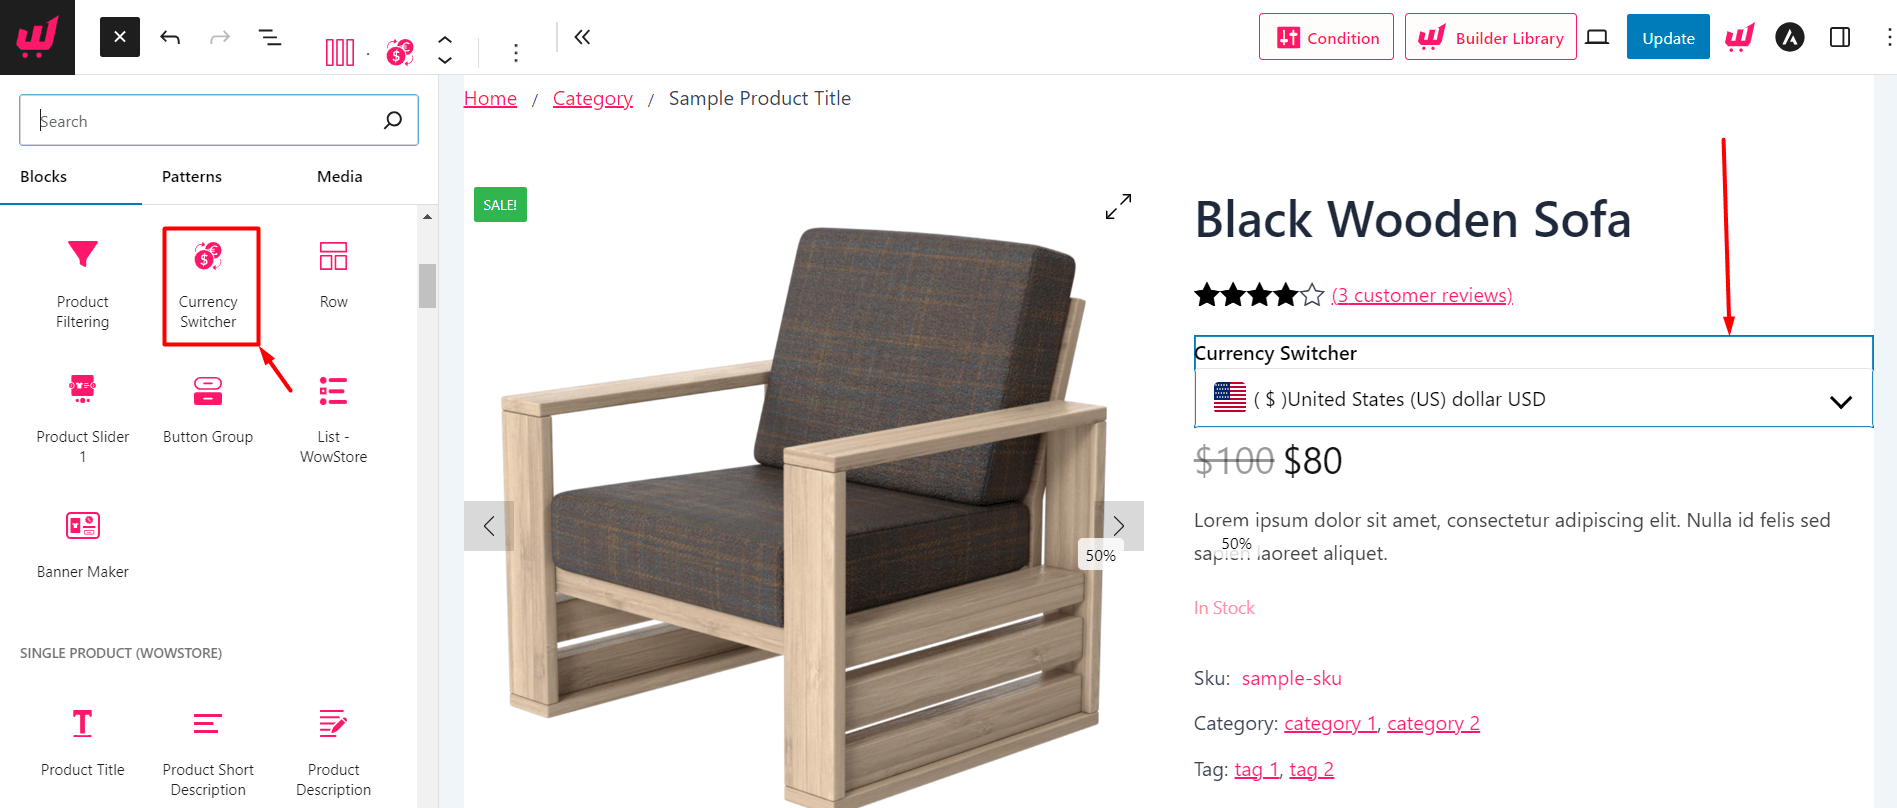
Step – 4. Add Currency Switcher To Product Pages
Similarly, like the Shop page, you can also make the currency-switching option on the Product pages as well. Here’s how:
- Start Building a Product Page Template
- Select a premade option or start from scratch
- Add the Currency Switcher block as per your requirement
Learn more about creating and customizing WooCommerce Single Product Page Templates.

