PostX Starter Sites are the collection of complete sites ready to import with a single click. Let’s explore how you effectively use it and take full advantage.
How to Make a Site with PostX Starter Sites?
You only need three simple steps to import any of the starter sites and build your complete site in minutes.
Step-1: Explore
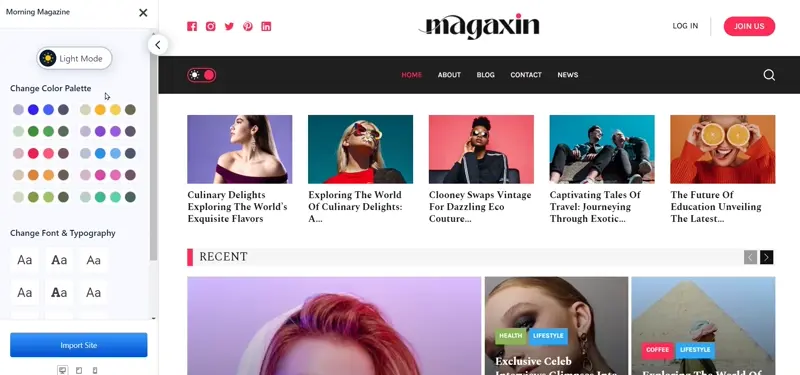
At first, navigate to PostX >> Starter Sites. Explore all available options until you find one that suits your needs. Click on any of the ready sites to have a better look. You can click on the cross (X) to go back to the exploration section.

Step-2: Personalize
After choosing a Starter Site, you can personalize it with your preferences. You have the option to switch between Dark and Light modes and select a color pallet and typography.
Step-3: Import & Go Live
Once you are satisfied, click on the “Import Site” button. Now you can see the same checkbox. By default all options are checked, however you can uncheck them if you want. Let’s explore the options:
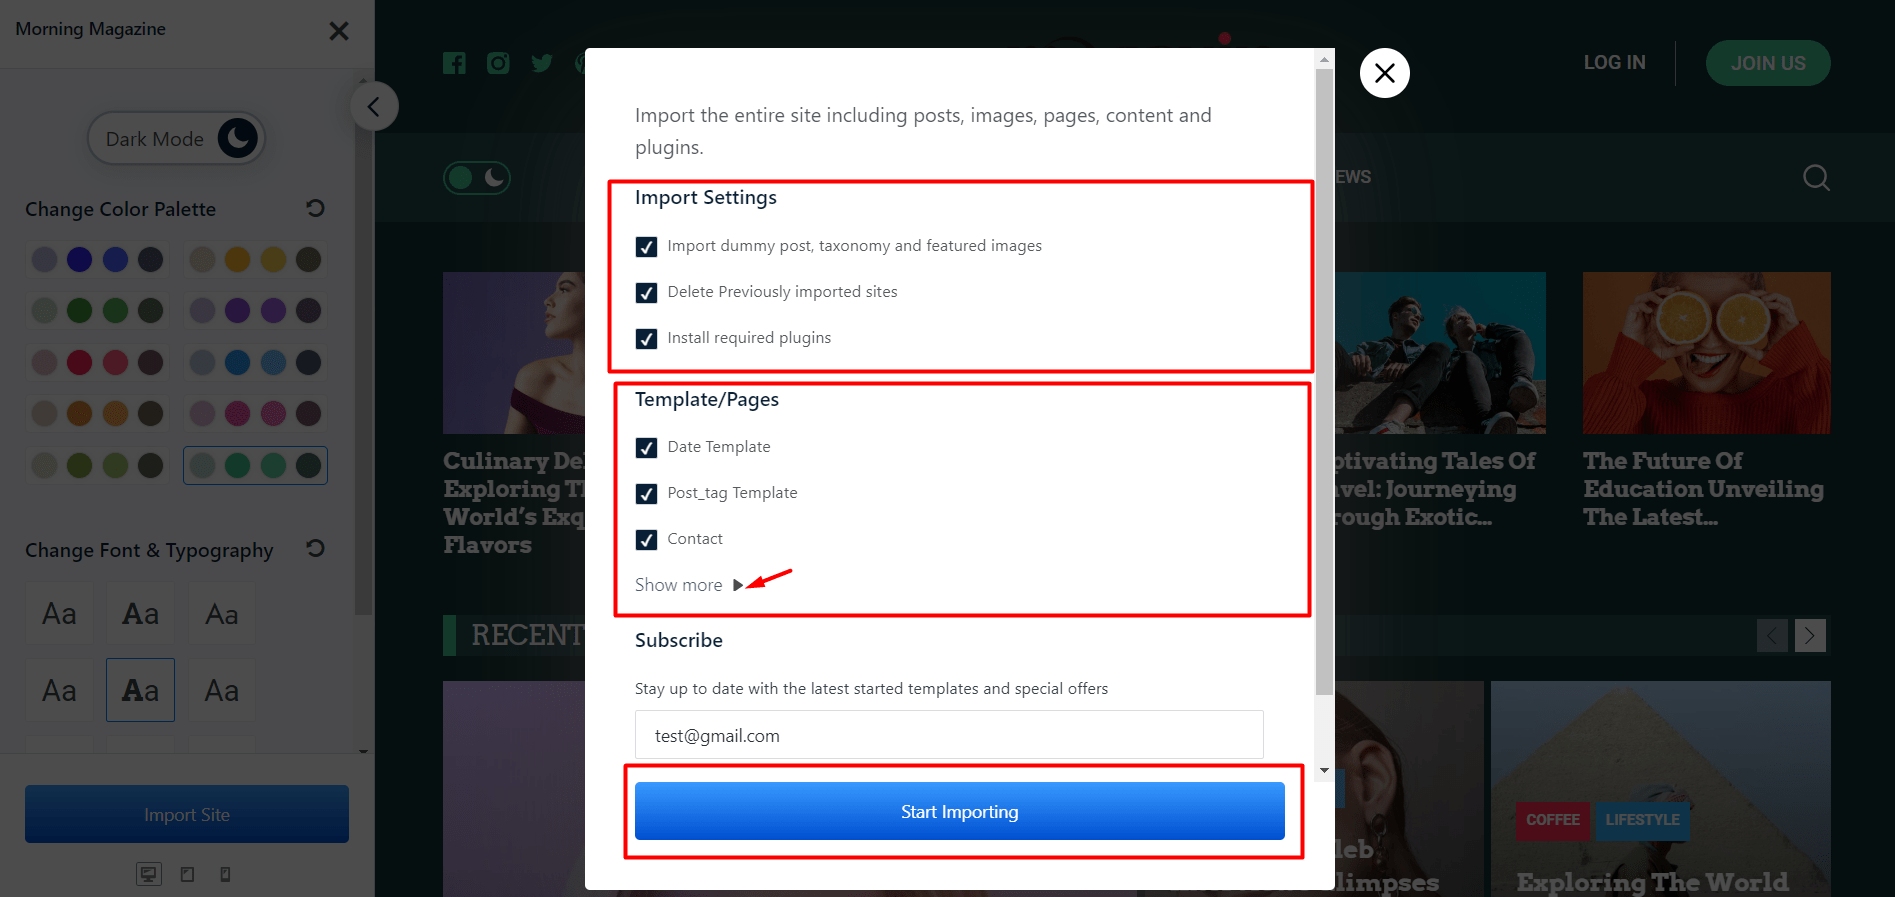
Importing Settings: First of all, you need to decide whether you want to import the dummy data, post, taxonomy, and featured images. Uncheck this option, if you already have existing content on your site and don’t need dummy data.
The second option is to delete previously imported sites. Check this option if you have previously imported a starter site and want to replace it with the latest import.
The third option is recommended for installing required plugins. Make sure to keep this box checked to allow the installation of important plugins while importing the site.
Templates/Pages: Here, you have the choice to uncheck any of the available pages, templates, or templates that you don’t want to import. Keep it checked if you want to import all page templates.
Once you are ready click on the “Start Importing” button and sit back. Your website will be ready in a few minutes.
You will see a prompt with the options to view and customize the site after a successful import.
How to Customize After Importing a Starter Site?
After importing any Starter Sites, you can also customize them. All dynamic templates will be available in the Site Builder section. And, for the static templates, there will be new pages automatically created.
Customize Dynamic Templates
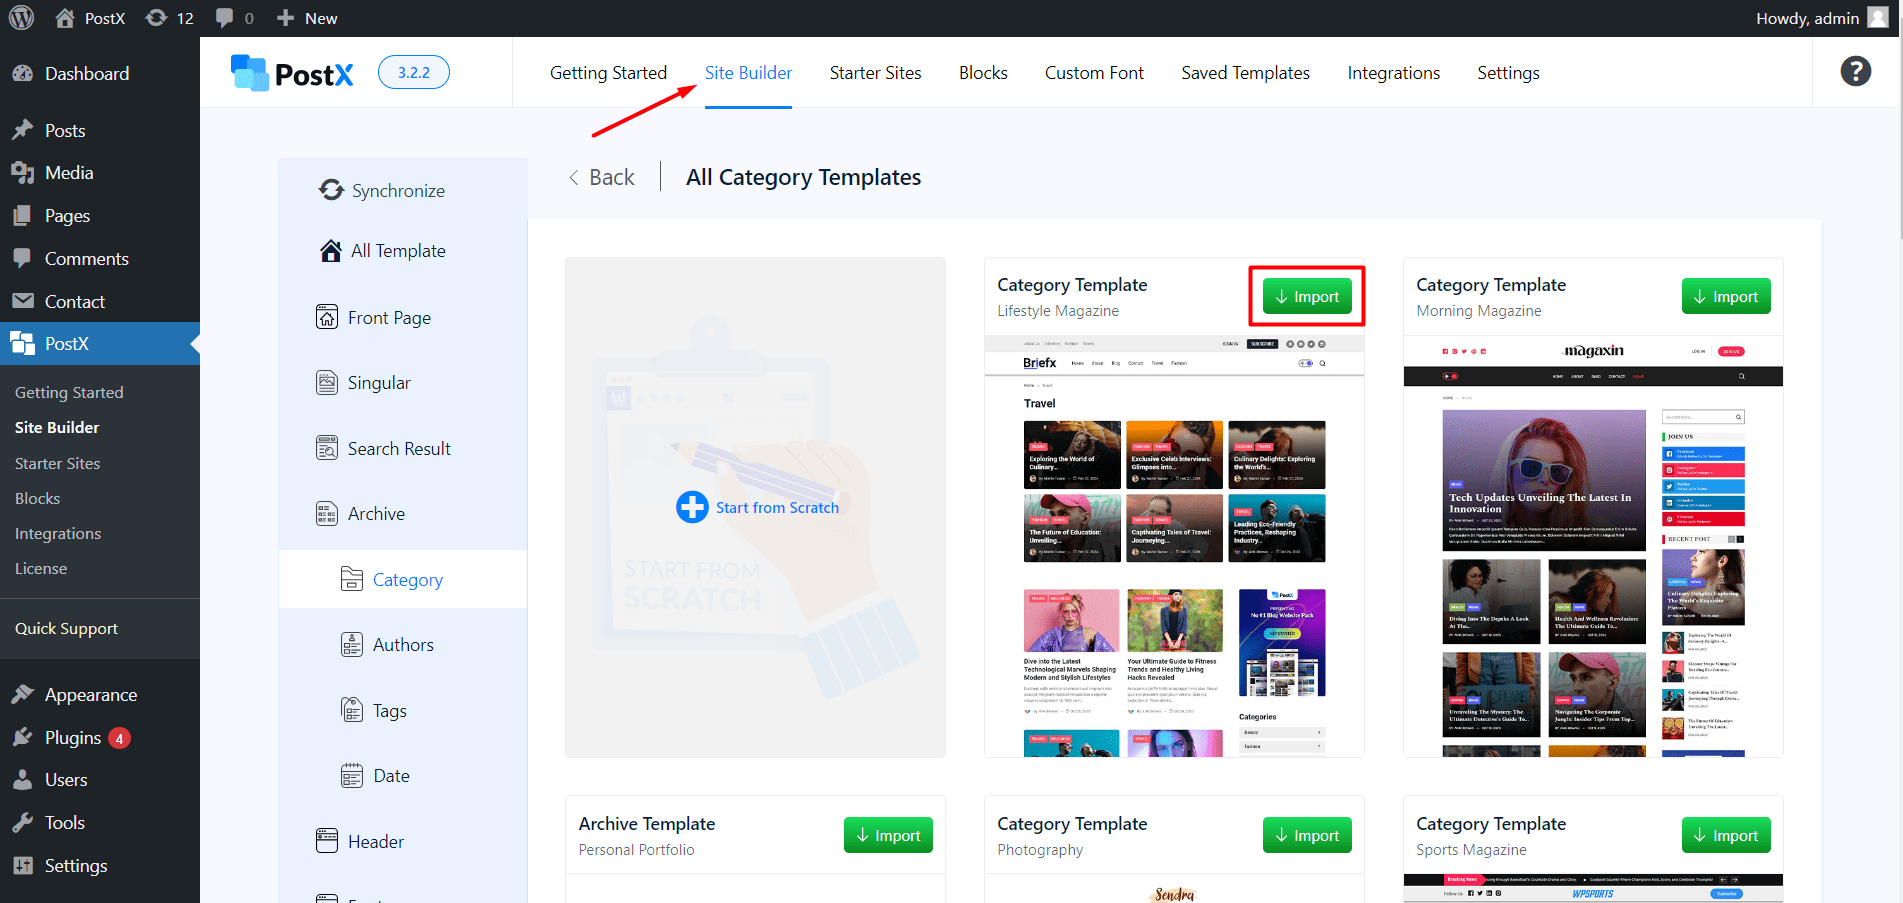
To customize the dynamic templates, go to PostX >> Site Builder, and click on the edit button of the template that you want to customize.
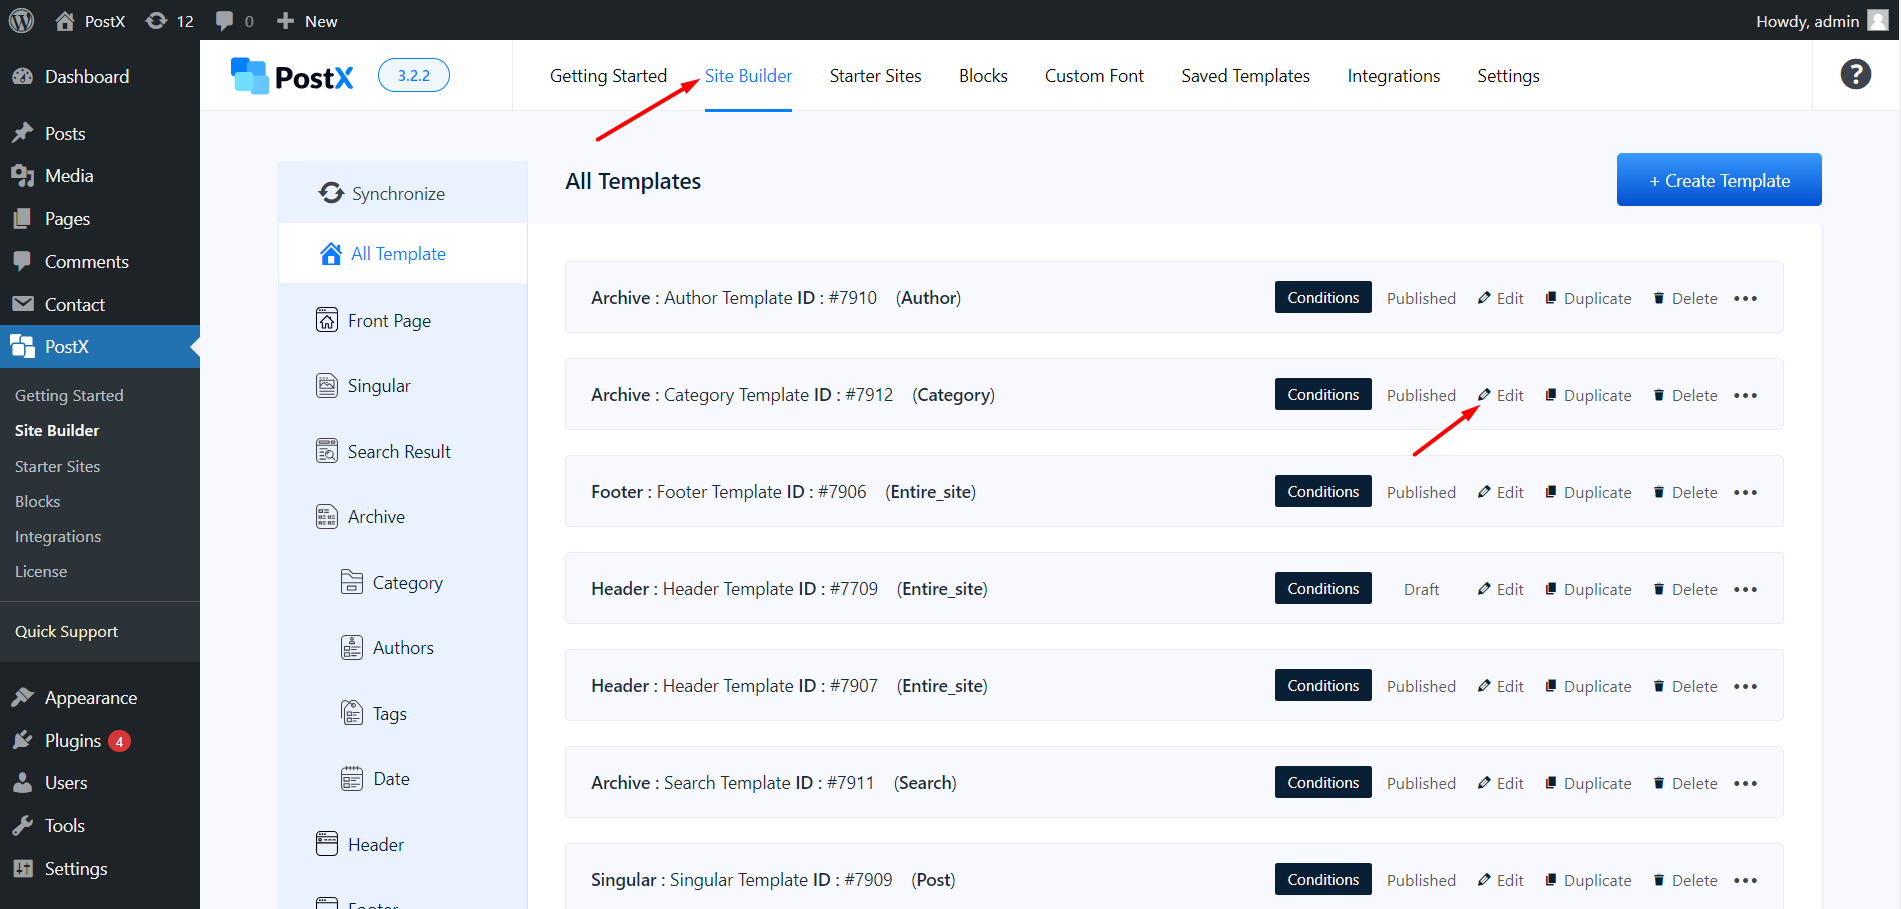
As all PostX templates are created using multiple blocks, you can customize all of the blocks individually. Click on any of the blocks and you can use the available customization option from the right side.
Customize Static Templates
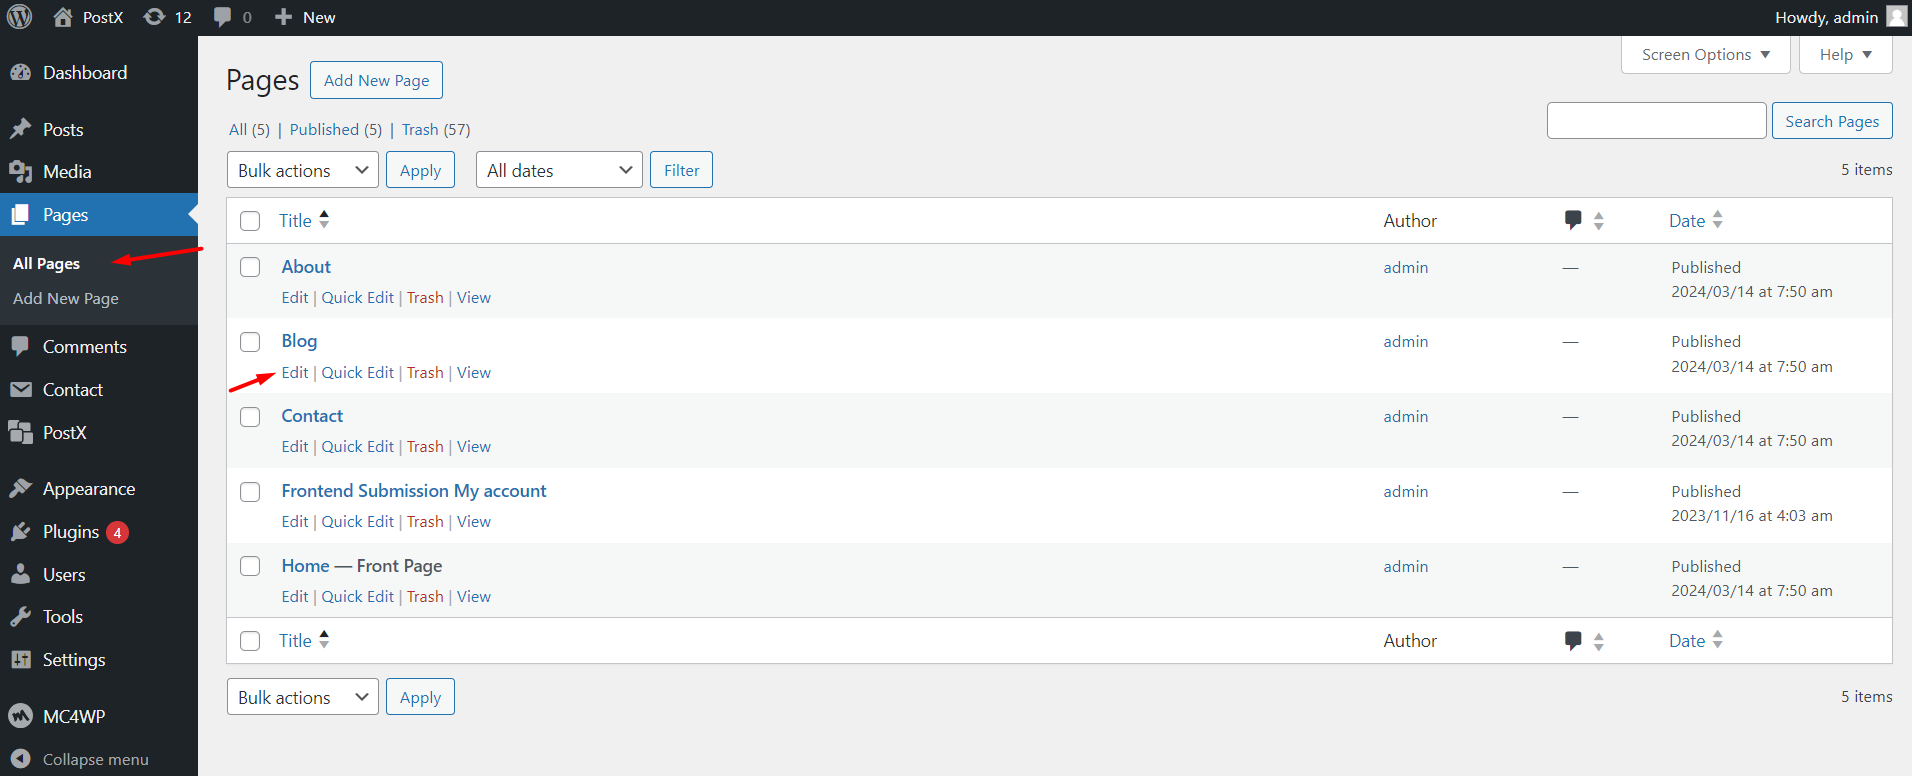
To customize static templates, go to the all pages section of your site. Here you will see all available pages including the ones that you have recently imported. Click on the edit button of the page that you want to customize. Then you can customize the page template using the Gutenberg editor.
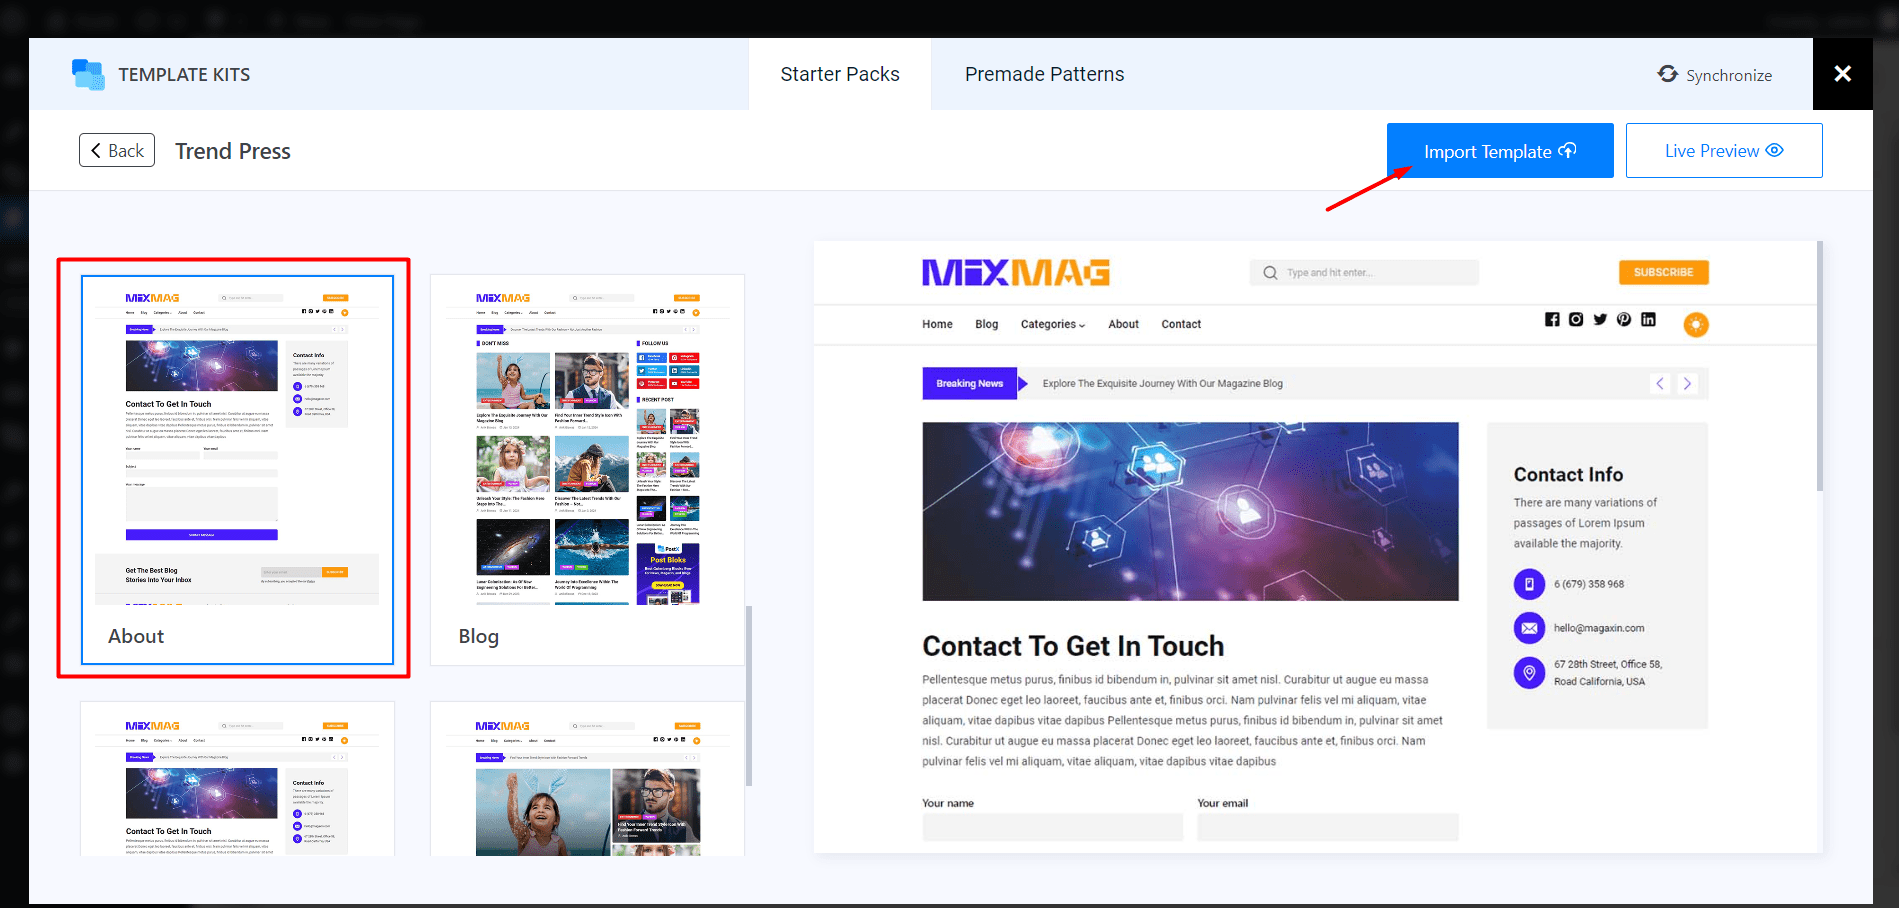
How to Import Individual Templates?
You can also import the individual templates of the Starter Sites. For importing a static page template you need to go to a page or create a new one for which you want to import the template.
Then click on the PostX Template kit button. Click on a Starter Pack from which you want to import an individual template. Now you can click on the import button of the template that you want to import. That’s all, the template will be added to the page. Then you can customize and publish the page.
For importing a dynamic template, you need to go to PostX >> Site Builder. Then click on the dynamic page option, and you will see all available options. From here, you can use any available option by clicking on the import button.
How to Use Global Settings
Similarly, like the templates, you can also use the PostX Global setting from any static page or the site builder. If you don’t see the Global options, click on the three dot icon, and click on PostX setting.
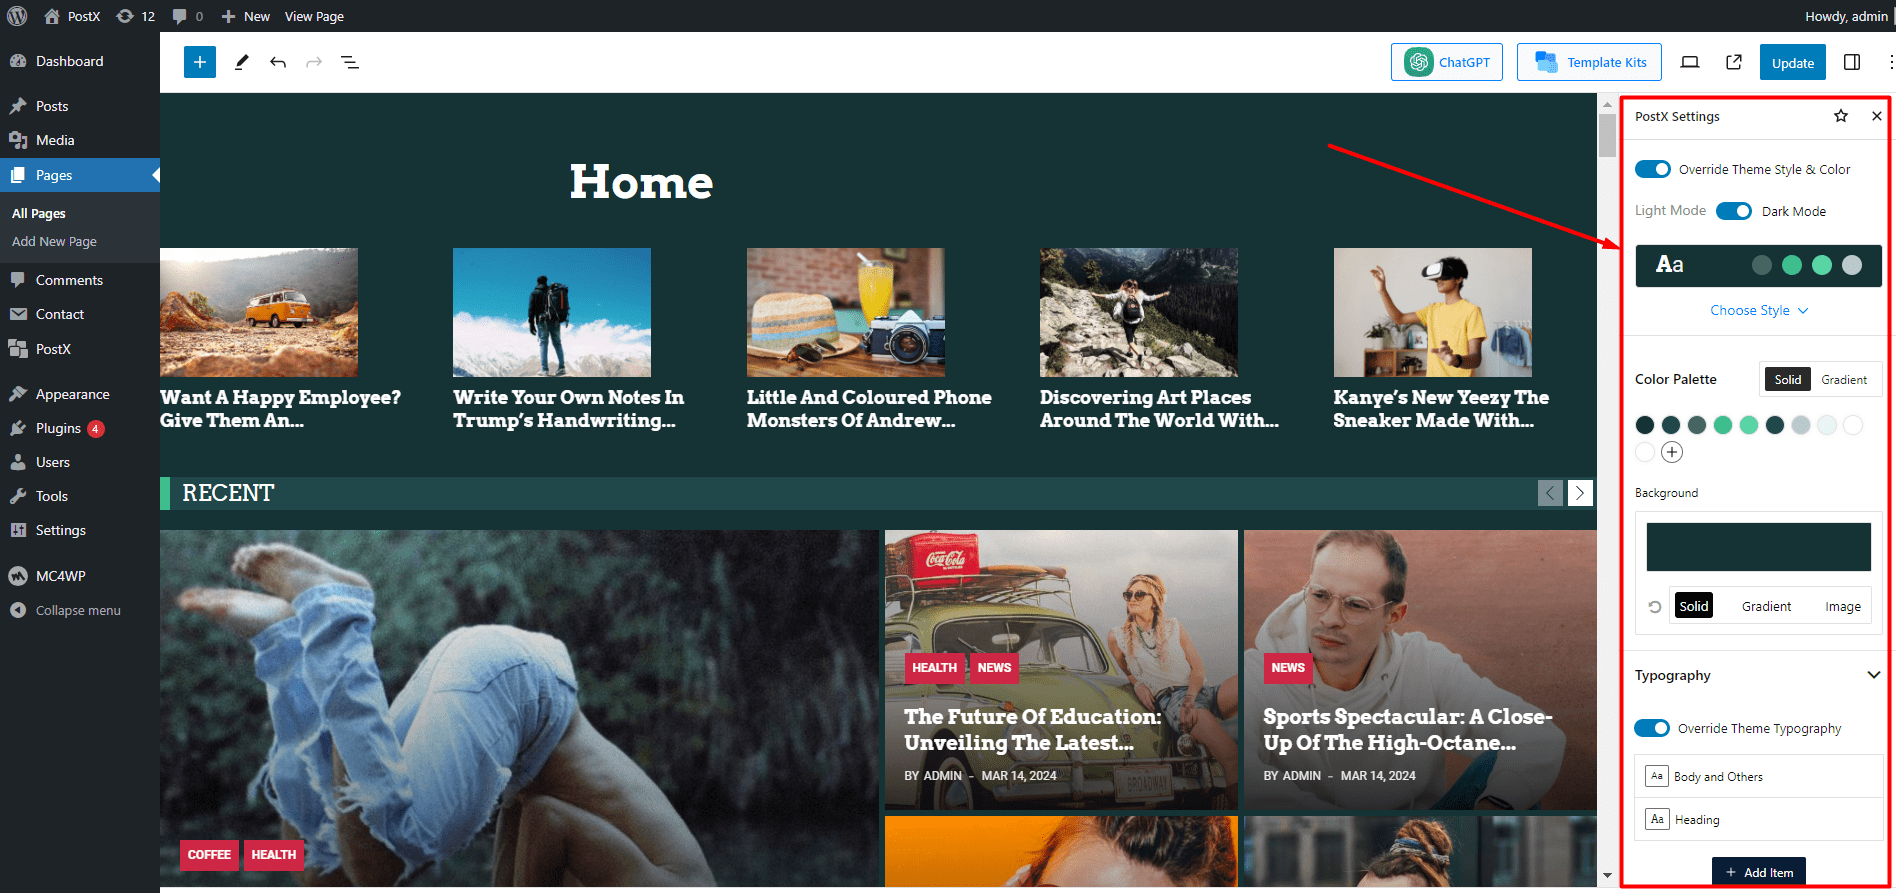
At first, you have the option to switch between Light and Dark mode.
Then you can choose Global Color Pallet and Typography by clicking on the “Choose Style” button. Don’t forget to enable the “Inherit Theme Color and Typography” option to replace the theme settings with PostX settings.
Then, you can change the colors of the pallet and choose a specific background color from the pallet.
At last, you can change the typography of the body and head specifically. And, don’t forget to enable the option of “Inherit Theme Typography” to replace PostX typography with the theme typography.

