The footer customization is similar to the WordPress header customization using the PostX dynamic site builder. Here’s a quick overview:
Here’s how to do it:
- Go to PostX > Site Builder from your WordPress dashboard to edit footer in WordPress using PostX.
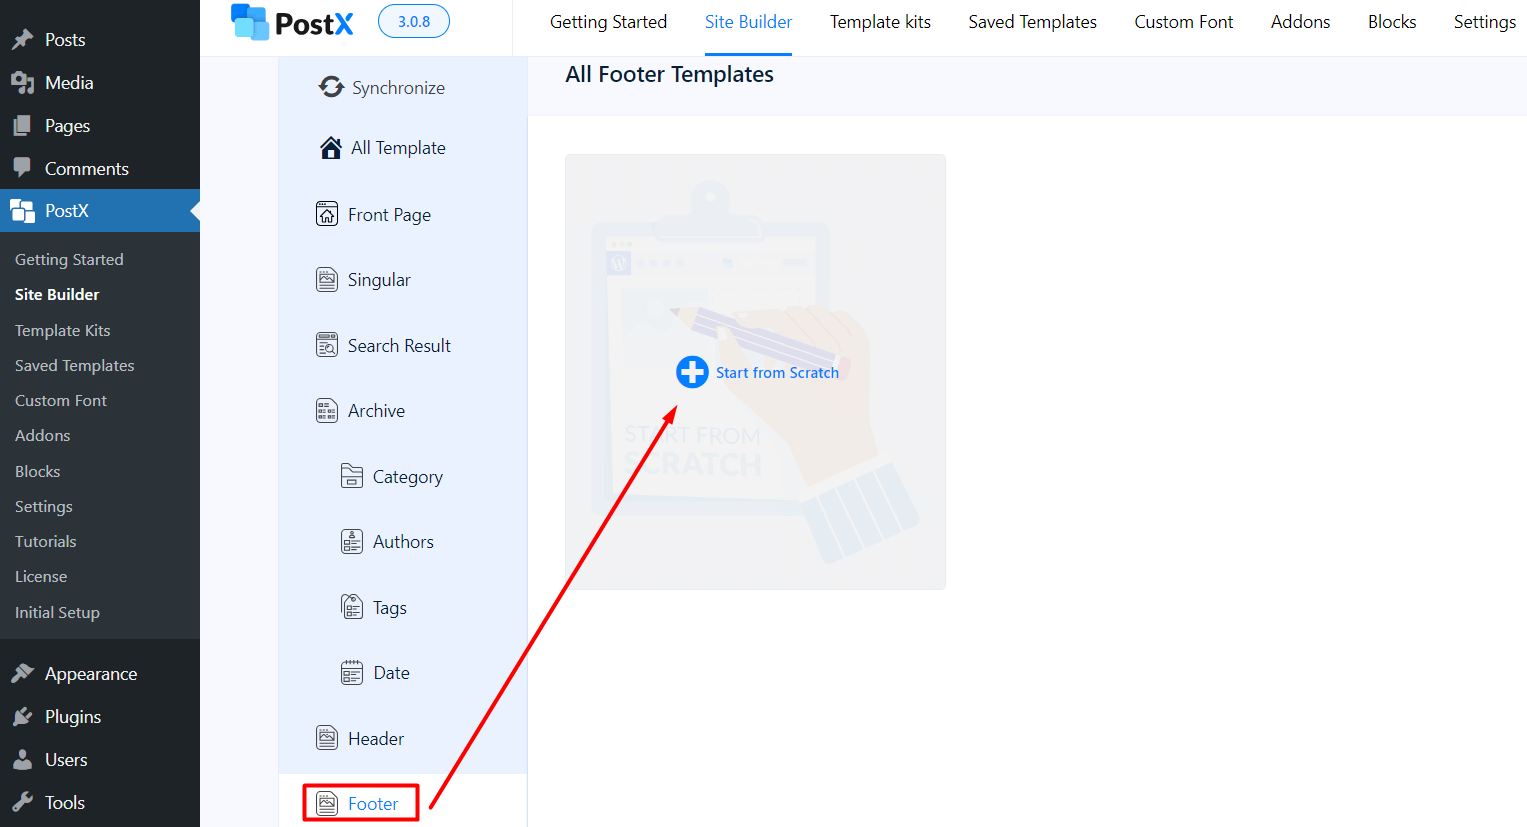
- Here you will find the Footer option. If you don’t have any templates created, then you will have the option to Start from Scratch. However, if you created a template already, it will show up on the site builder dashboard.
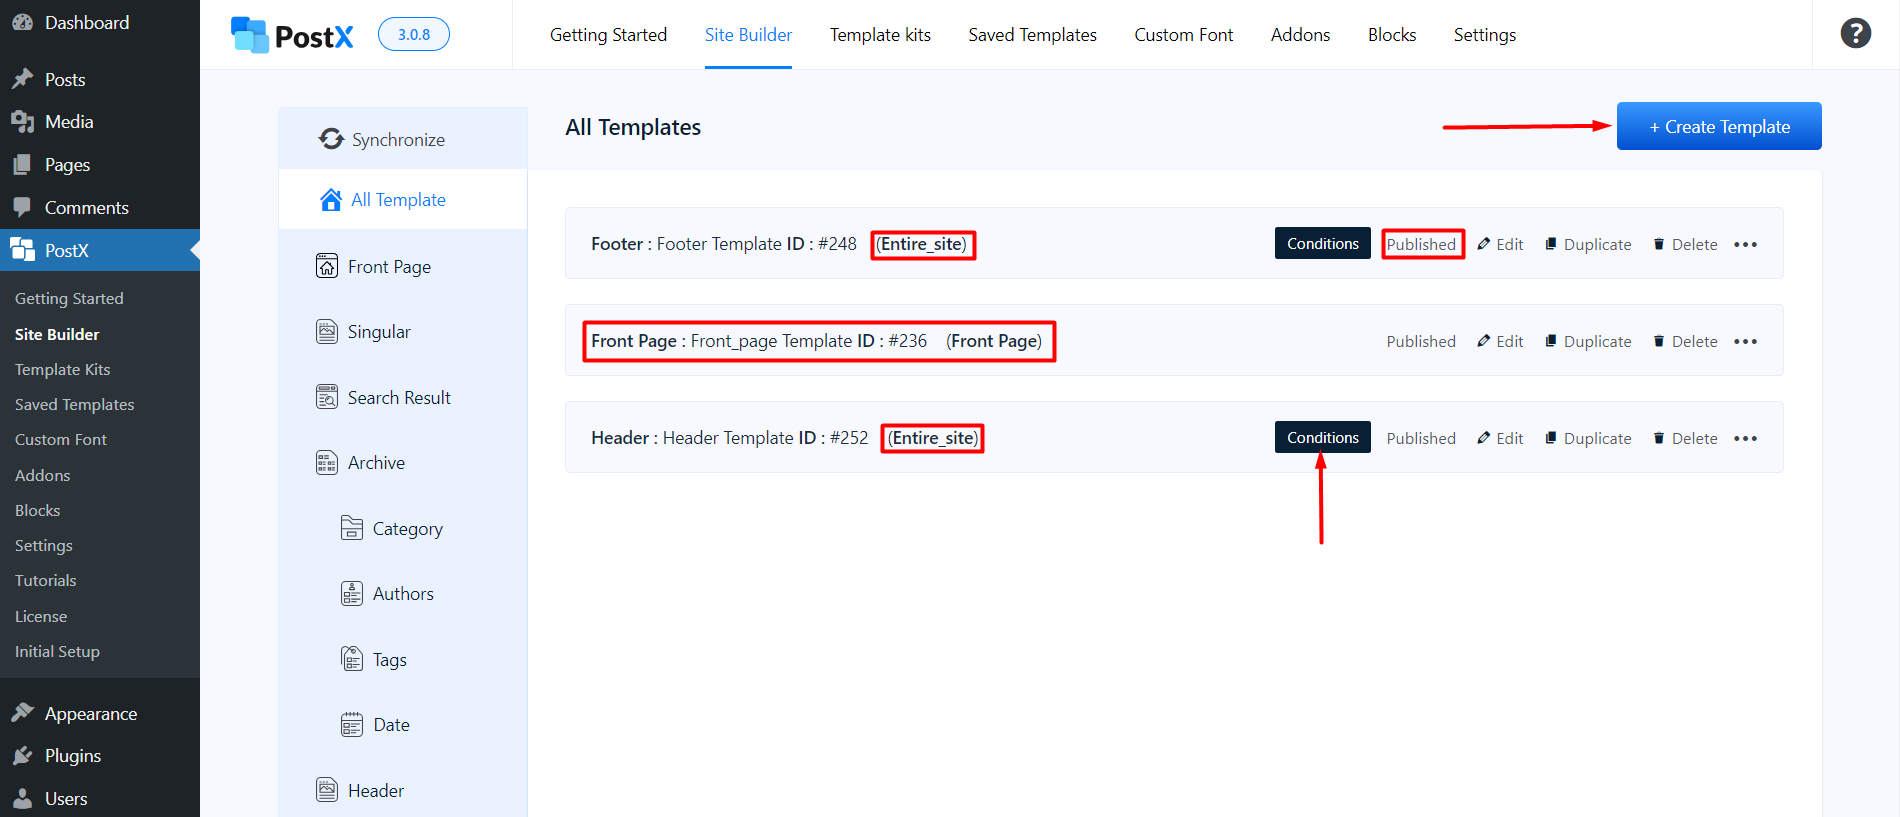
Note: You can edit the templates from the PostX Dynamic Site Builder Page – under the “All Templates” page. The templates you already created will have the option to Edit, Duplicate, or Delete the template. You will also see whether the templates are published or in draft. You can also create a new template using the “Create Template” button.
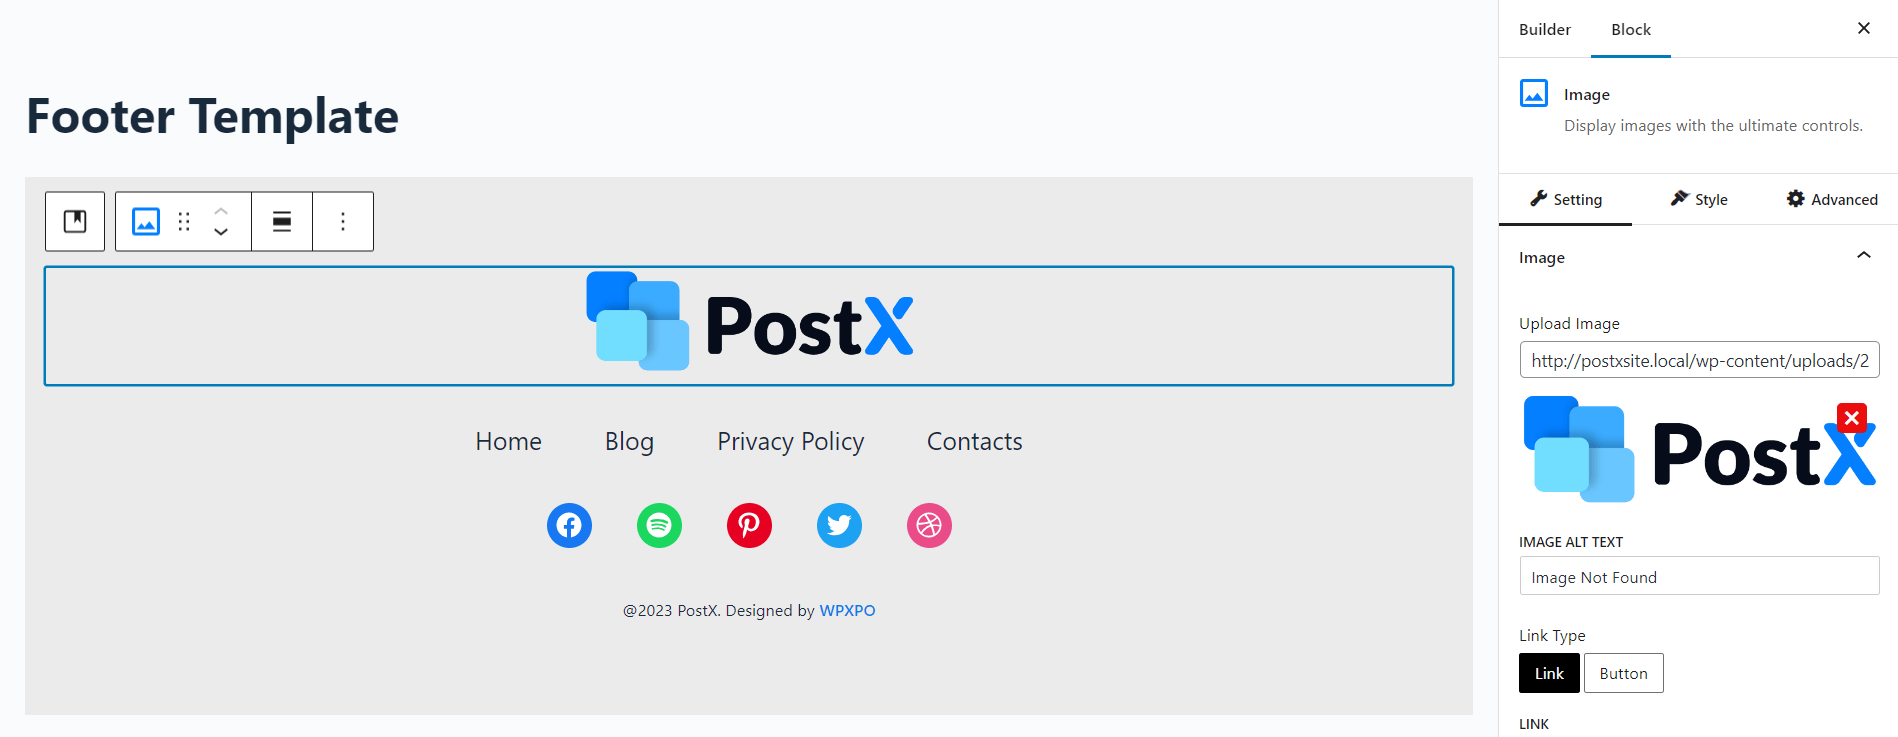
- In the footer template page, you can use various PostX blocks to create the footer [Just like the design we created].
- Next, you will be prompted to choose the condition – on which page or pages you want to show the footer. You can change the conditions before you publish the template. But if you want to do it afterwards, you will be prompted to include or exclude the condition. You can also edit the page and change the conditions afterwards.
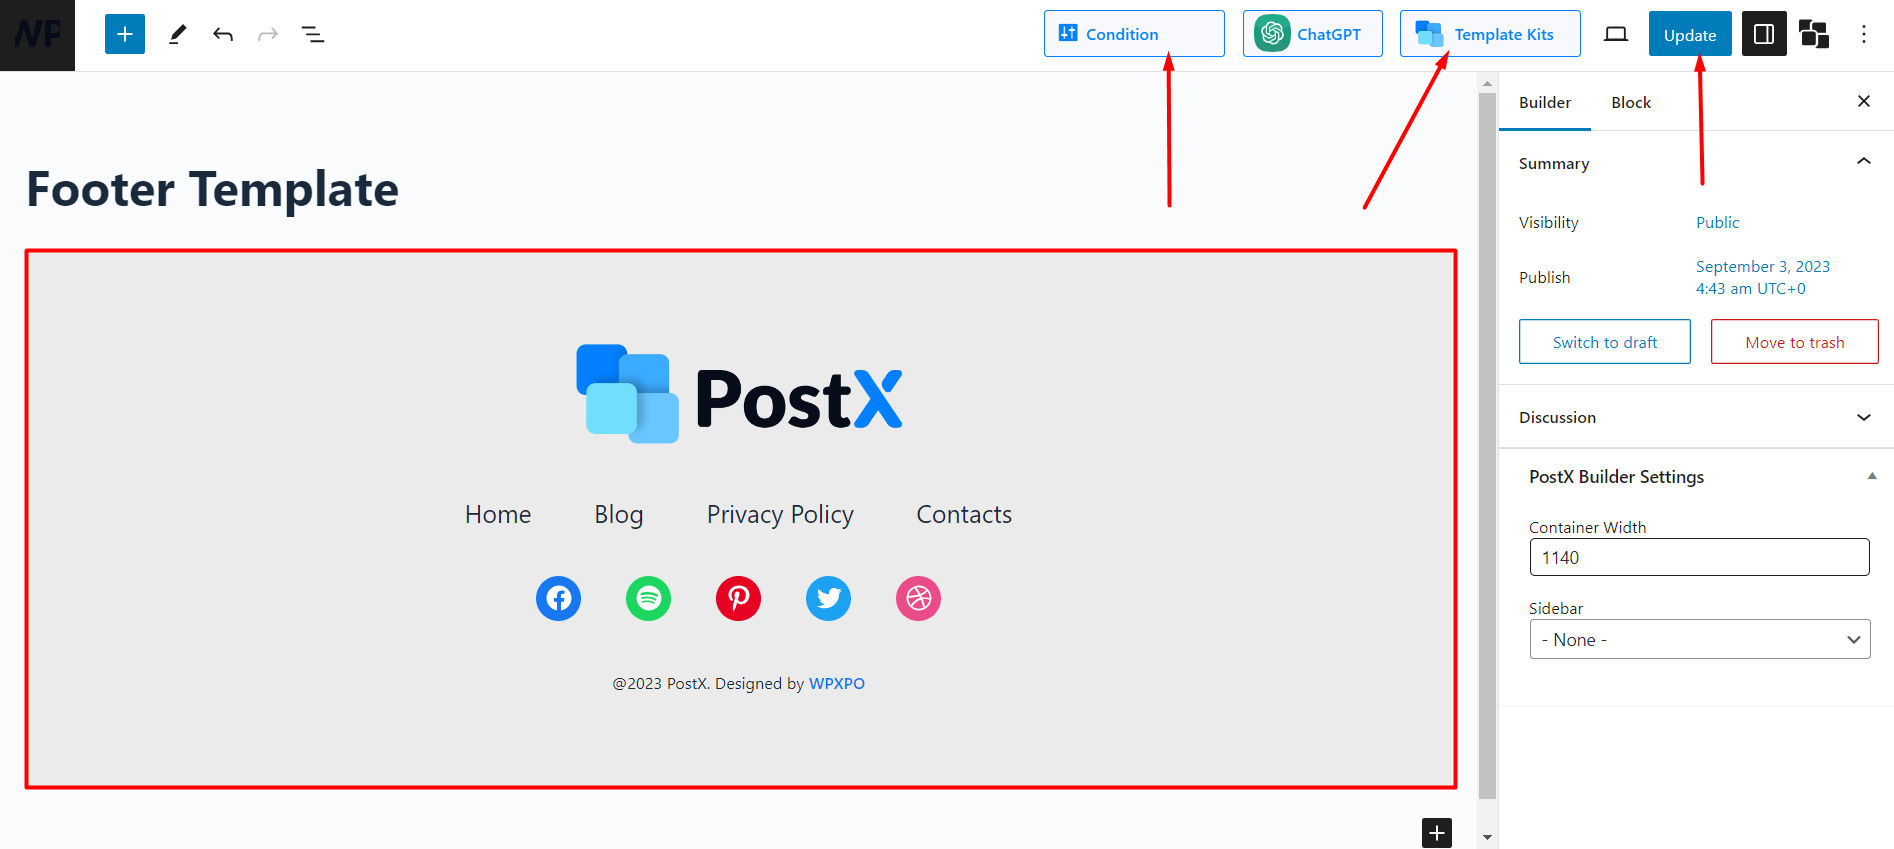
- Once you publish the footer template, you will be able to use it on the desired page.
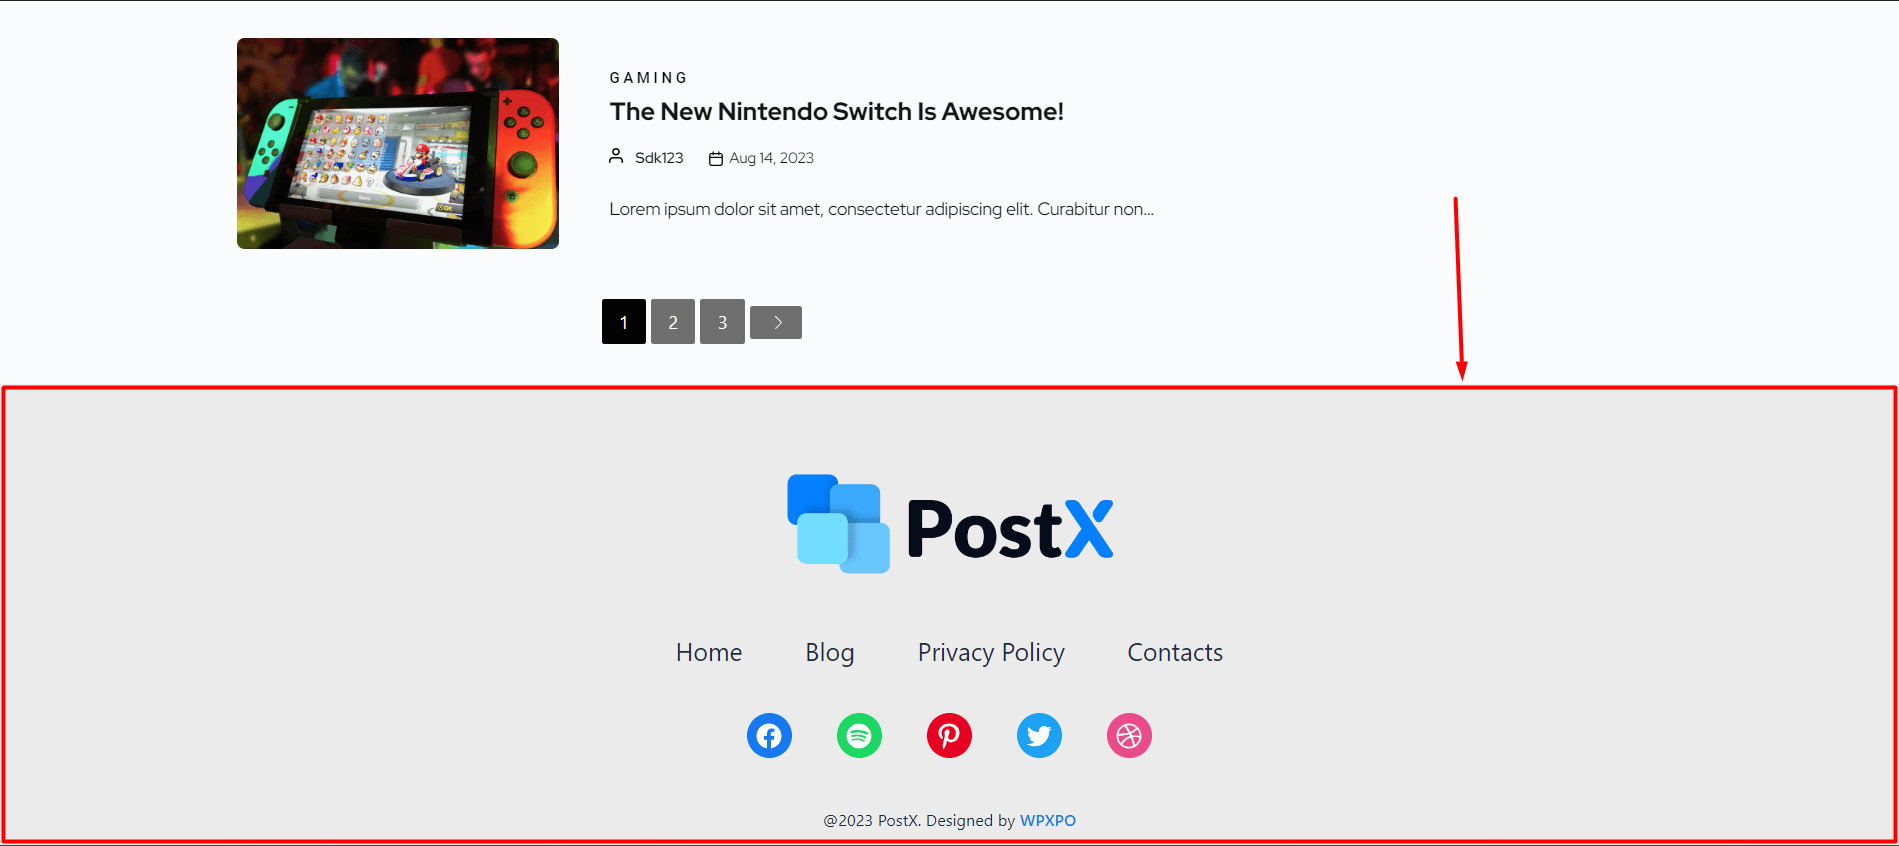
Here’s how it looks on the front page:
New WordPress Footer Templates
You will find the pre-made footer templates in the PostX Site Builder (under the Footer Section)
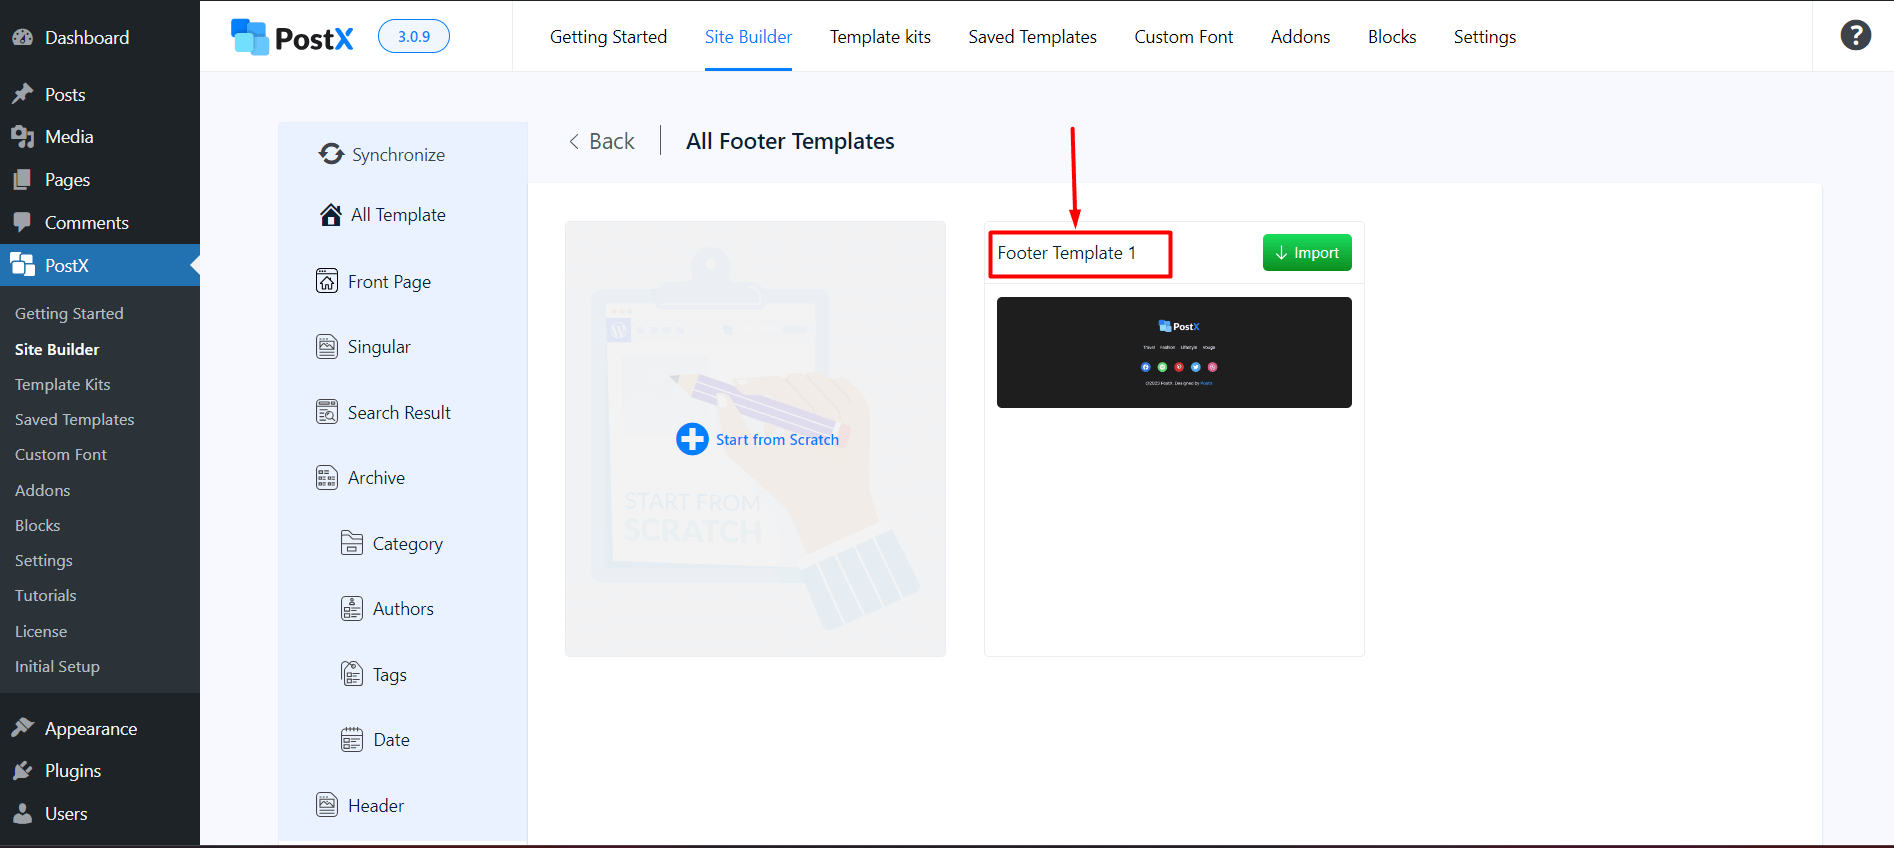
All you have to do is click on import. And that particular WordPress footer template will be imported to the editing page. After you update the conditions and publish the template, you will be able to see the footer template in the designated pages.
