Here is a step-by-step guide to using PostX blocks in Bricks Builder.
Video Tutorial
Here’s a video tutorial of PostX Bricks Builder integration for a better understanding.
Step 1: Enable Bricks Builder Addon
First, you must enable the Bricks Builder Integration and Saved Template addons.
Follow these steps:
Go to “PostX” > “Addons” from the WordPress Dashboard. Look for the “Bricks Builder” and “Saved Template” addons and toggle the switch to enable them.
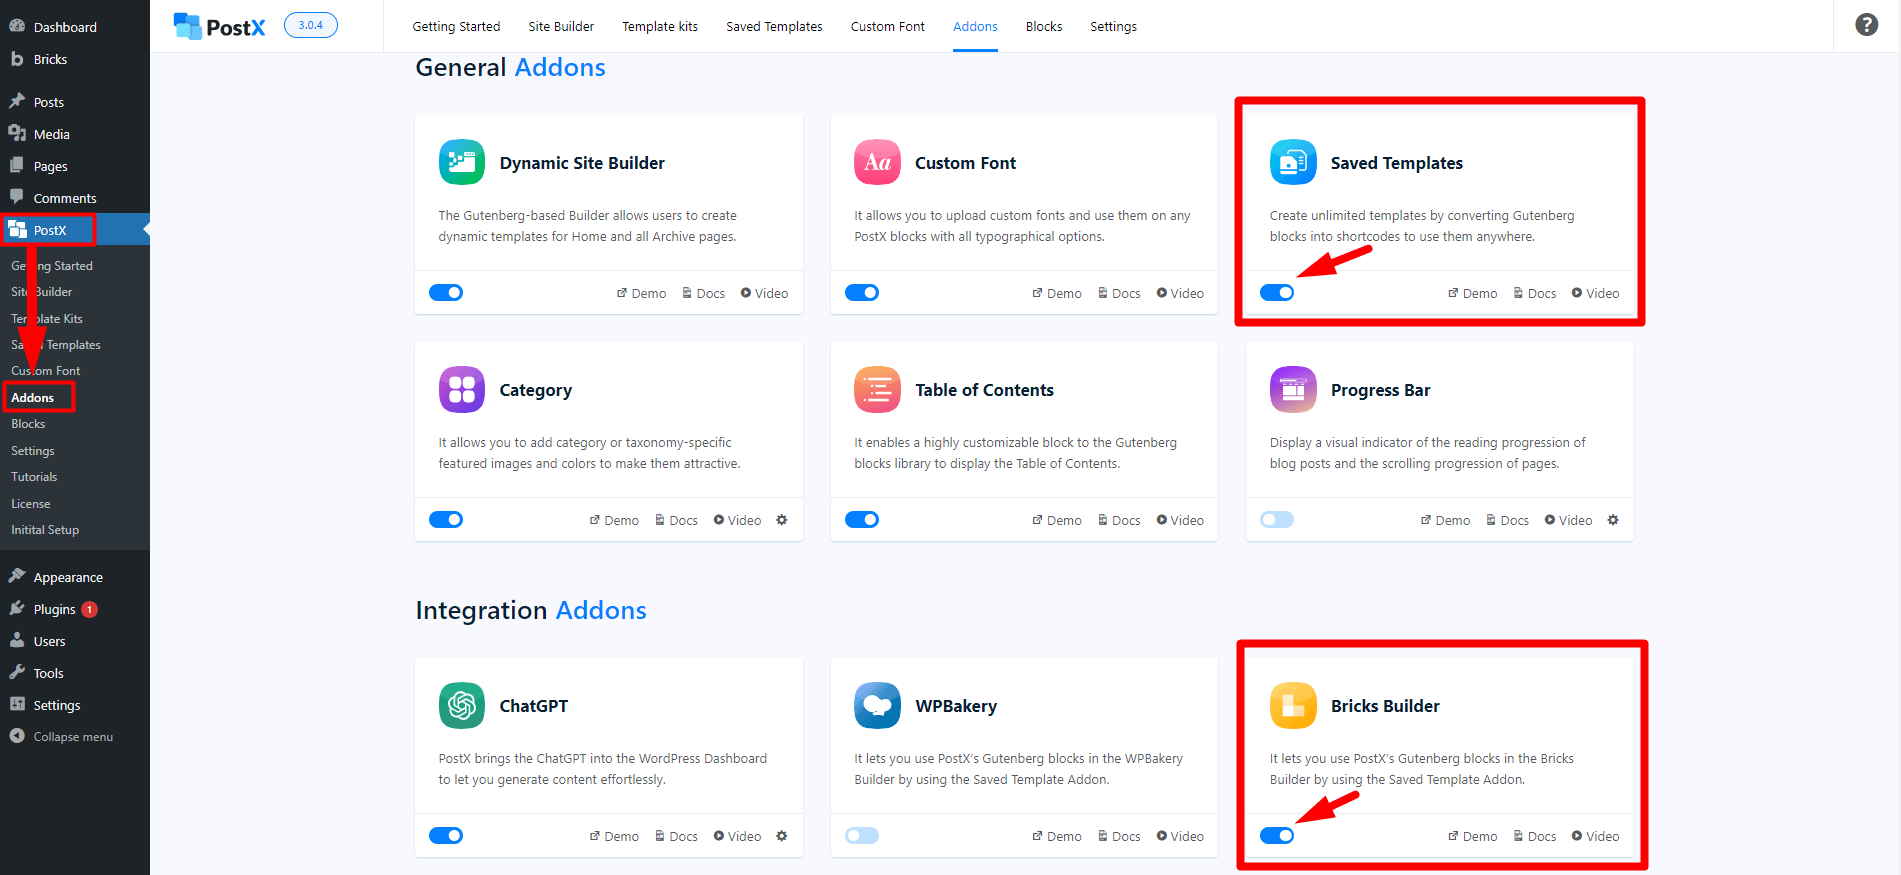
Enabling the Bricks Builder addon will add a new “PostX Template” tab to your Bricks Builder, containing all the Saved Templates from PostX.
Step 2: Create a Saved Template
To use PostX in Bricks Builder, create a Saved Template with PostX.
Here is how to do it:
Go to “PostX” > “Saved Templates” and click on “Add New” to create a new template.
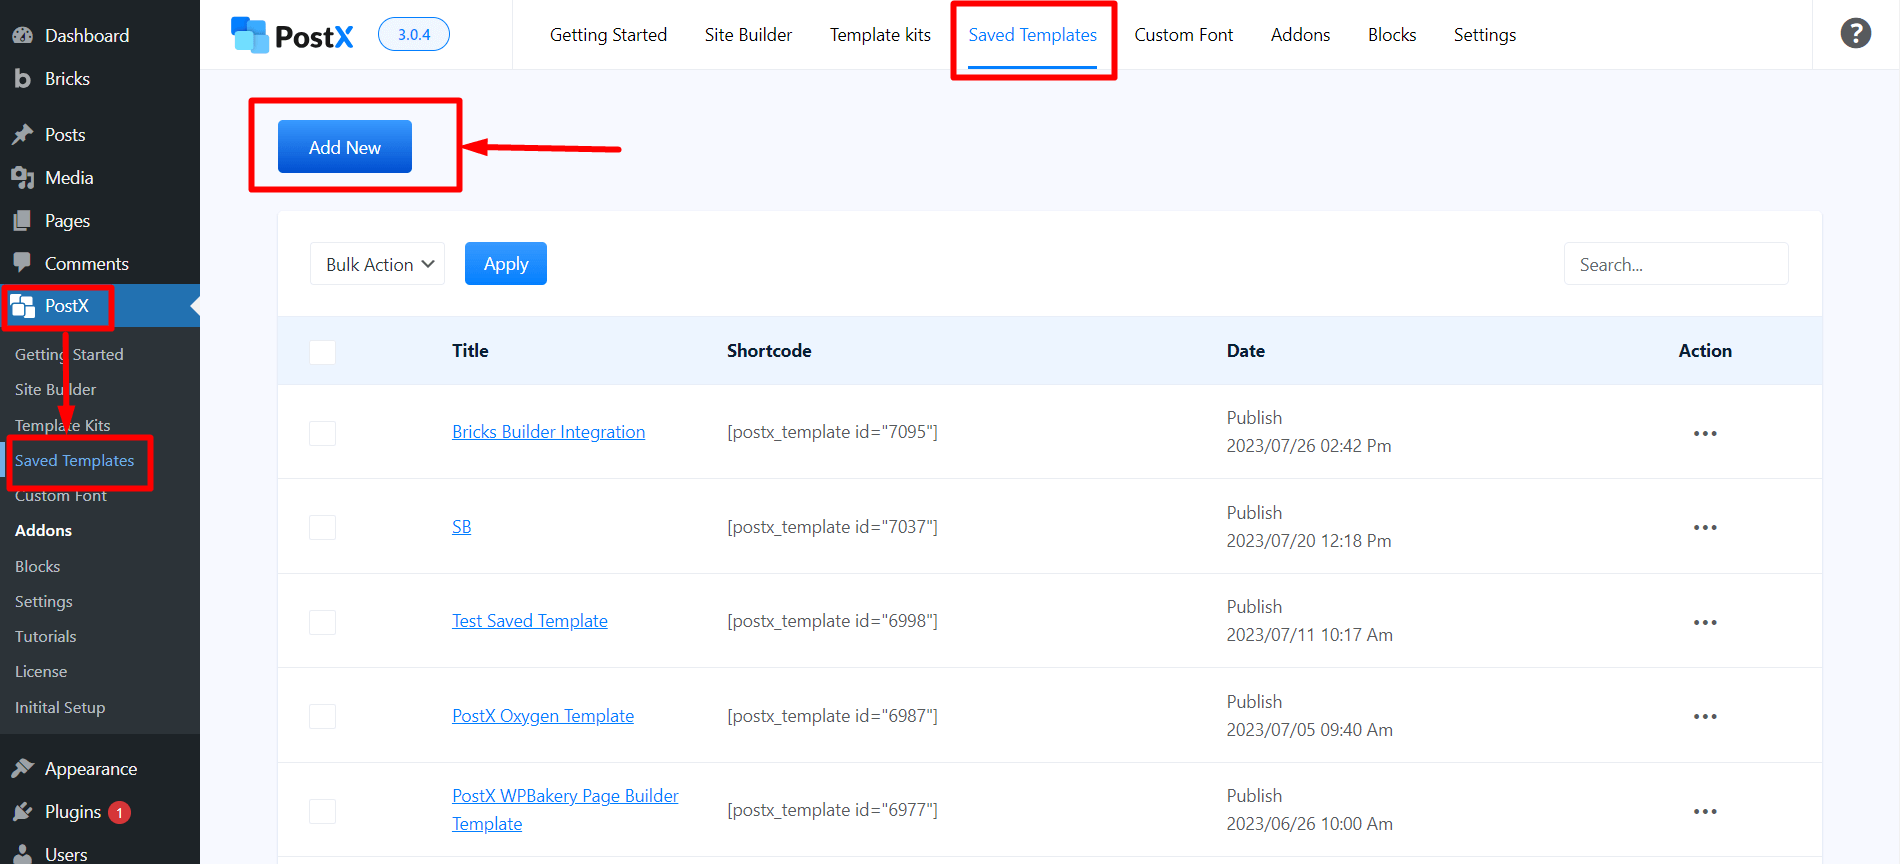
Use the Gutenberg editor to design your Template. You can utilize PostX blocks or choose from Premade Templates/Starter Packs by PostX.
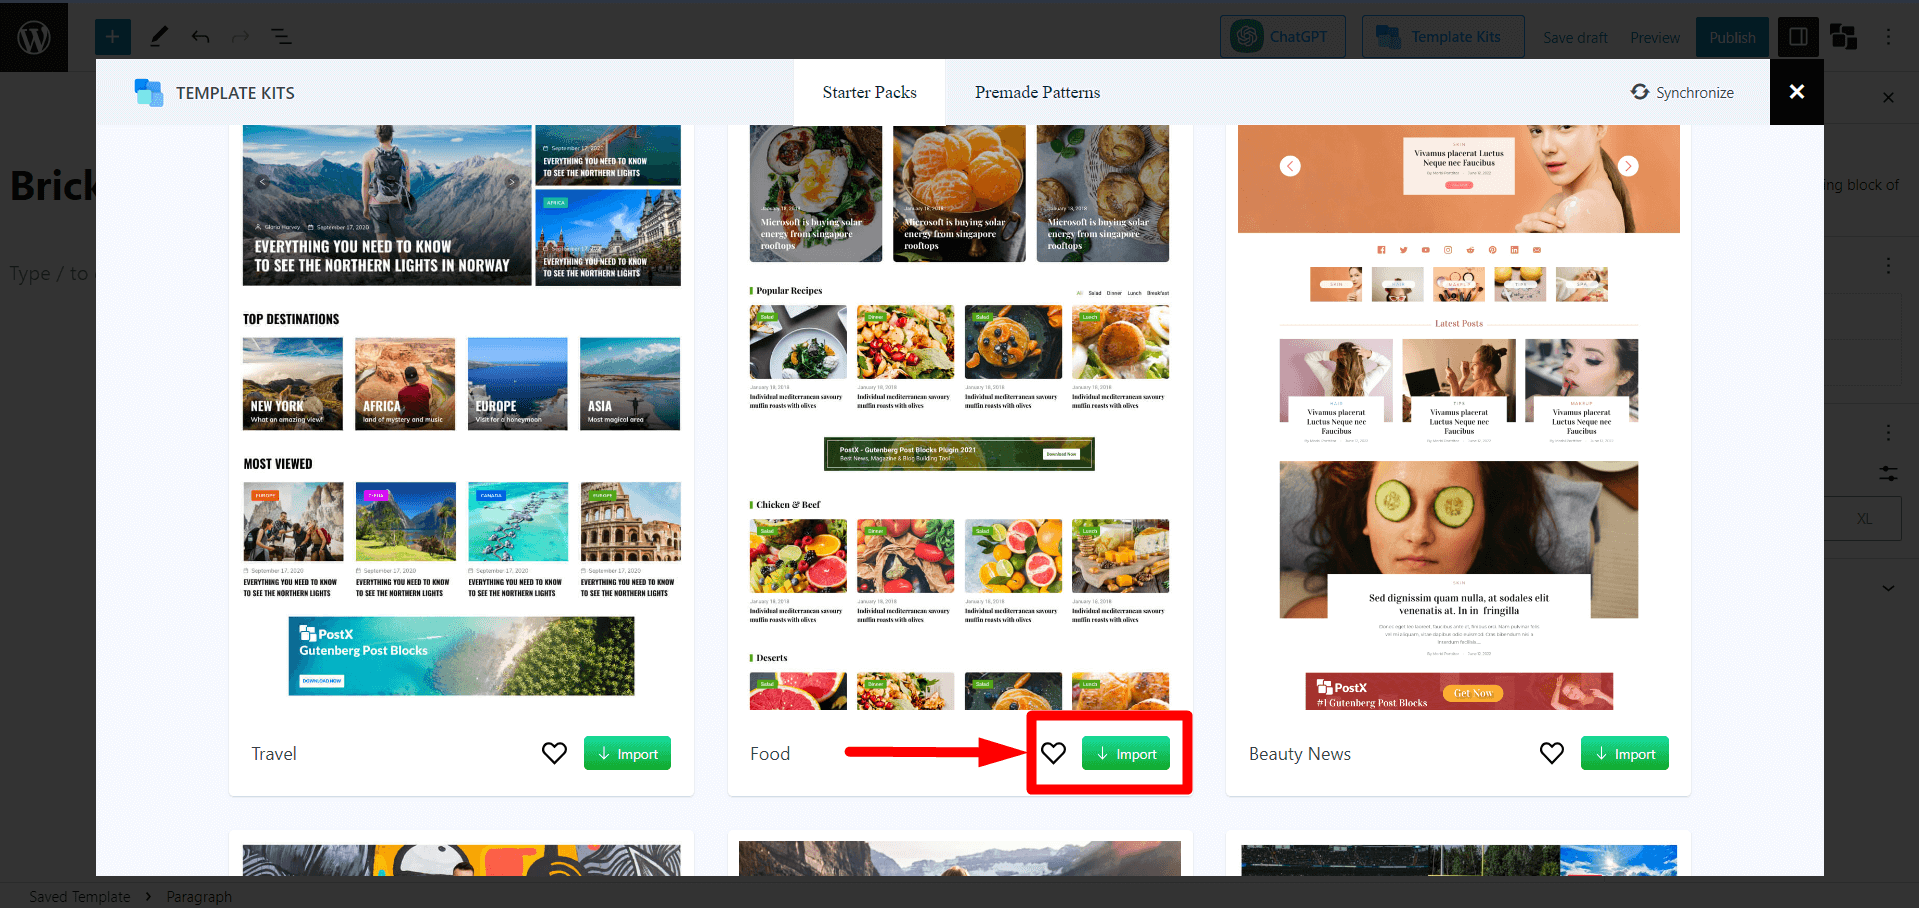
Let us use the “Food” layout as an example.
To do this:
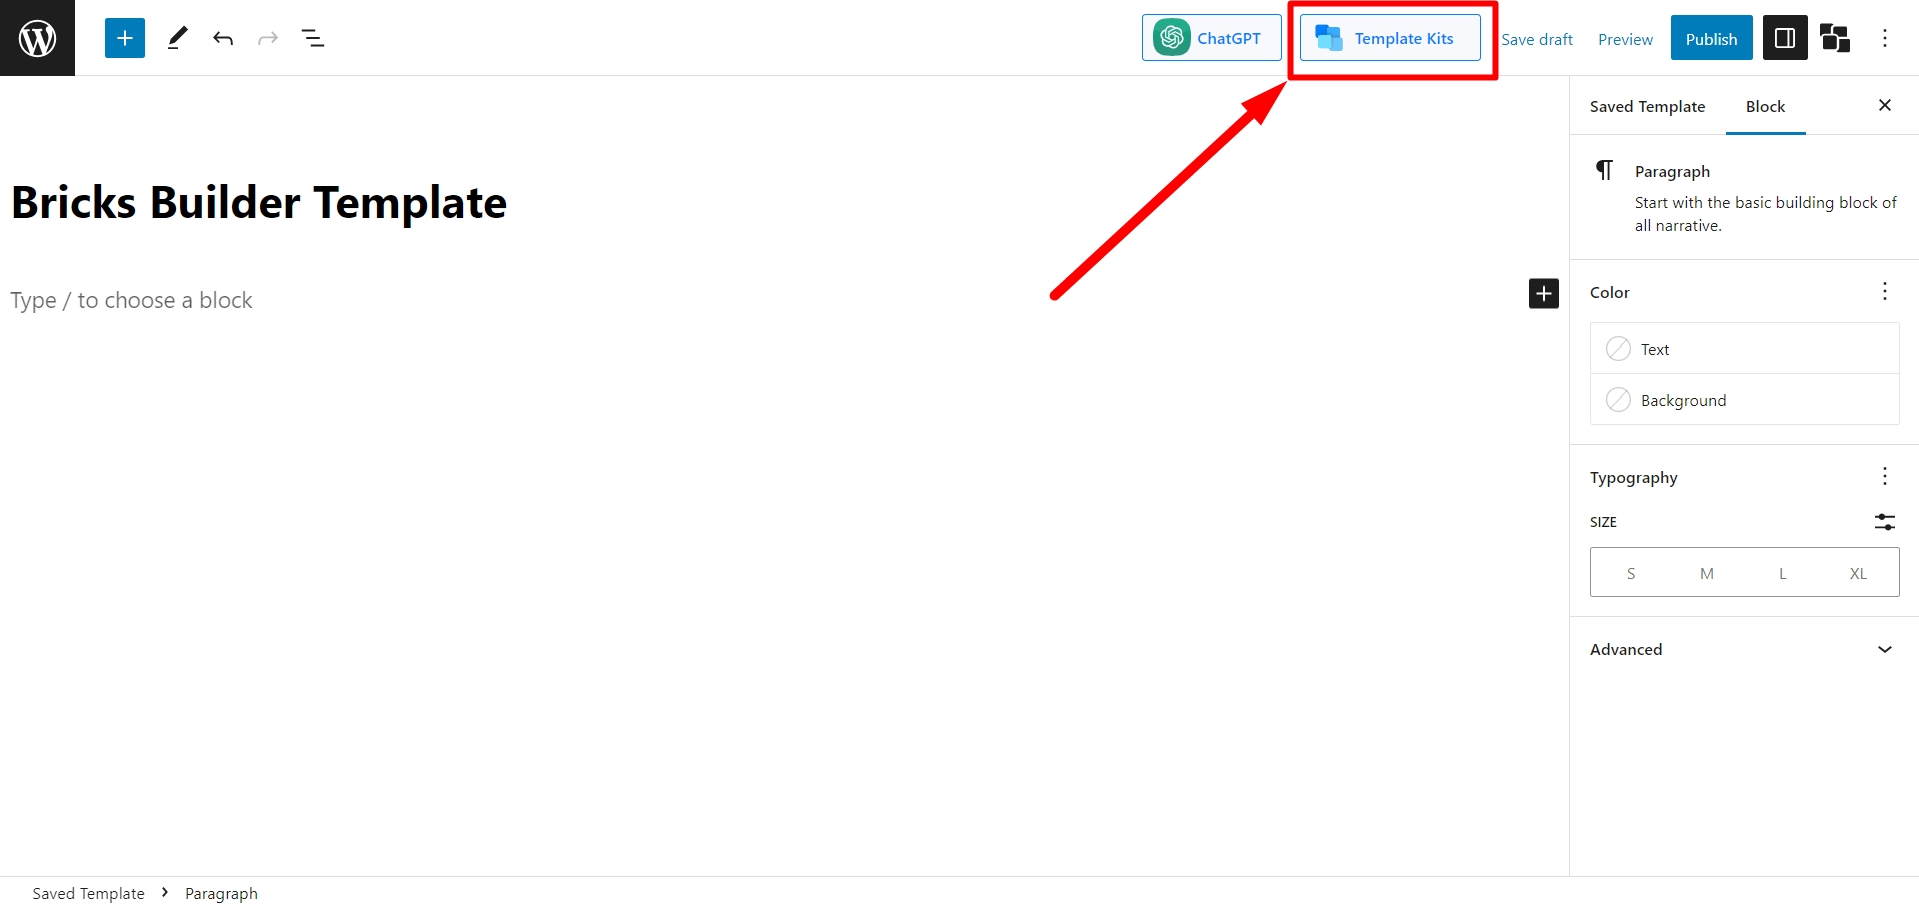
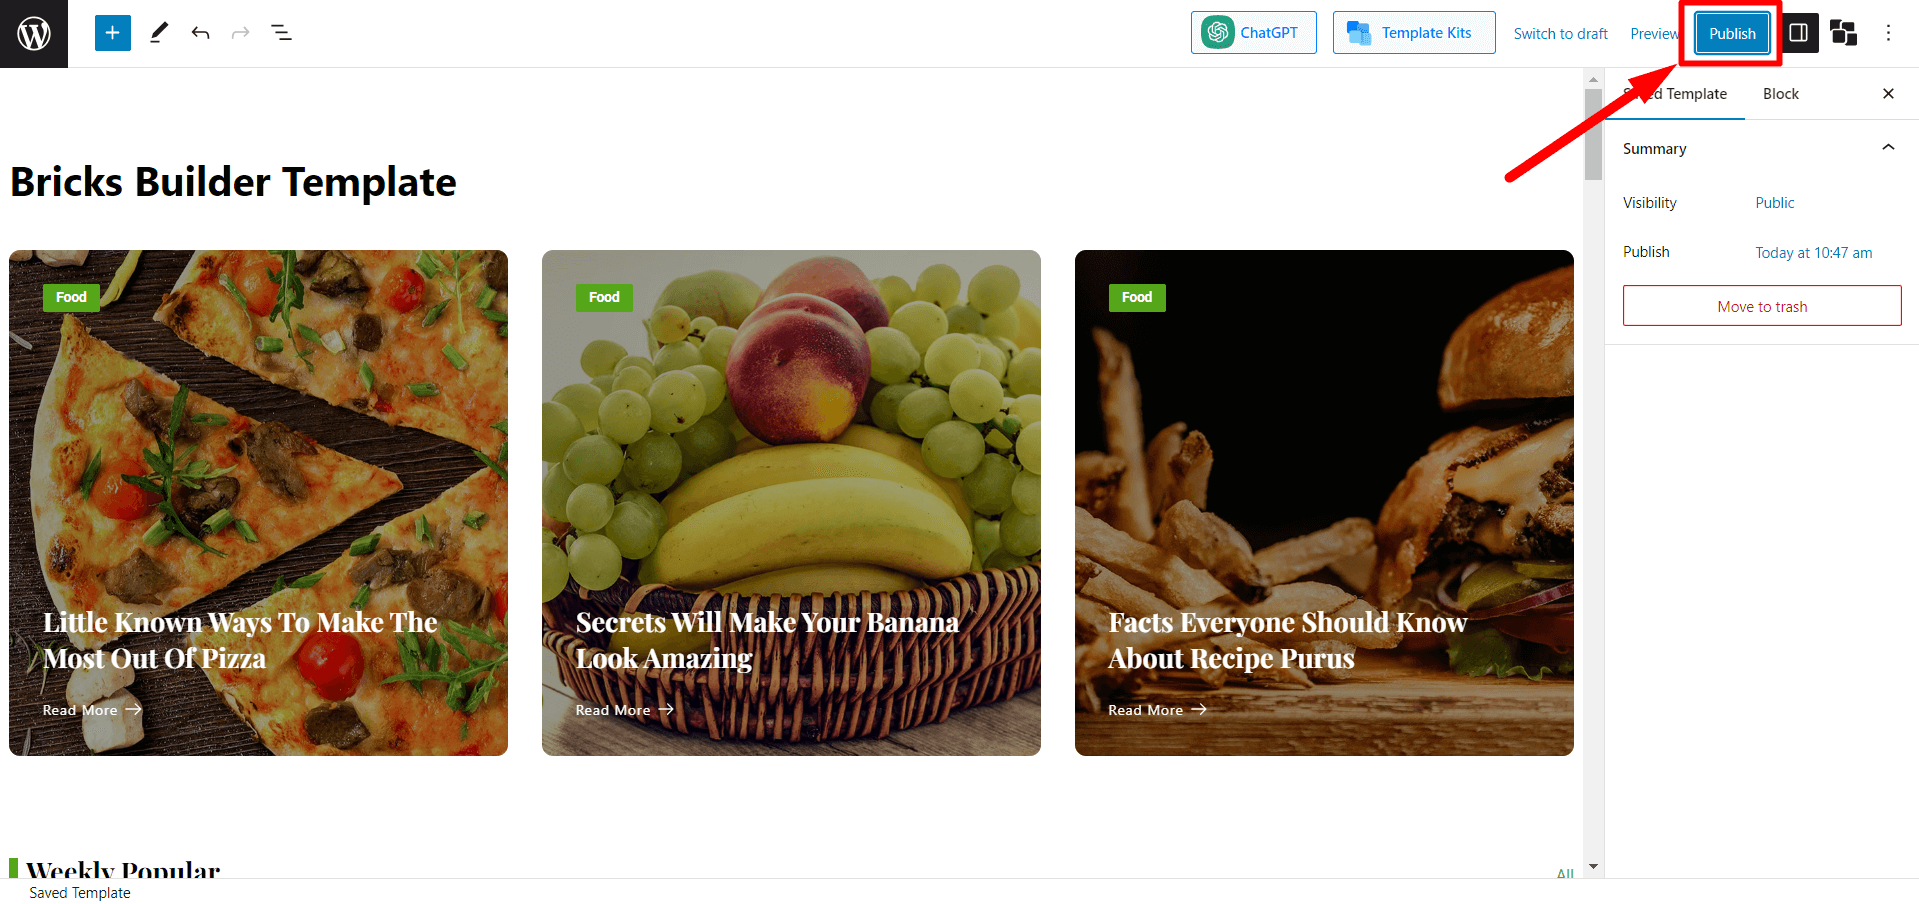
Click the “Template Kits” button at the top of the page.
Select the desired Starter Pack/Premade Template, such as the “Food” layout, and click “Import.”
Name your Template and click “Publish” to create the Saved Template.
Step 3: Use the Saved Template in Bricks Builder
Now that you have created the Saved Template, you can use it in Bricks Builder to design your pages.
Follow these steps:
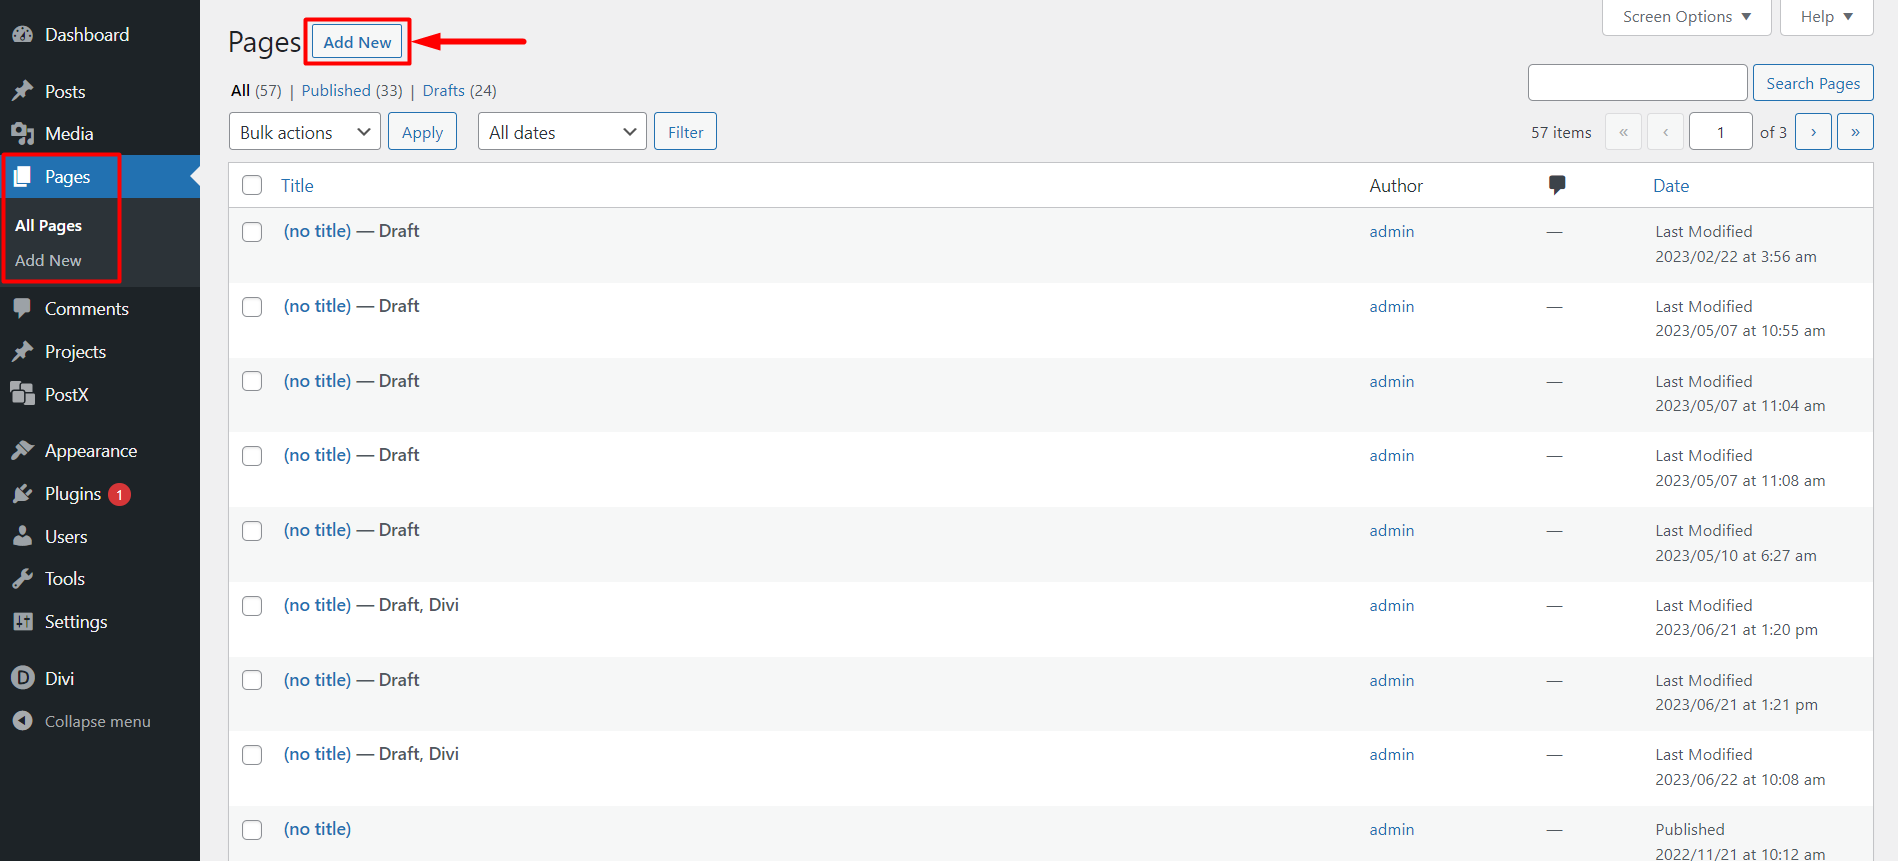
From the WordPress Dashboard, navigate to “Pages” and click “Add New Page.”
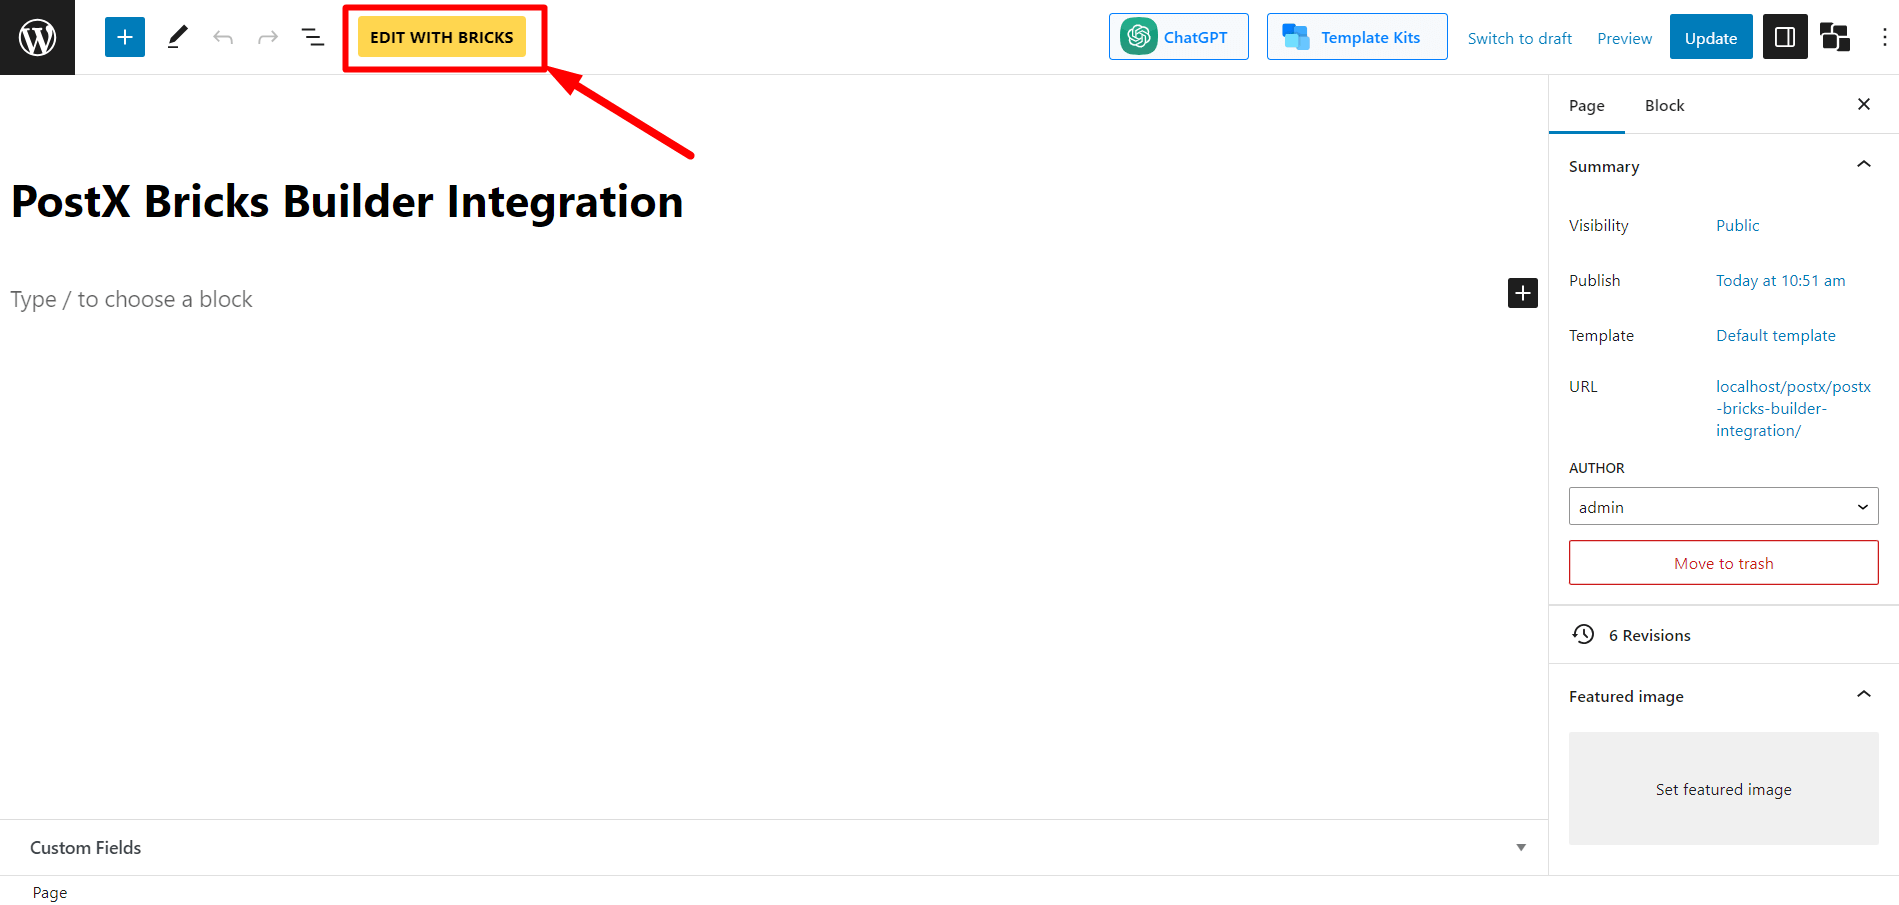
At the top of the page editor, click the “Edit with Bricks” icon to access Bricks Builder.
Inside Bricks Builder, you will find “PostX Templates” in the General section, or you can use the search bar to find them. Select “PostX Template” in the Builder. Bricks Builder will prompt you to choose your templates.
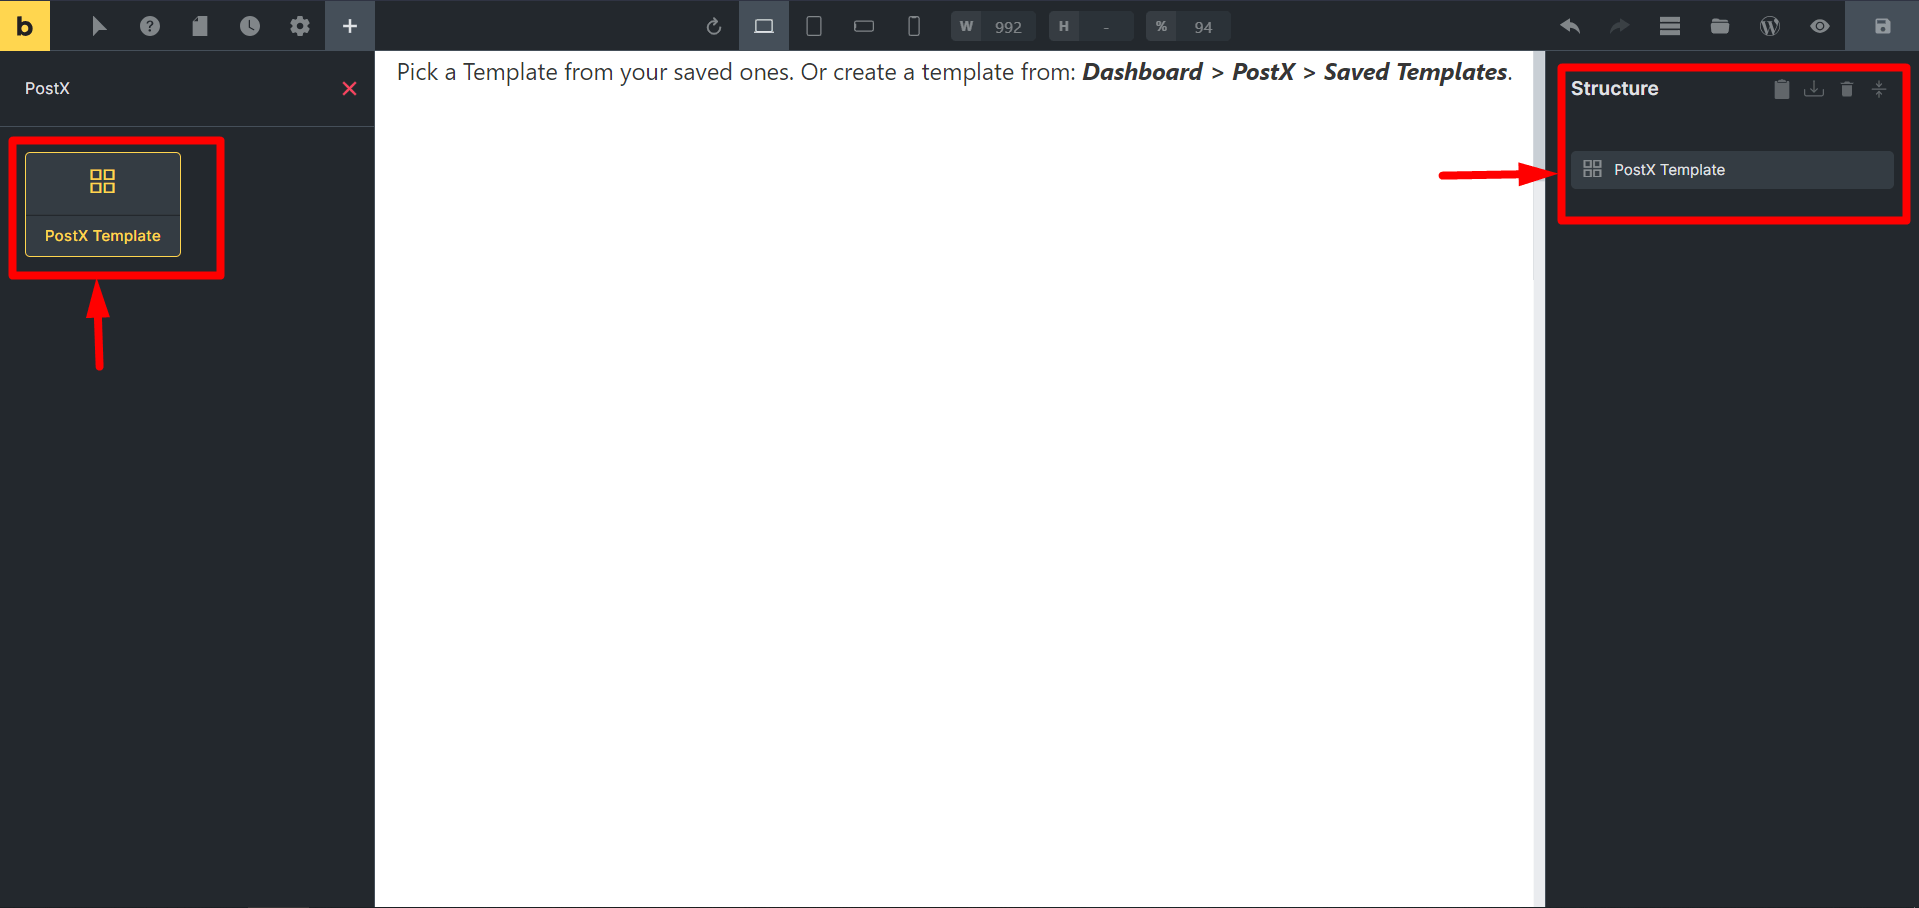
From the “Select Template” option, pick the Template you created in Step 2. You will now see the Template contents in Bricks Builder.
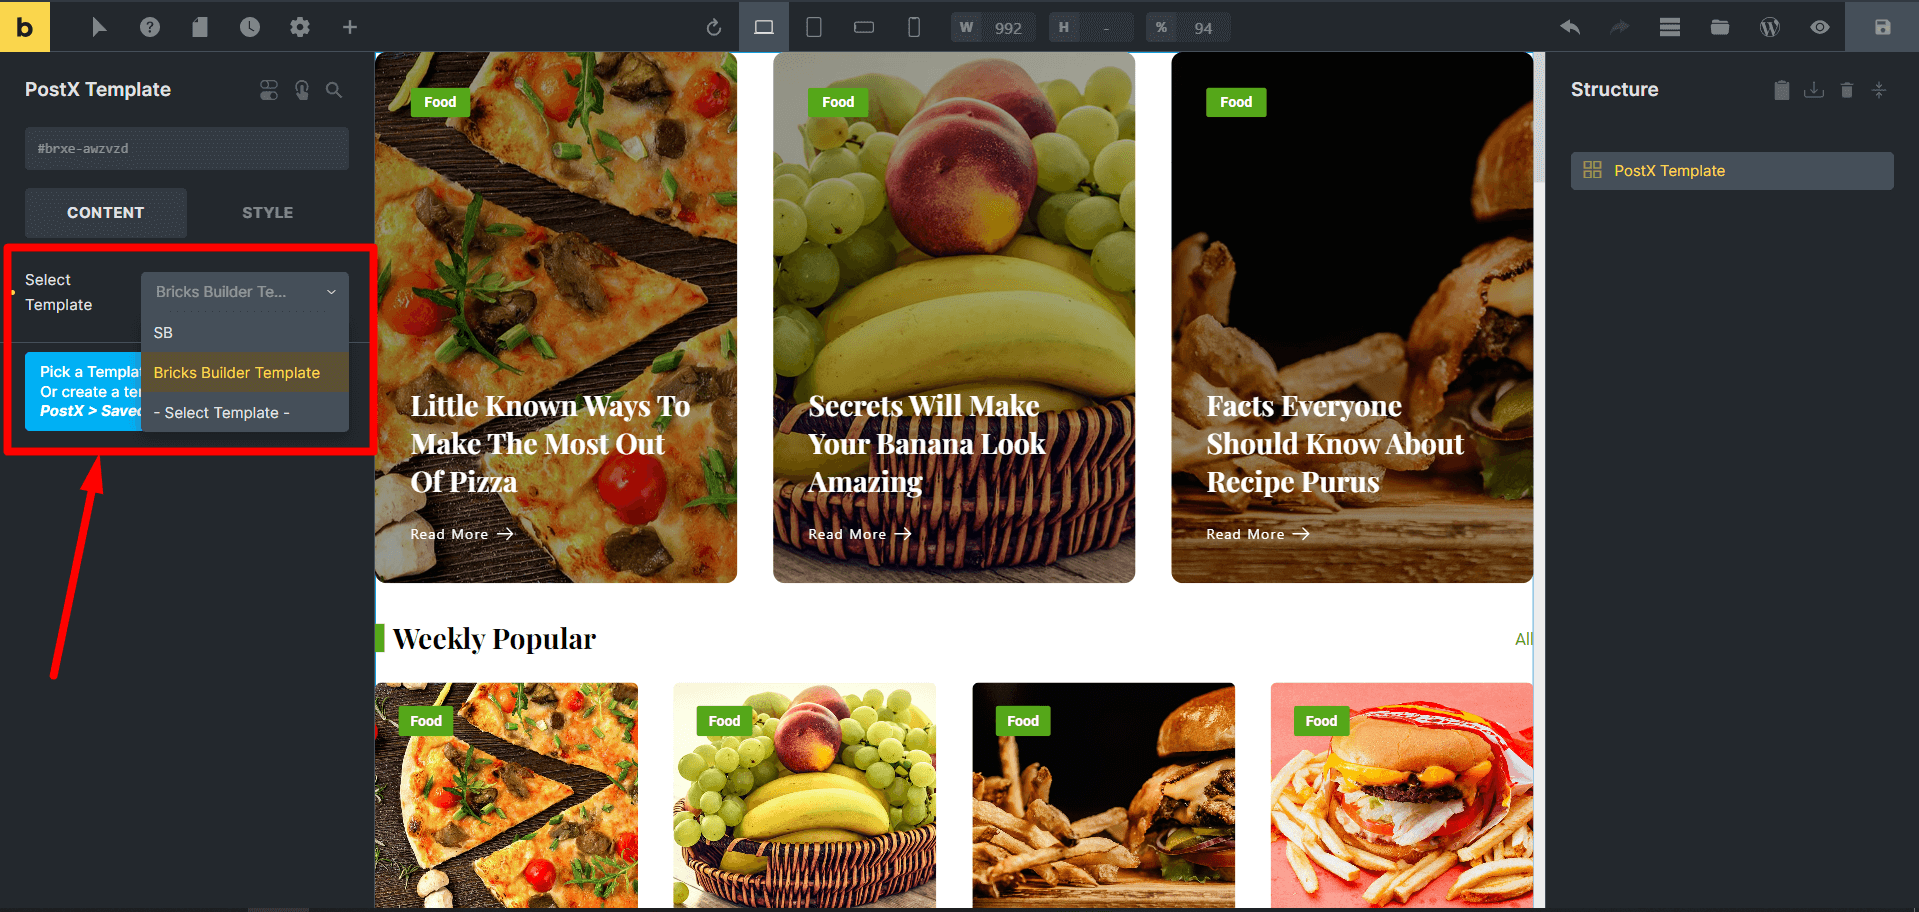
Make any necessary edits or modifications in the Bricks Builder.
Once satisfied with your design, click the “Publish” button to make the page live.
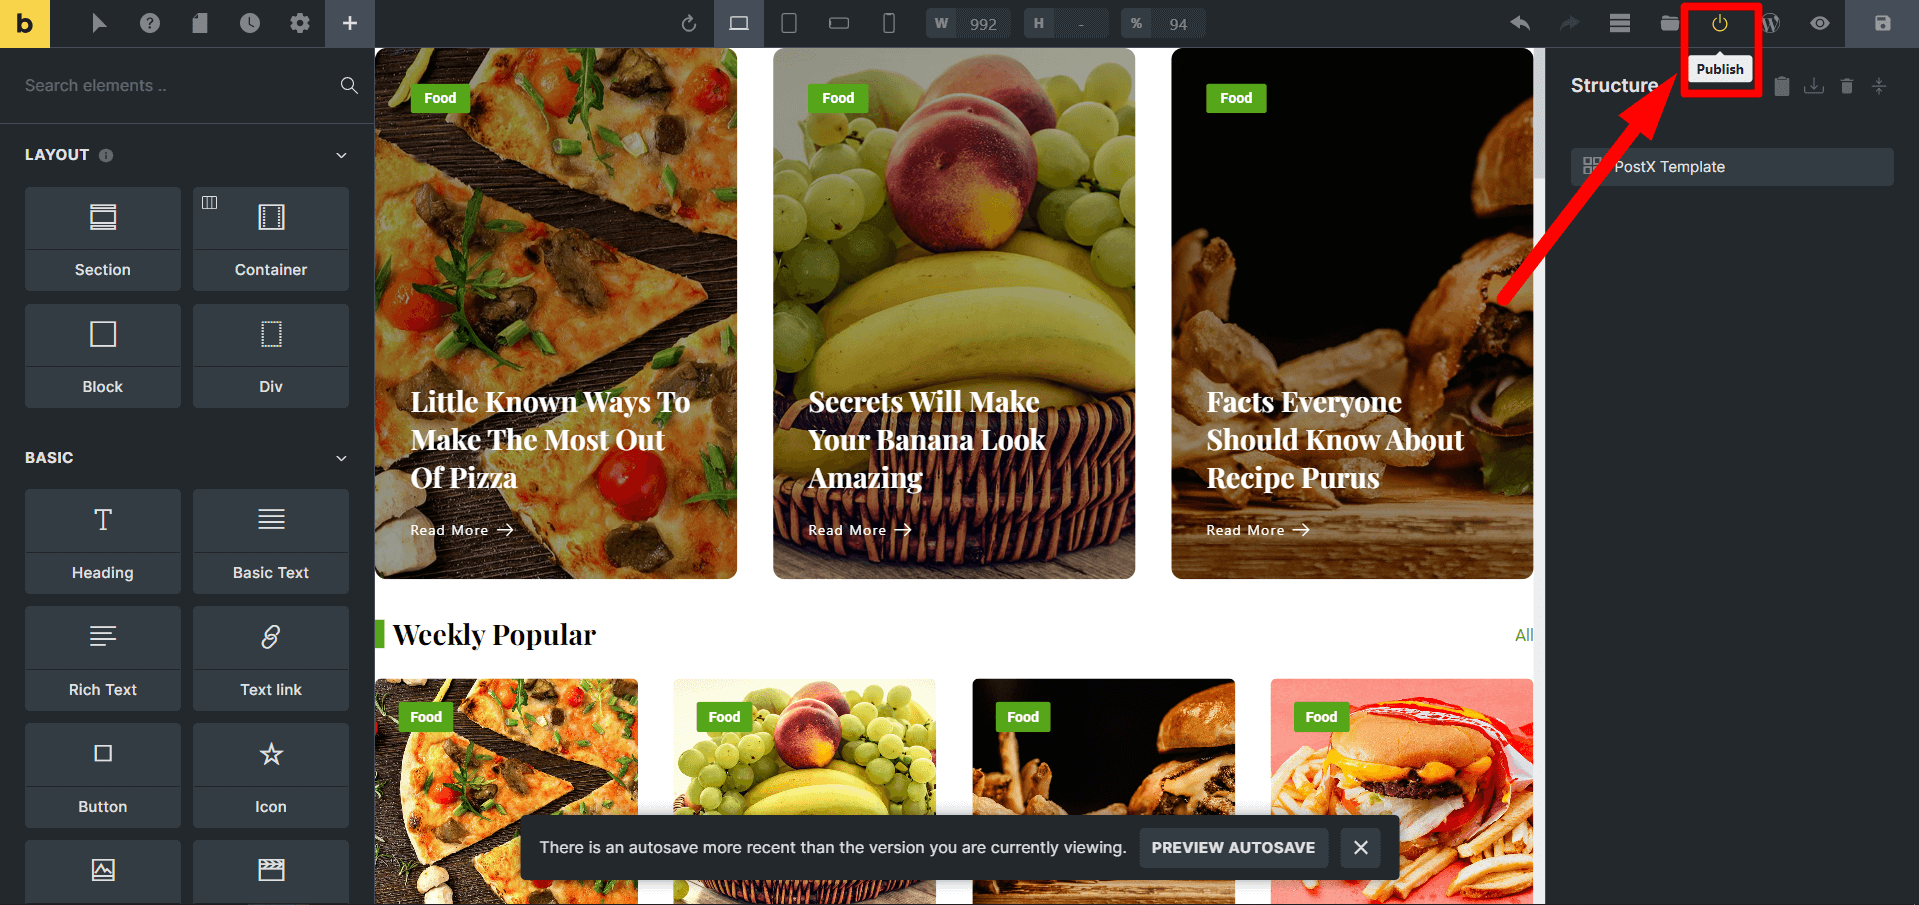
Step 4: Customizations
If you want to make changes or update your PostX Saved Template, you can easily do so.
Follow these steps:
Go to “PostX” > “Saved Templates” from the WordPress Dashboard. Find the saved Template you wish to customize and click on “Edit.”
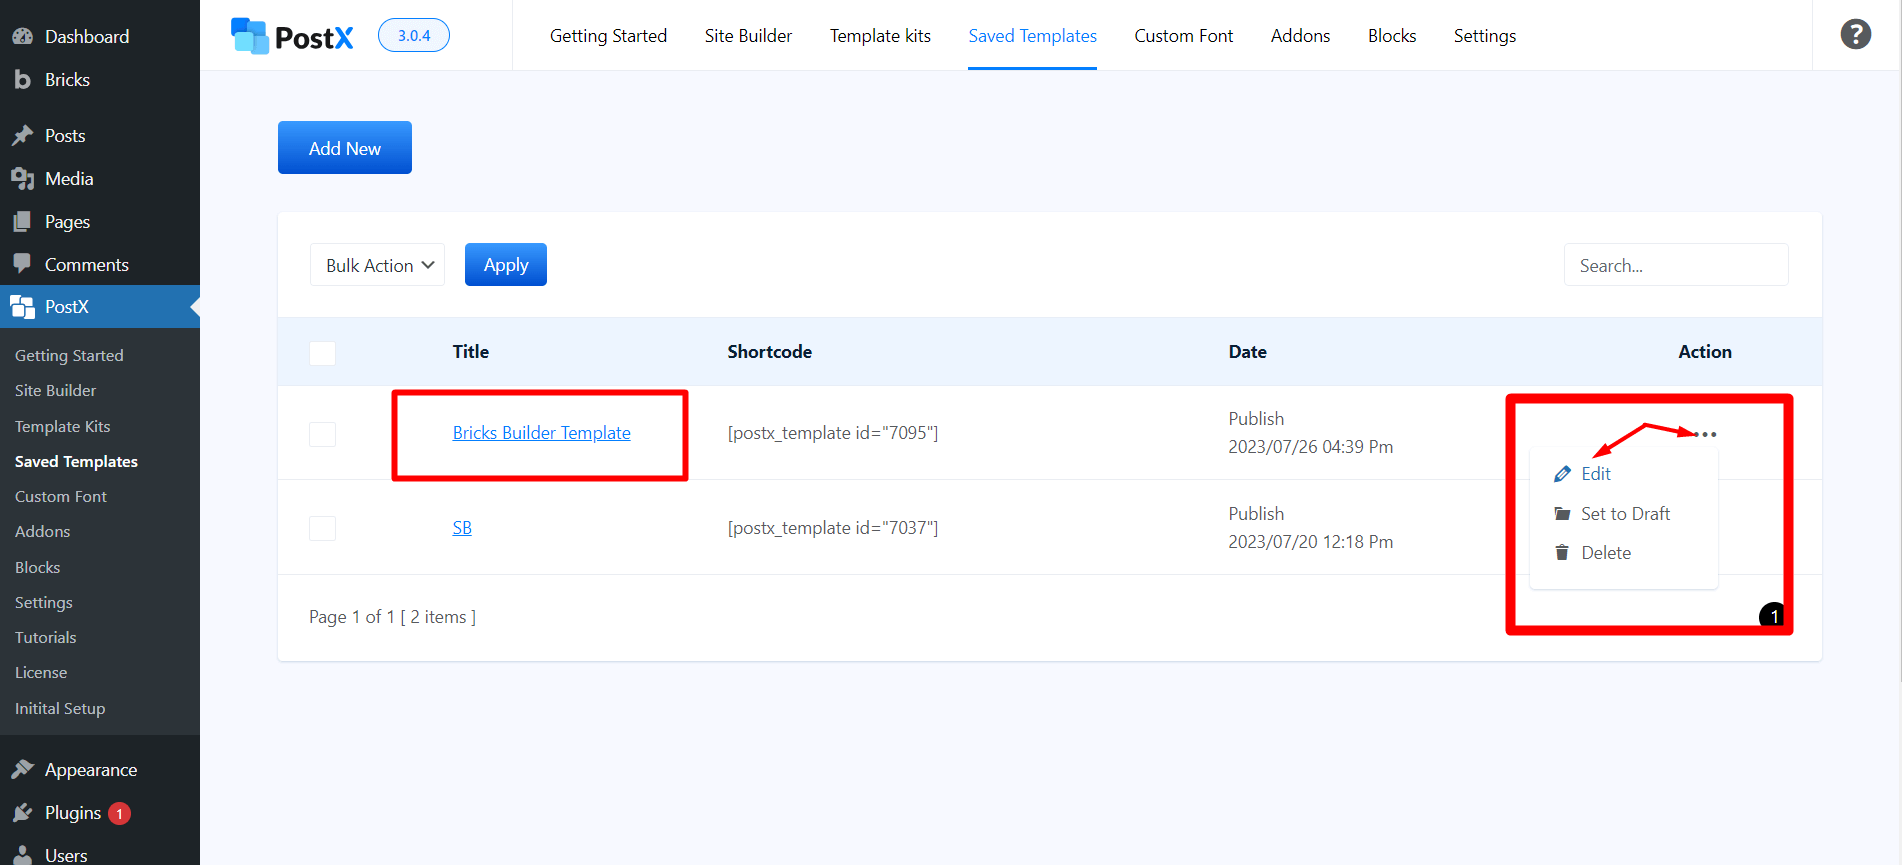
Make the necessary changes using the Gutenberg editor. Click “Update” to save the changes.
The changes will be automatically synced in the Bricks Builder, saving you time and effort when updating old pages.
Following these simple steps, you can seamlessly integrate PostX pots blocks, PostX Starter Packs, and Templates into Bricks Builder, opening up fantastic opportunities for Bricks Builder users to enhance their page designs.
