Post slider 2 is the newest addition of PostX. It comes with 8 layout variations and full customization options. Let’s check out how you can start using it.
Adding Slider Blocks To any Page/Post
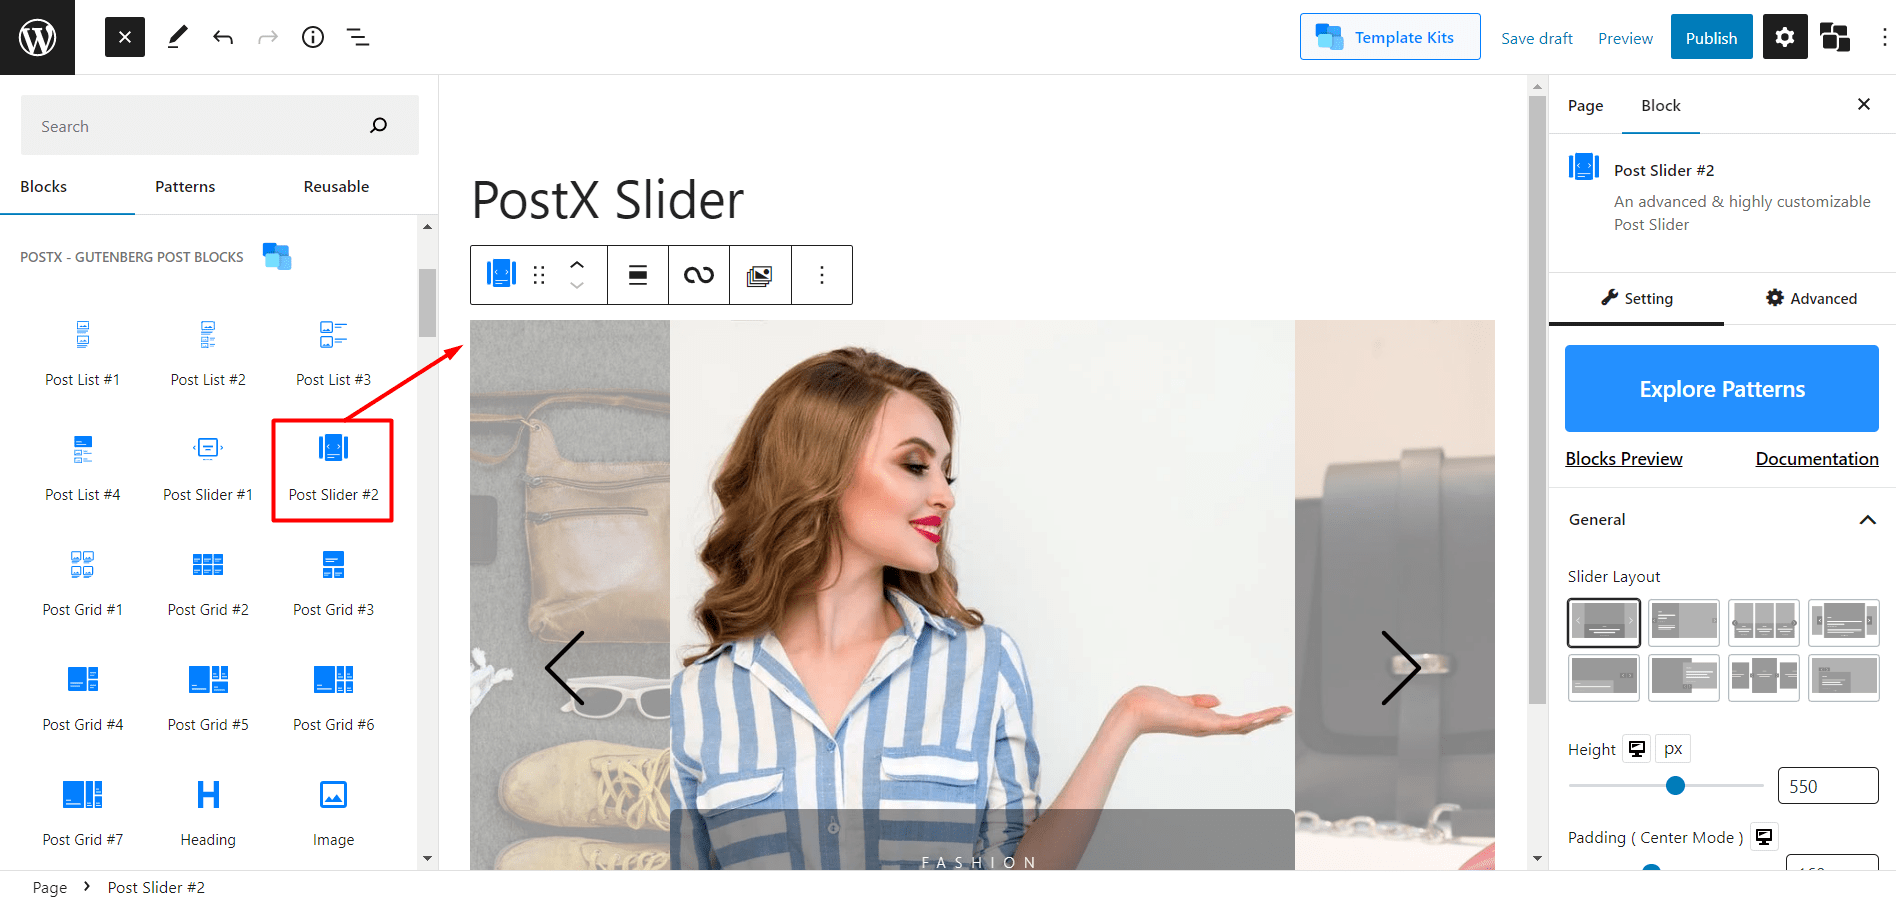
First of all, let’s see how you can add a new slider block. For that, you have to go to the page/post where you want to add the post slider block 2. Then click on the plus icon located on the left side. Now you will see all available blocks of PostX. For now, click on the Post Slider Block 2 and it will be added to the page/post that you are editing.

Change The Layout Variations
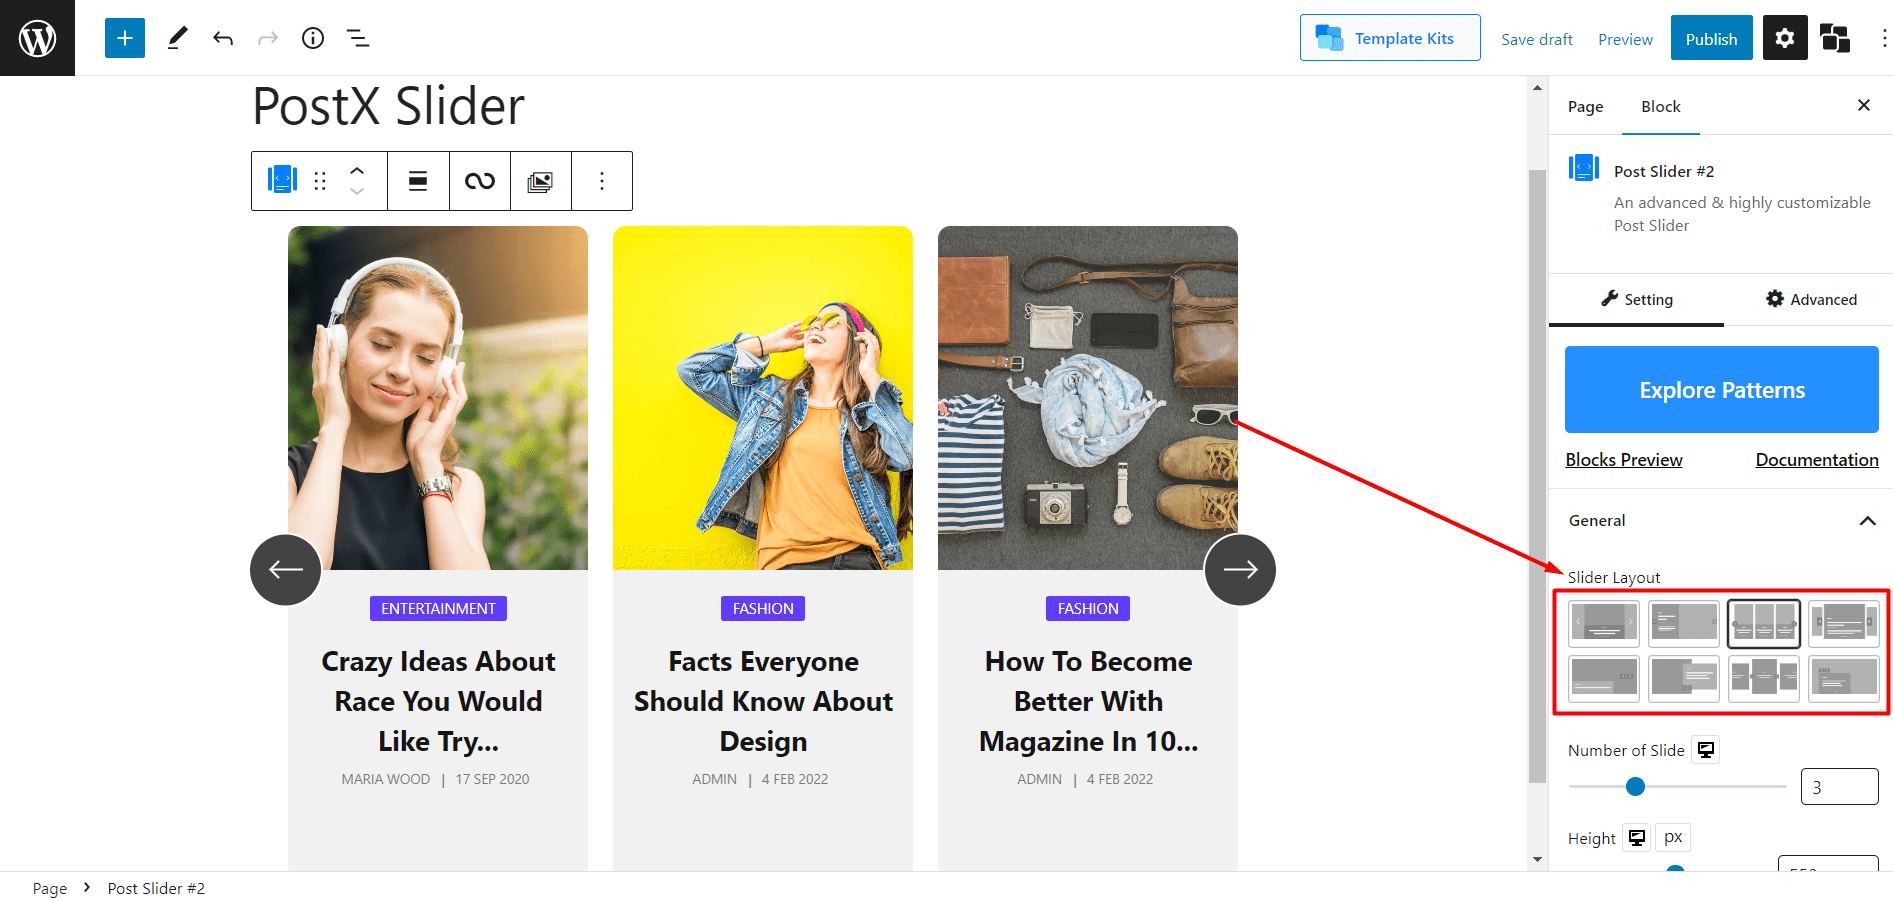
After adding the blocks you can change the default layout by selecting your desired one from the 8 available options. The layout variations are available on the right side and under the general setting. Just click on any option and the layout will be changed with the selected one.

Import Premade Patterns
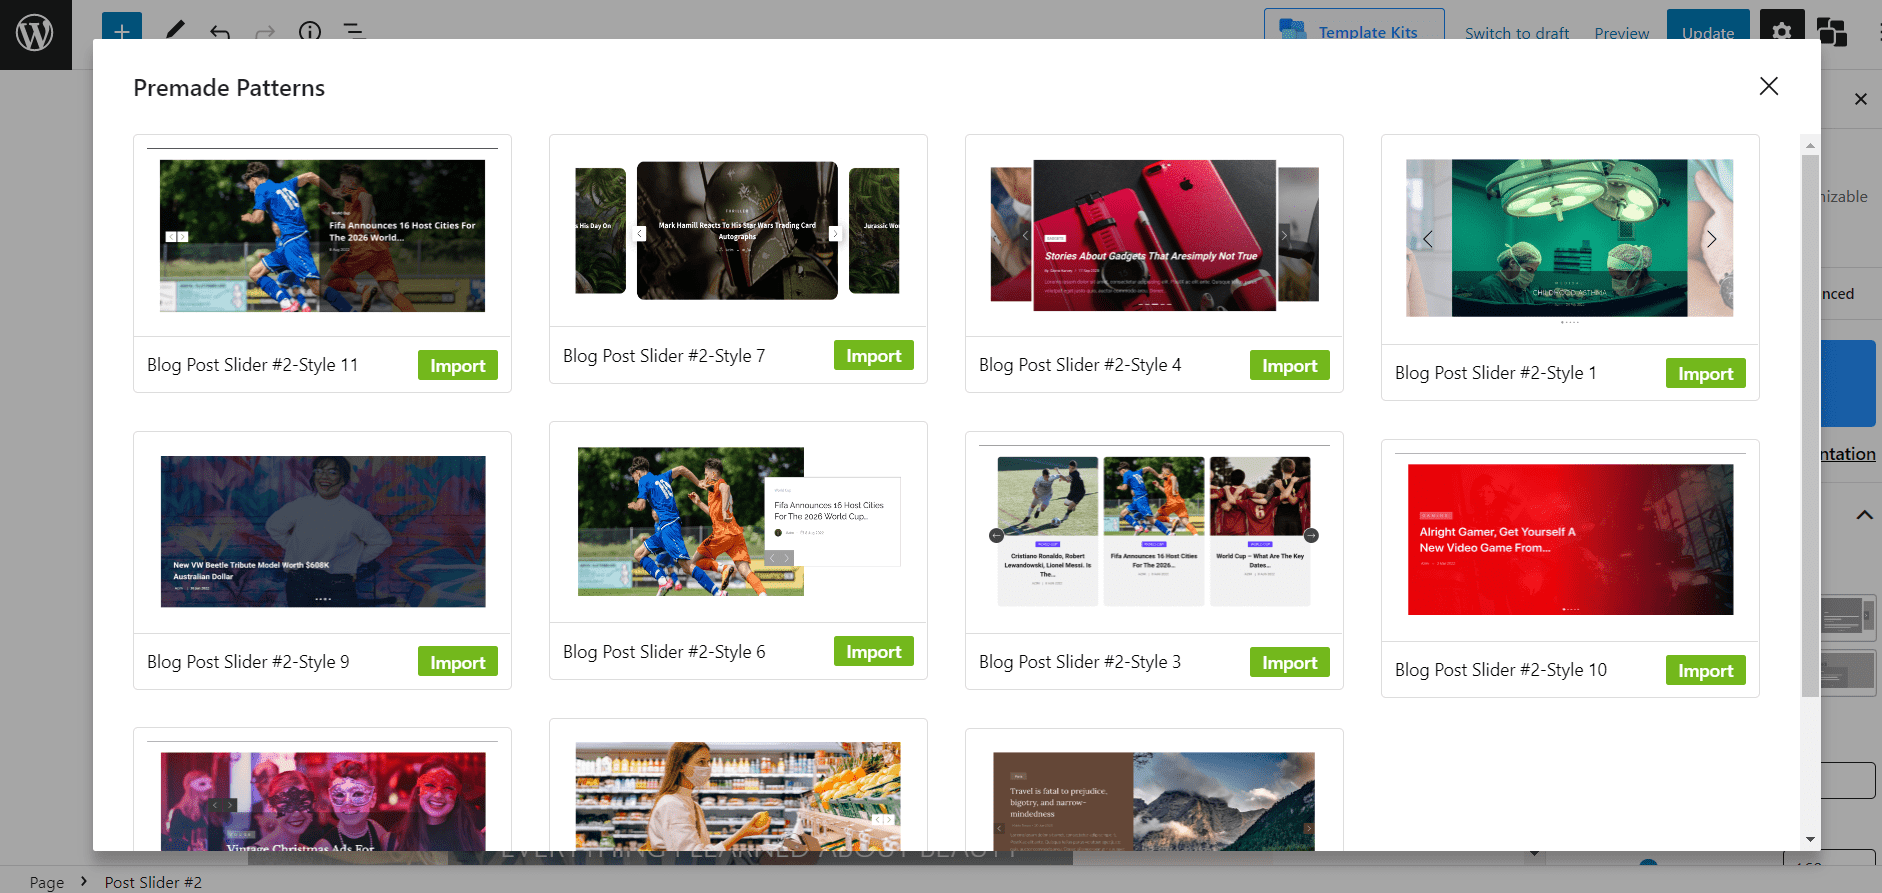
This advanced slider block also comes with multiple premade patterns. You can see the available patterns by clicking on the patterns section. If you want to use any of the patterns just click on the import button and it will be added to the page by replacing the existing one.

General Settings
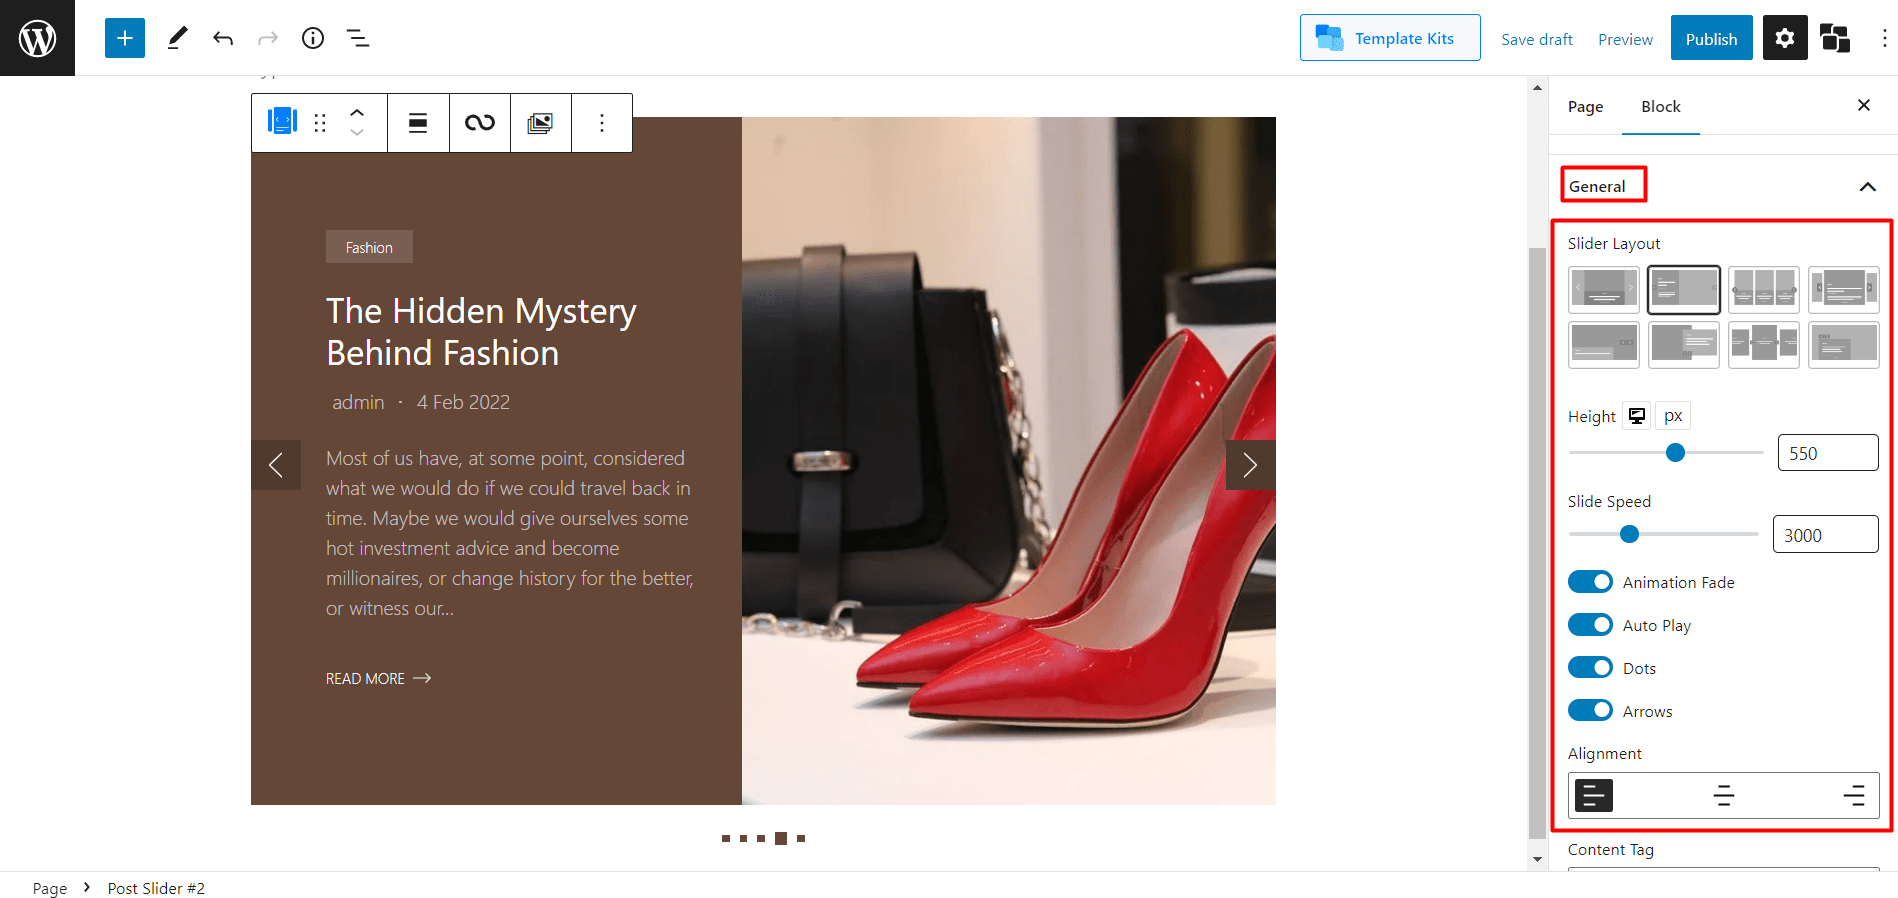
All available customization options are available in this section. Starting with the layout-changing layout variations that I discussed earlier.

Then you can increase or decrease the slider height and adjust the gap. Furthermore, you can show or hide Animation Fade, Auto Play, Dots, and Arrows. And, you can also change the alignment by selecting from left, center, and right.
If you scroll down the general setting you will see more options. Decide which element you want to display on the slider and which not. You can disable the elements that you don’t want to display. Once you enable any of the available elements, you will be able to customize them individually. Just click on the drop-down icon and you see the available customization options.
