Here’s a step-by-step process of adding a WooCommerce product slider.
Video Tutorial
Here’s a video tutorial for you to help you understand the WooCommerce Product Sliders better.
Step 1: Create a New Page
First, you need a page to add the product slider.
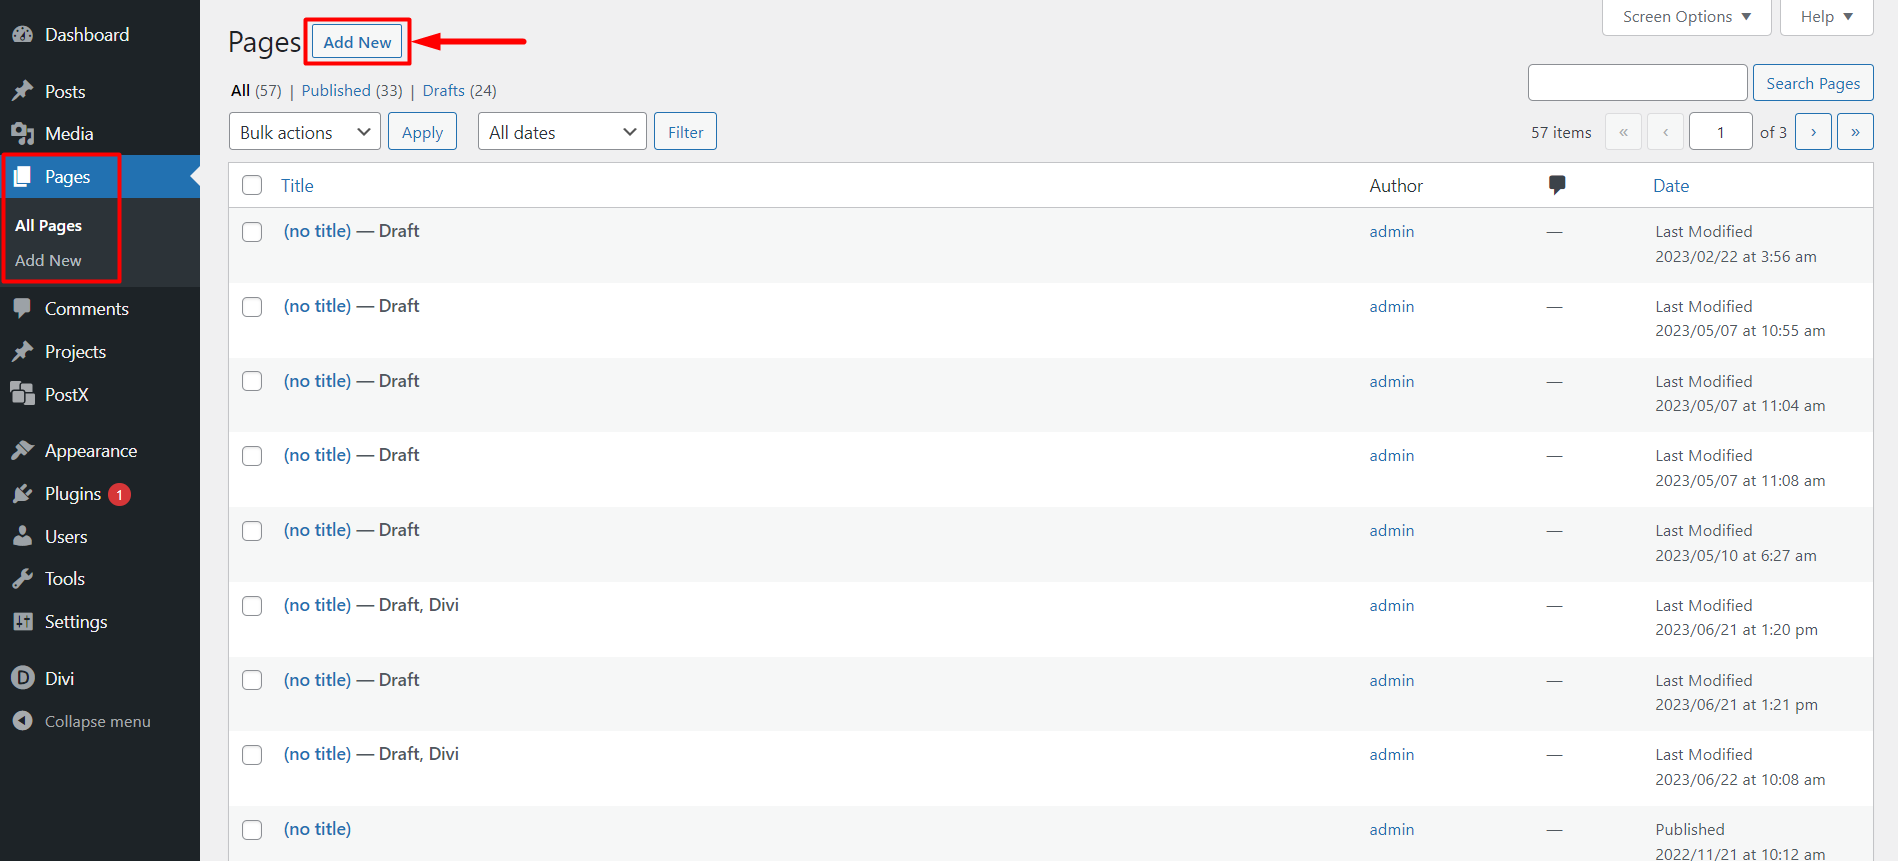
So to create a page, go to Pages > Add New to open a new page.
Step 2: Add the Product Slider Block
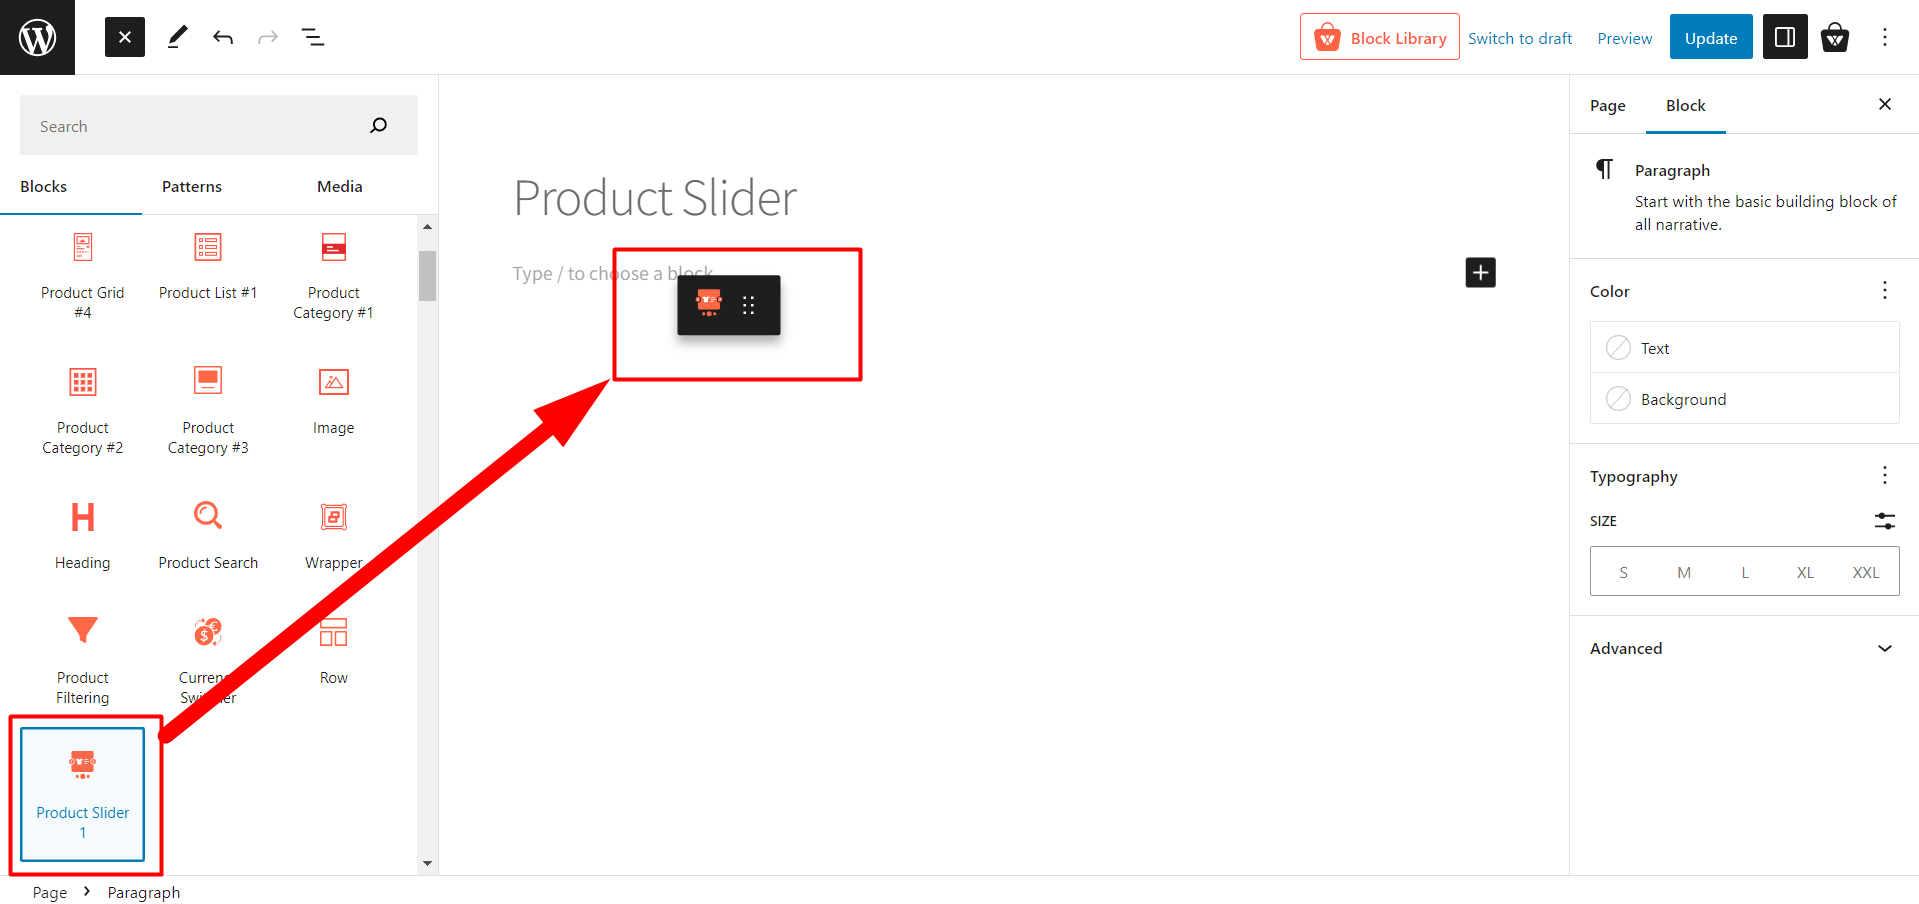
Now you need to add the product slider block to your page. So, click the + icon to open the block library. Search for Product Slider and click on it to add the block to your page.
Step 3: Customize the Product Slider
You can customize the product slider in several ways. WowStore provides many customization options and settings for the product slider block.
Premade Patterns
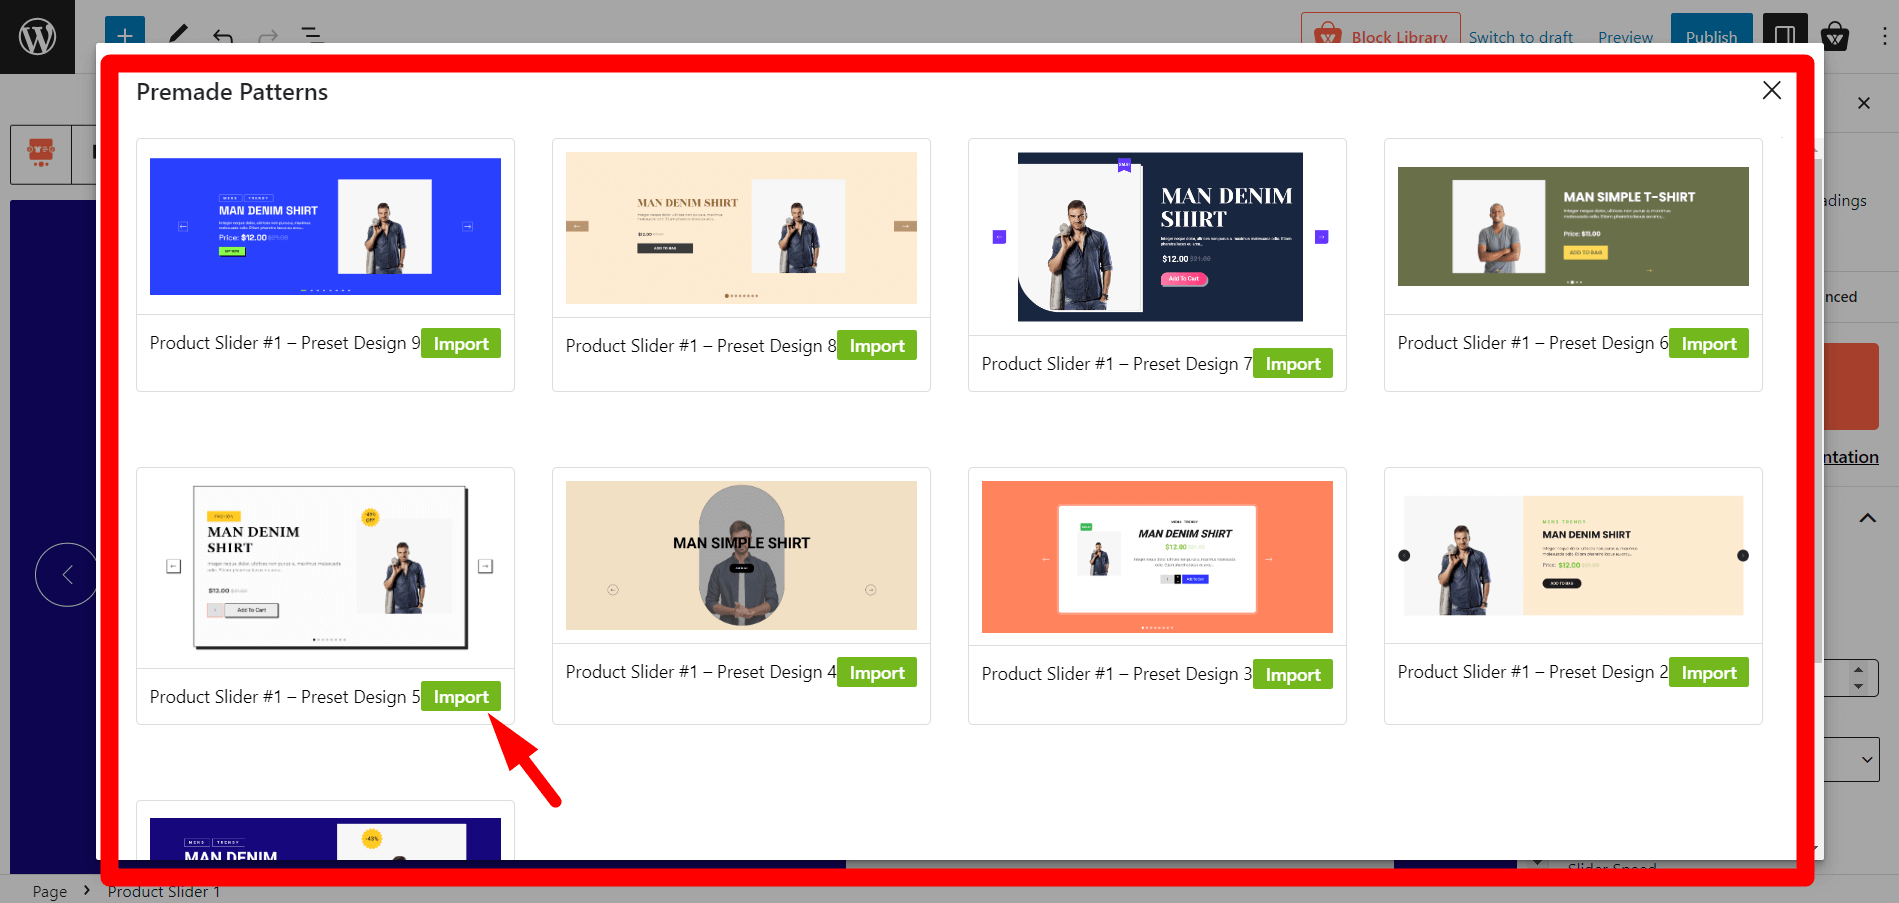
WowStore offer 9 different premade patterns for product slider.
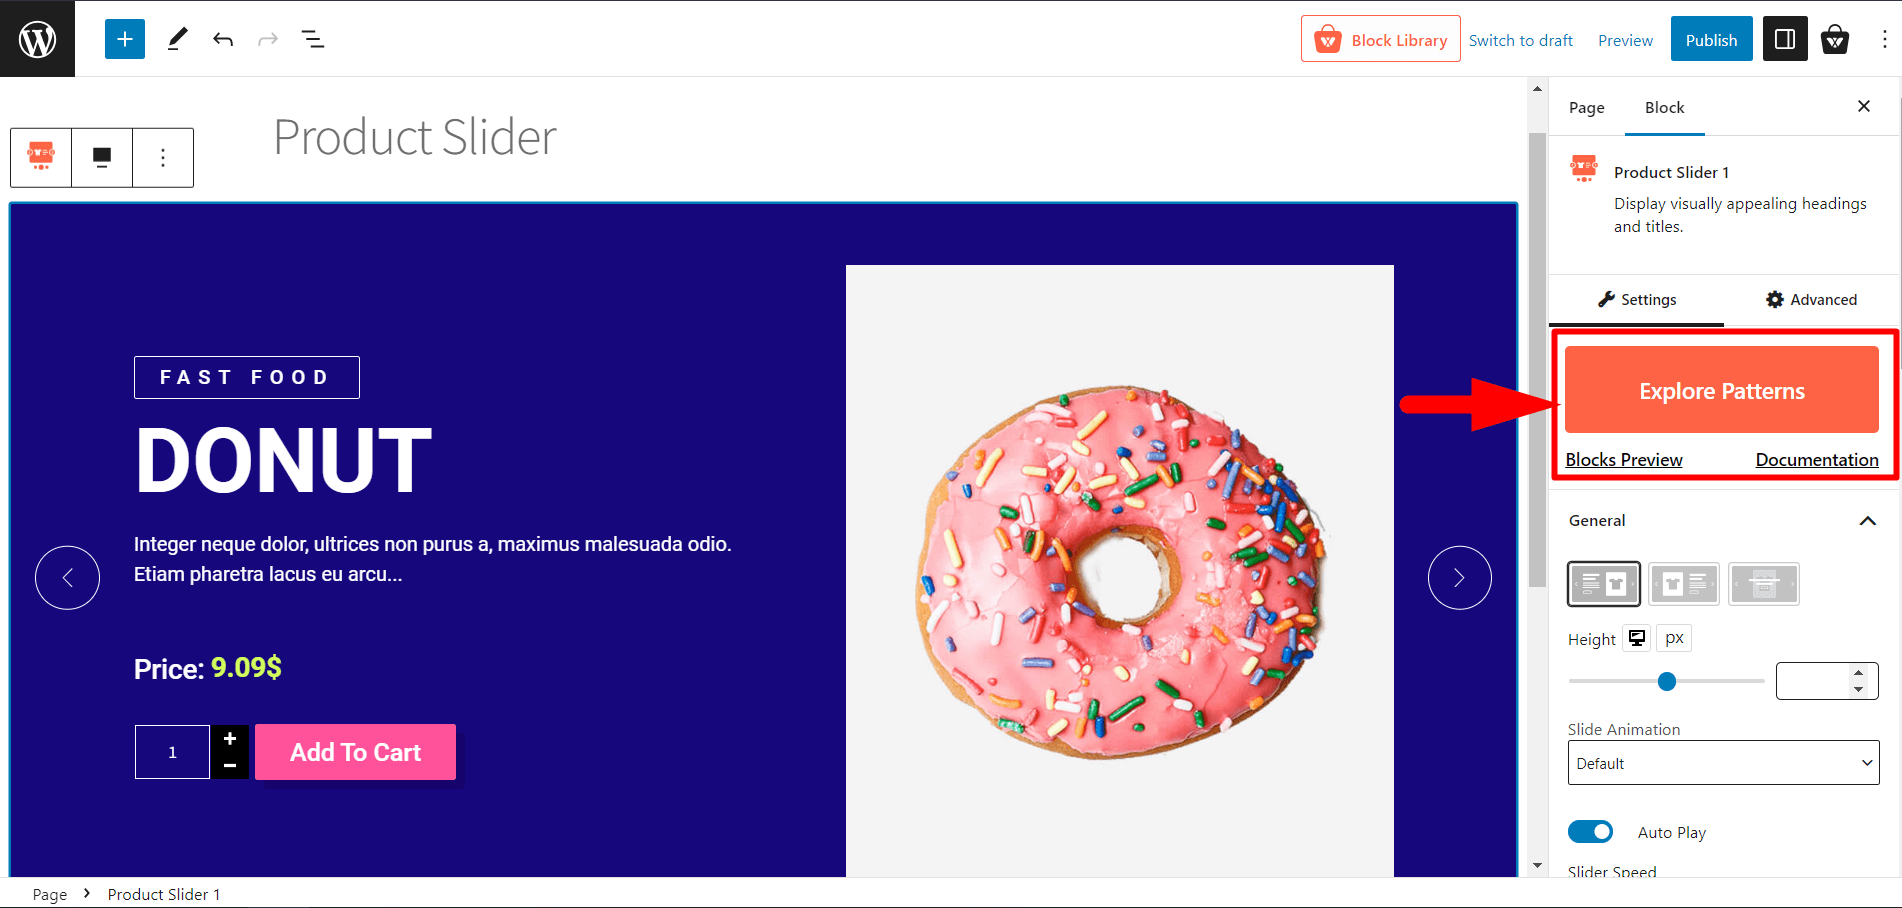
Which you can import in 1-click.
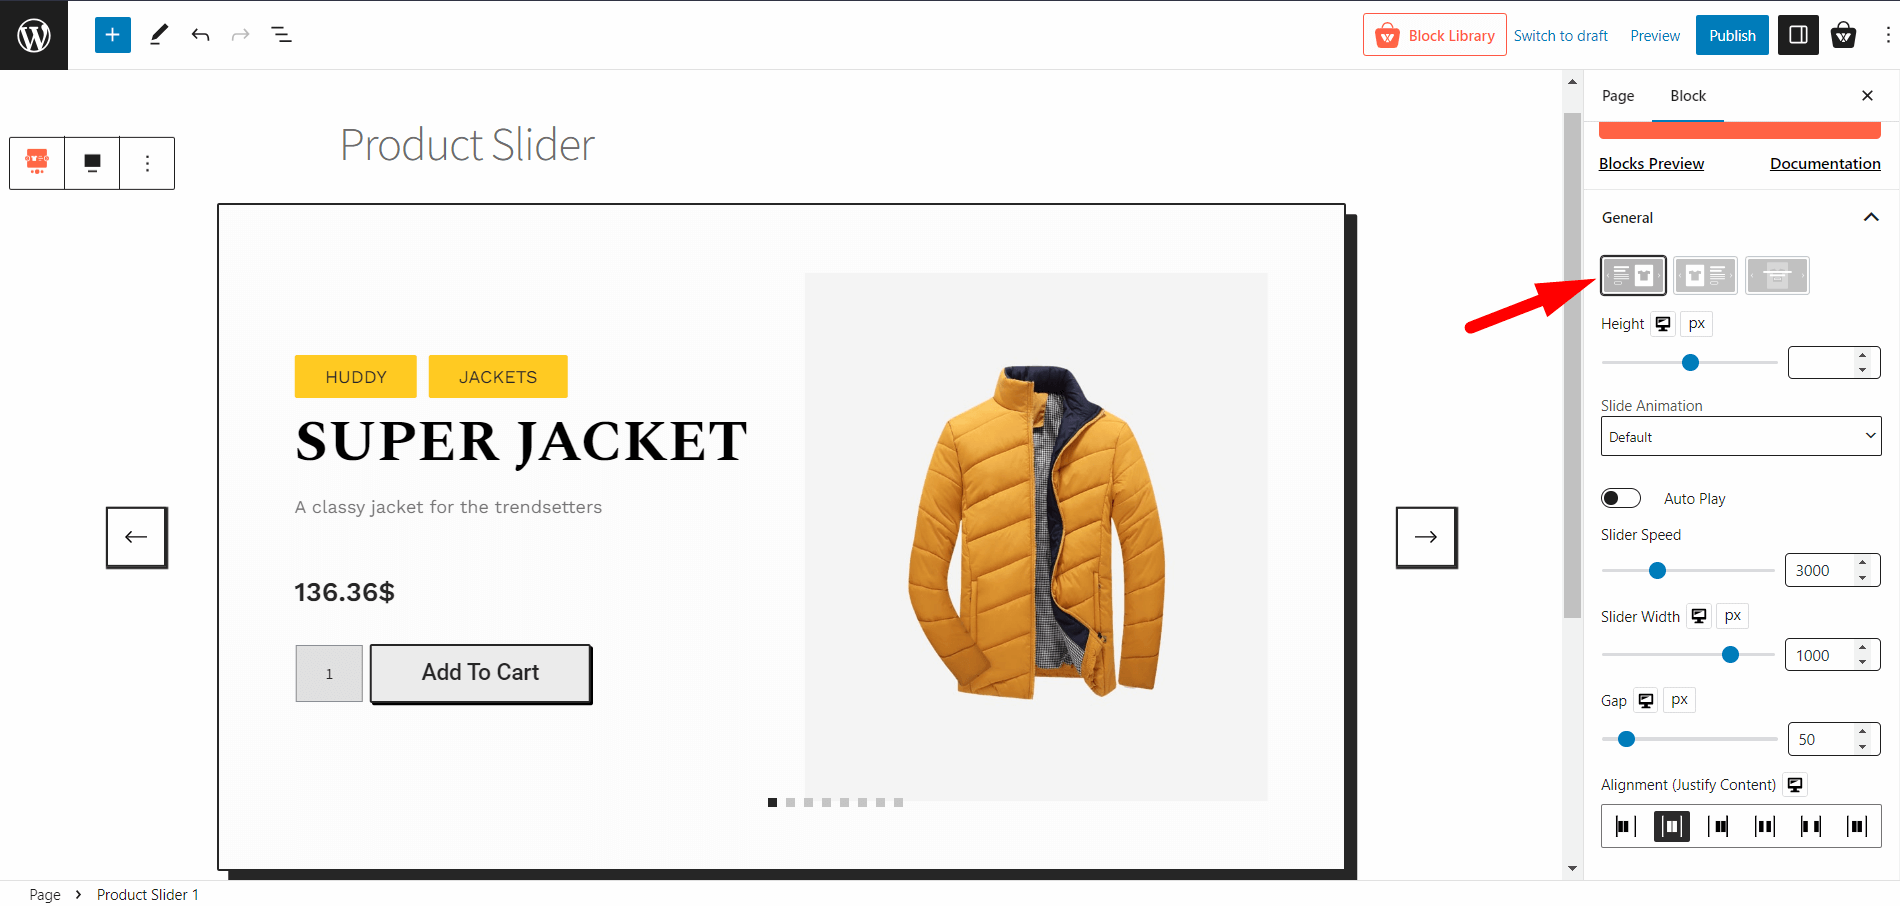
Product Slider Variation
WowStore also provides 3 different variations for the product slider. These variations can be combined with the premade patterns to display your product slider in 27+ ways.
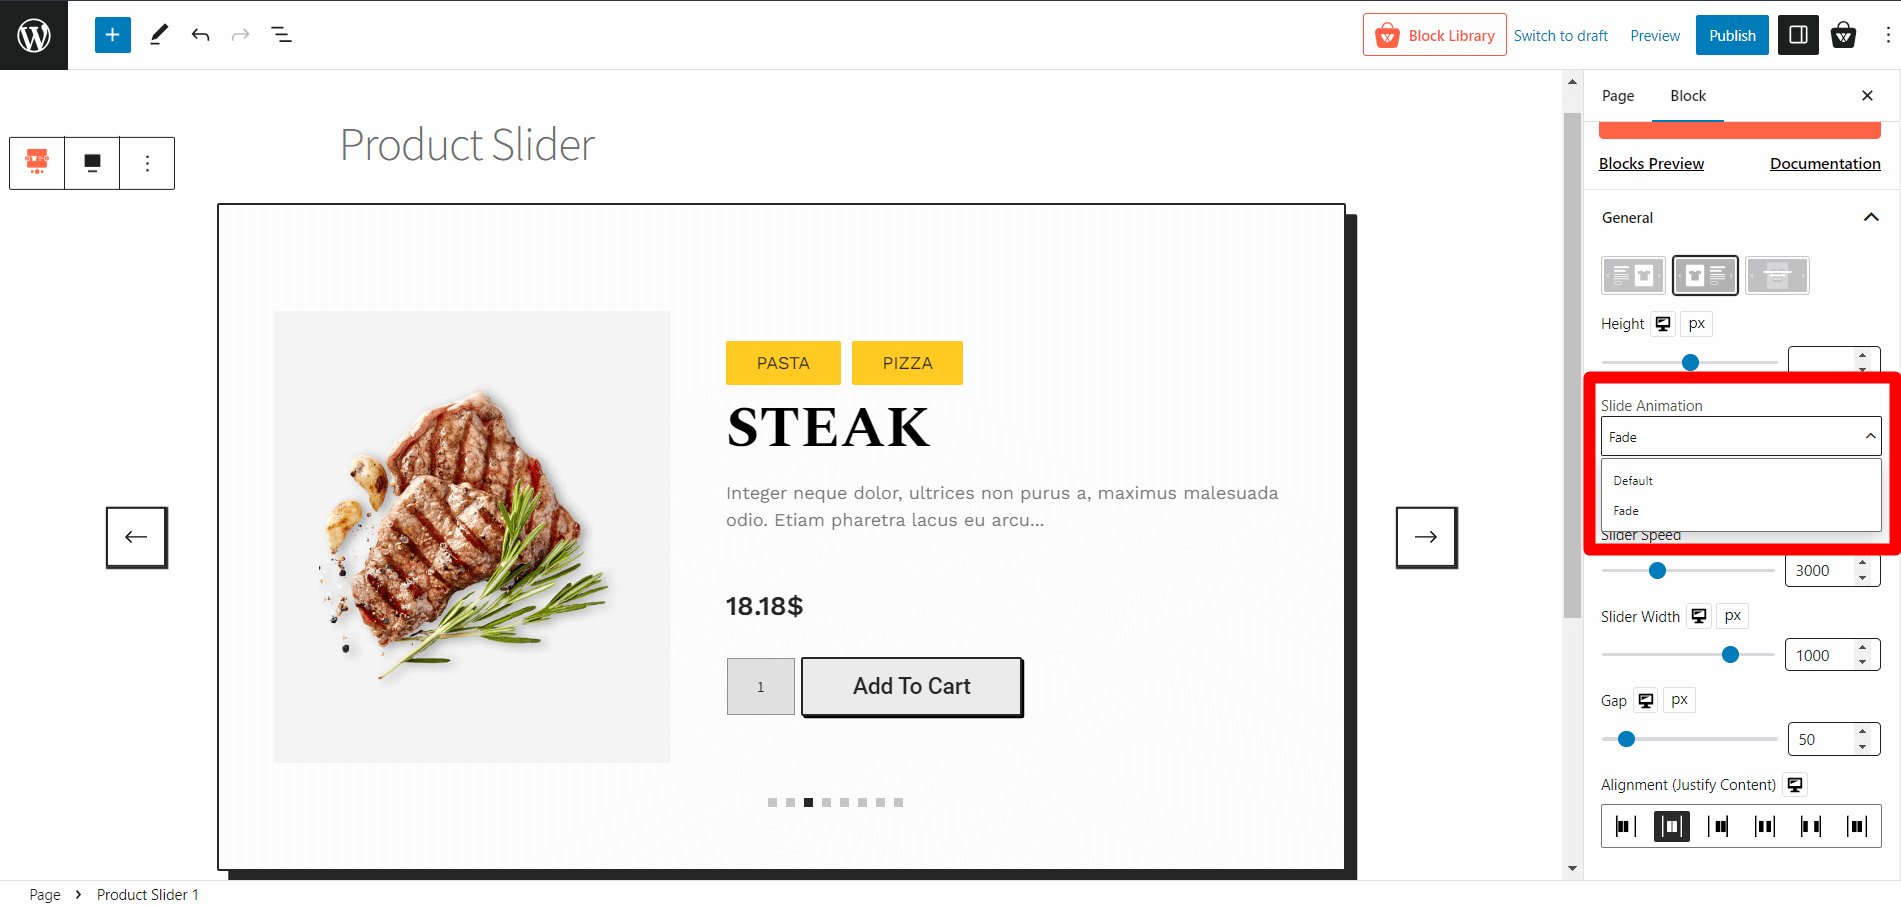
Slider Animation
The default animation moves products from right to left. You can change it to a fade animation where products gradually vanish until the next one appears. You can also adjust the animation speed and turn off the autoplay.
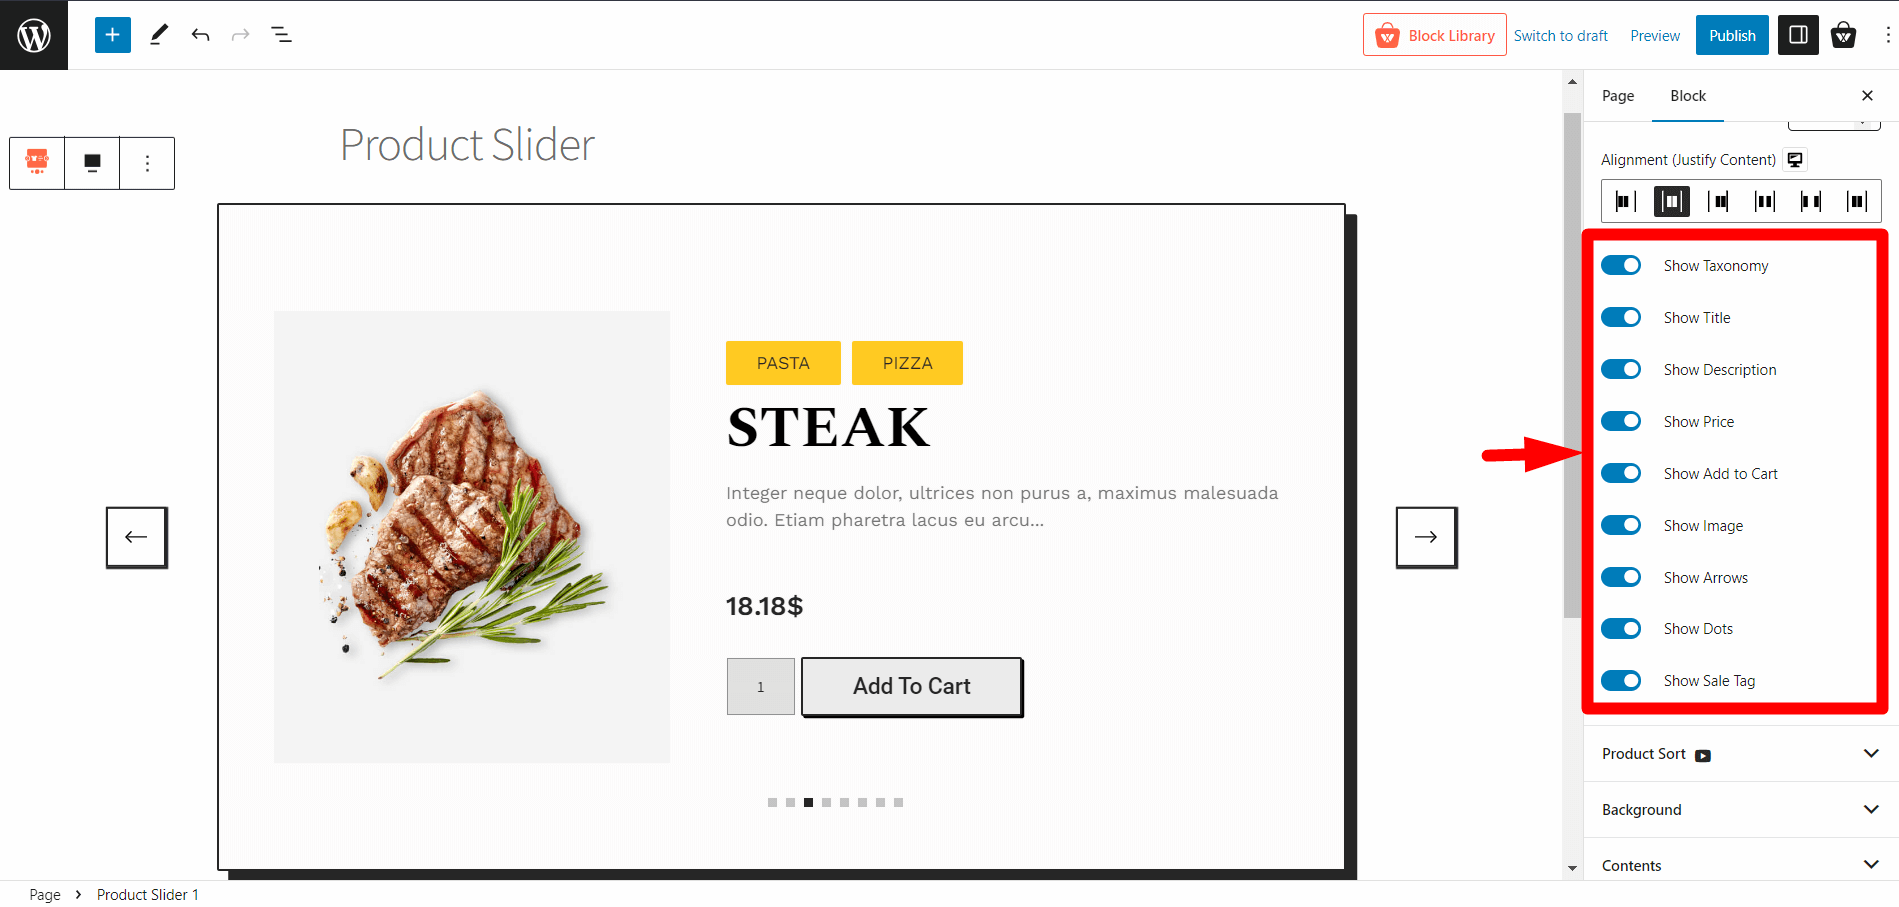
Show/Hide Contents
Customize the slider by showing or hiding specific sections such as taxonomy, title, description, price, add to cart button, image, arrows, dots, and sale tag.
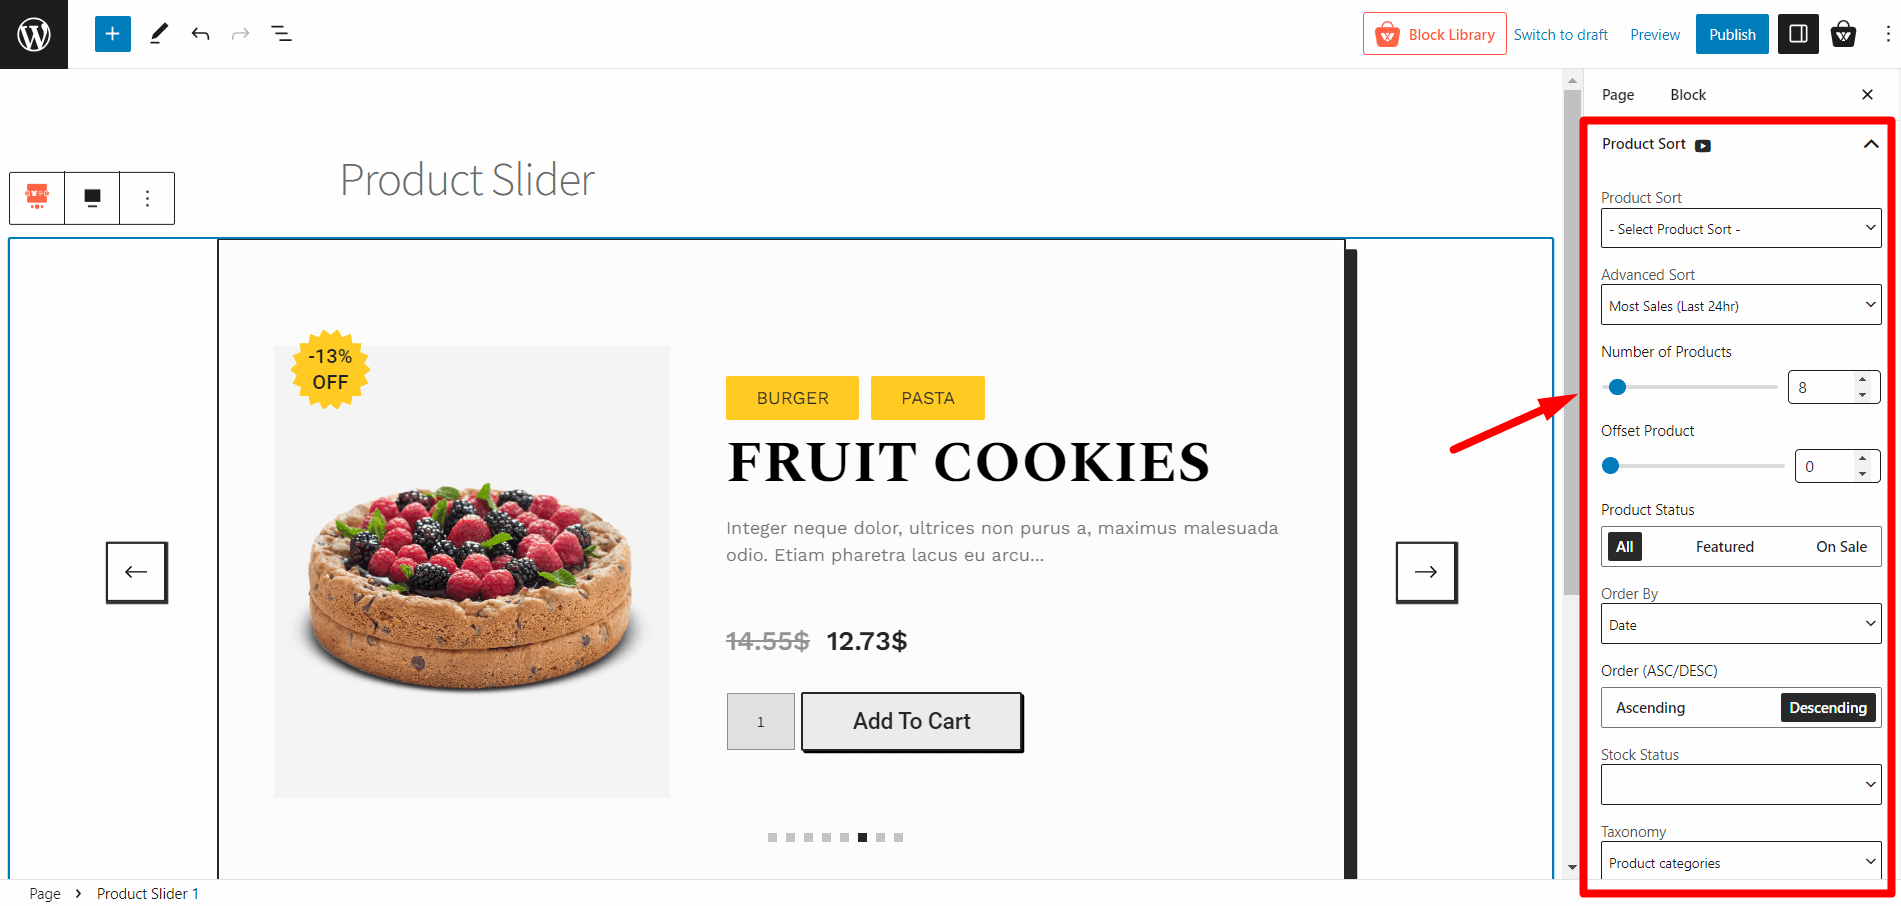
Product Sorting
Easily sort products in the slider using advanced query sorting. You can sort products based on queries like specific products, recent views, random products, best-sellers, related products, and more.
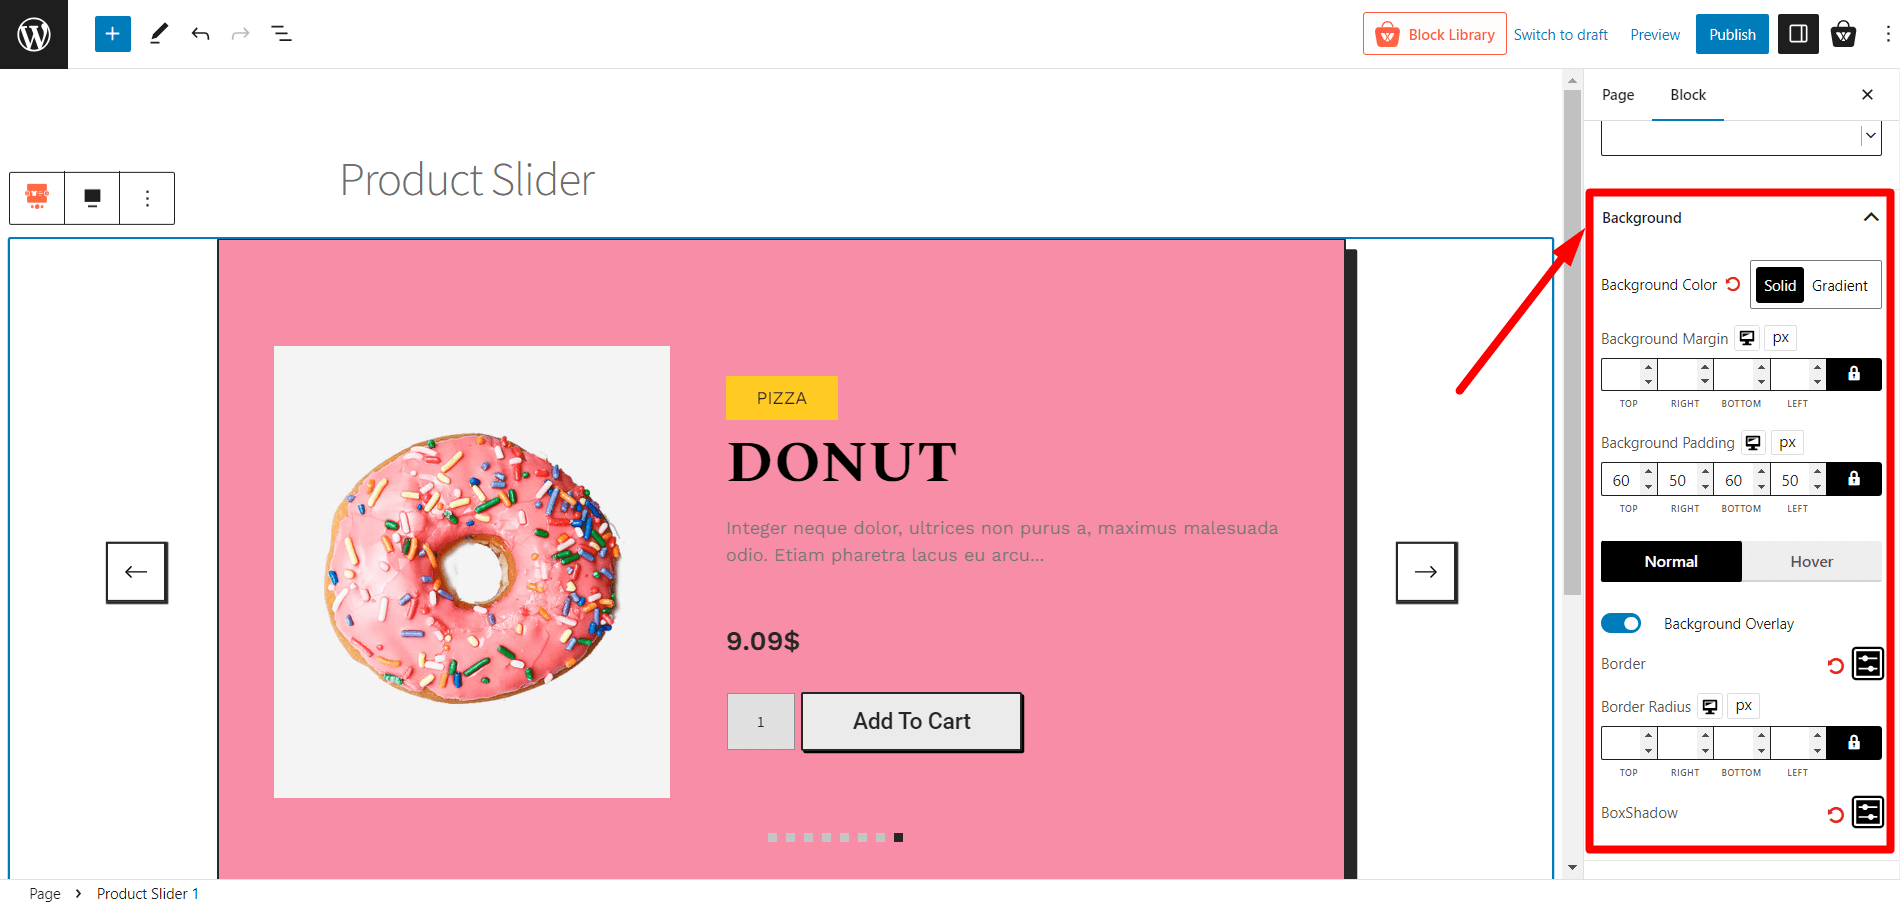
Background Color
Modify the slider’s background with color, margin, padding, overlay, border, border radius, and box shadow to match your website’s design.
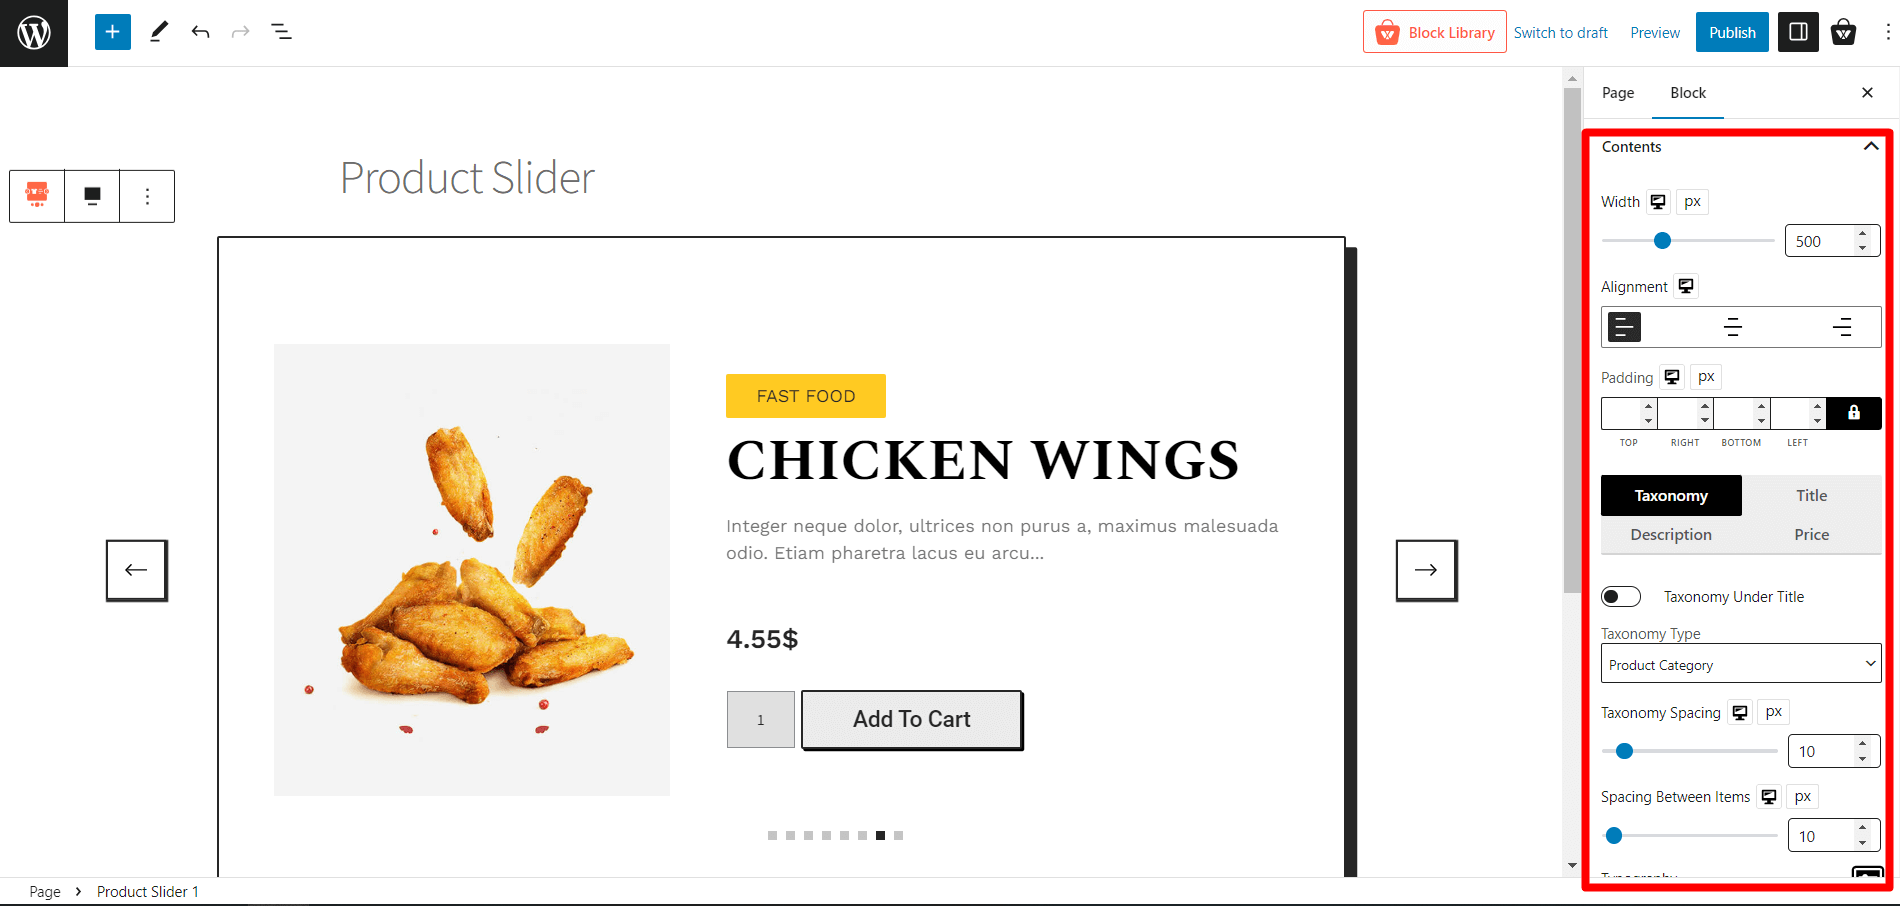
Content Typography Settings
Customize typography for each content element in the product slider, including width control, alignment, padding, taxonomy, title, description, and product price.
Add to Cart Button
Tailor the appearance of the add-to-cart button with color and typography settings. Additionally, you can add a plus-minus button and quantity box and adjust borders for further customization.
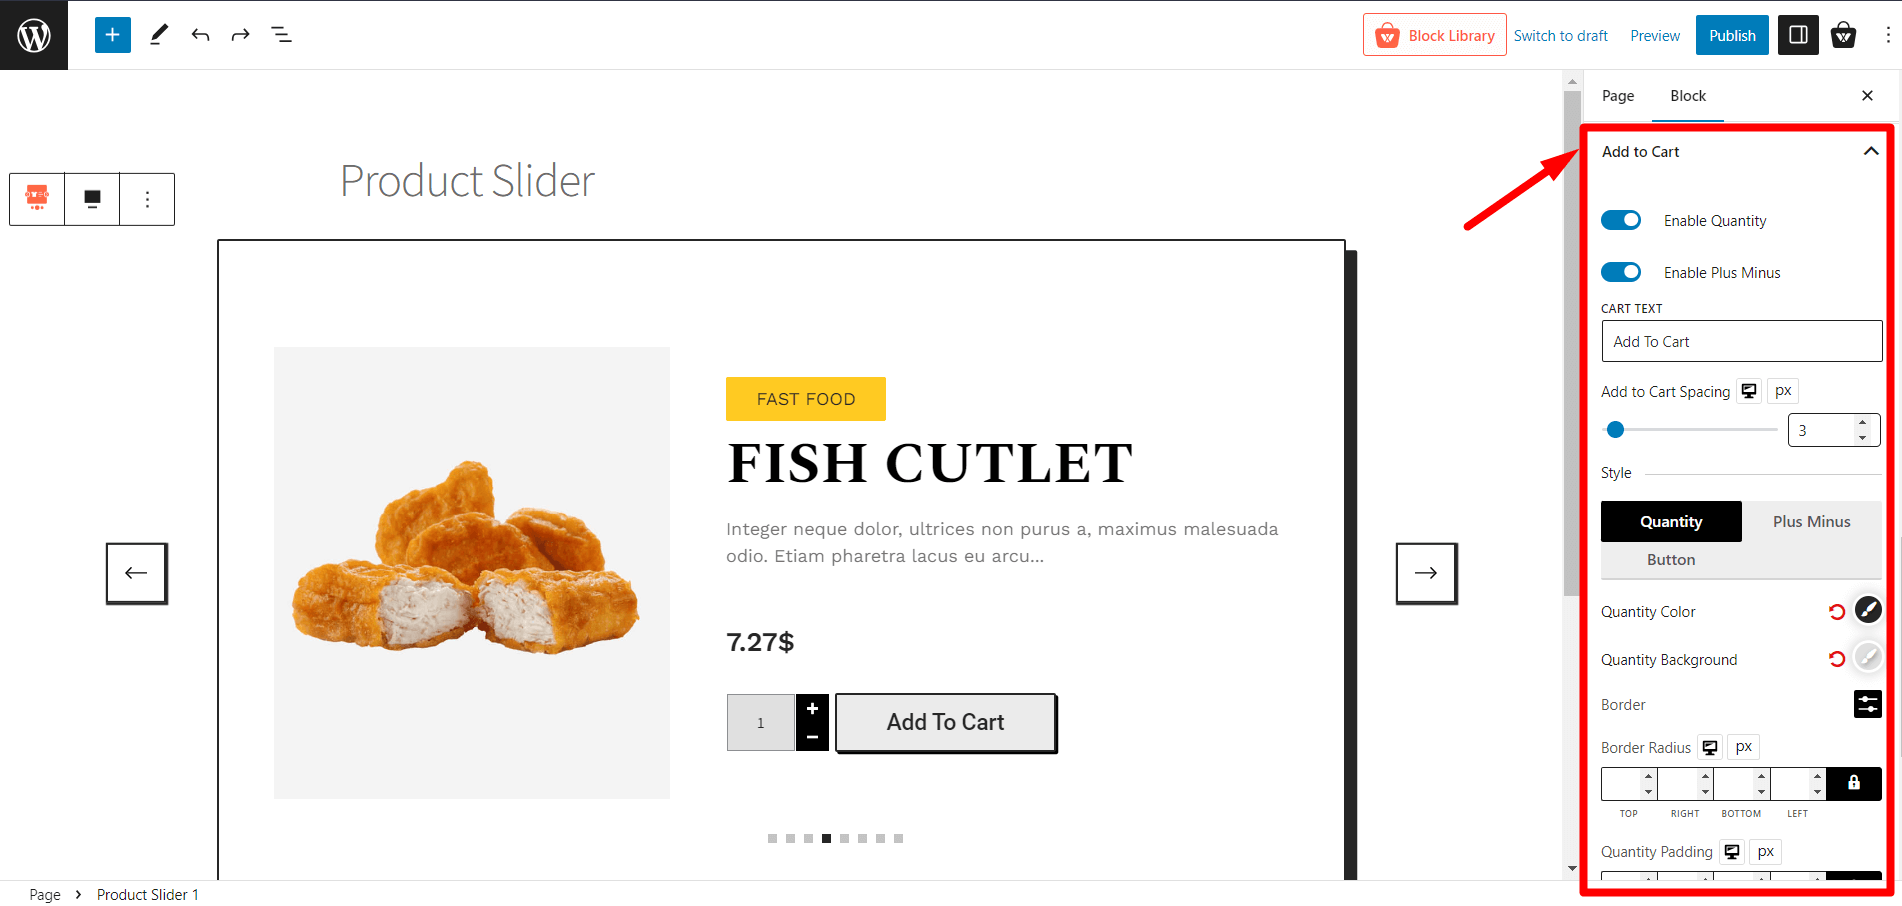
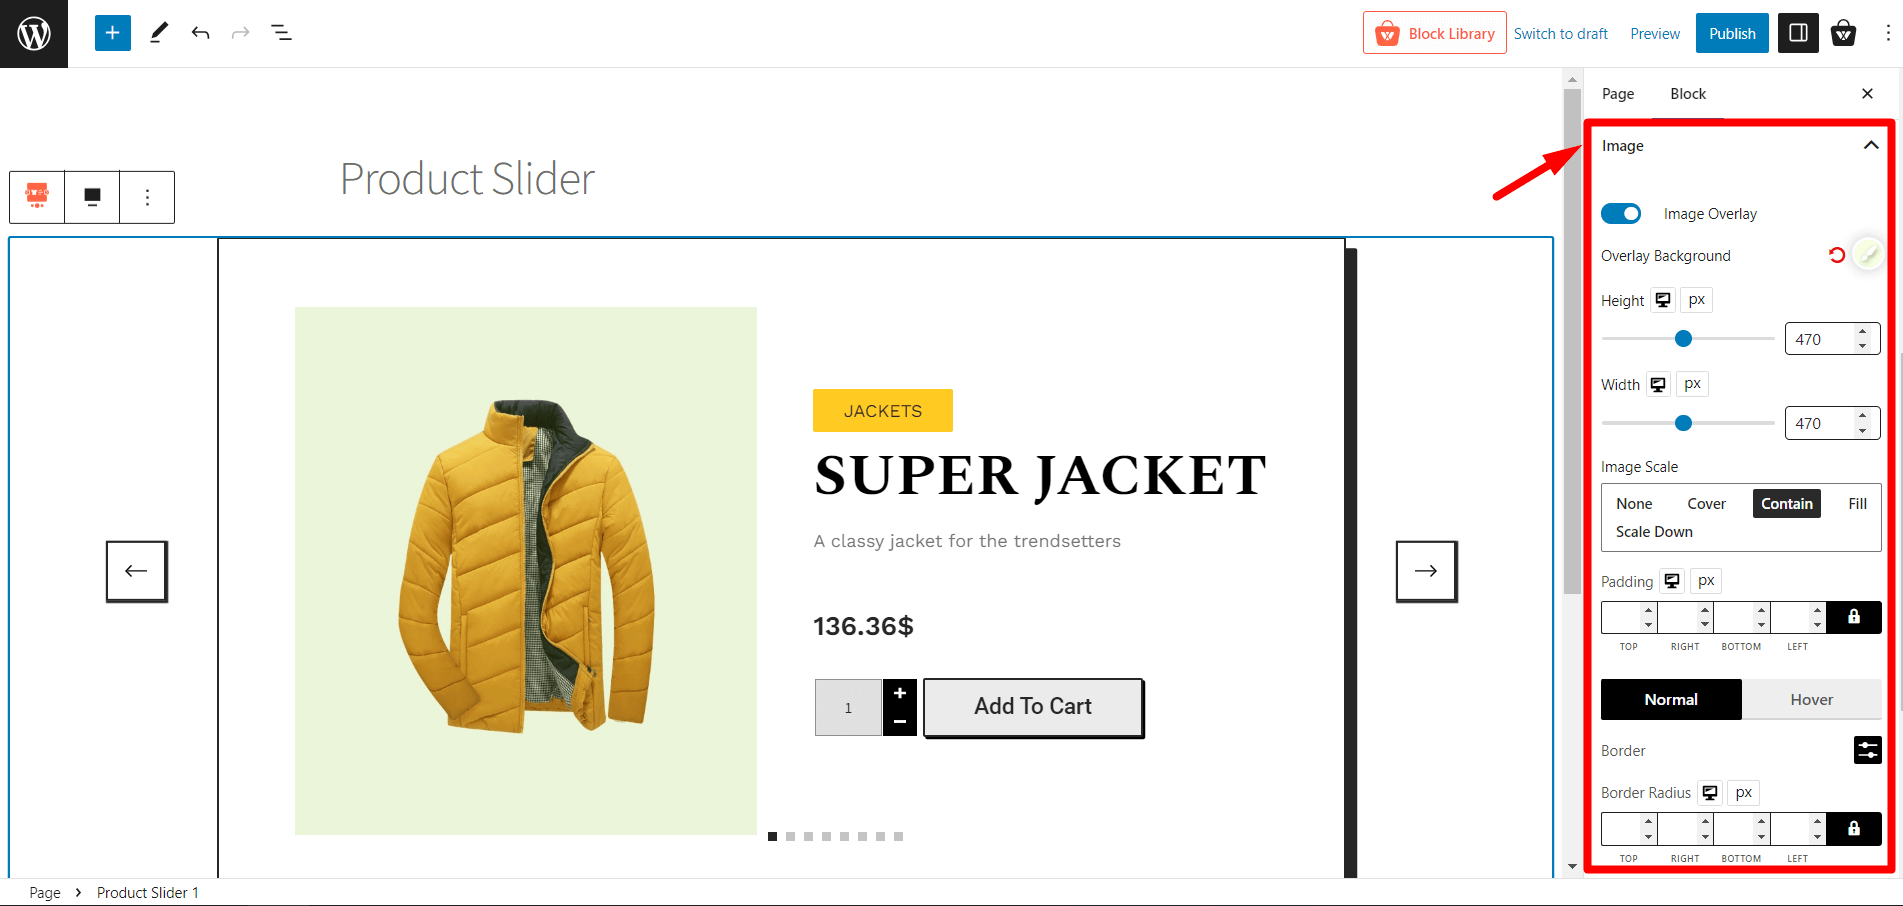
Image Settings
Customize the appearance of product images by adjusting height, width, padding, borders, and border radius. You can add image overlays and scale images to suit your website design.
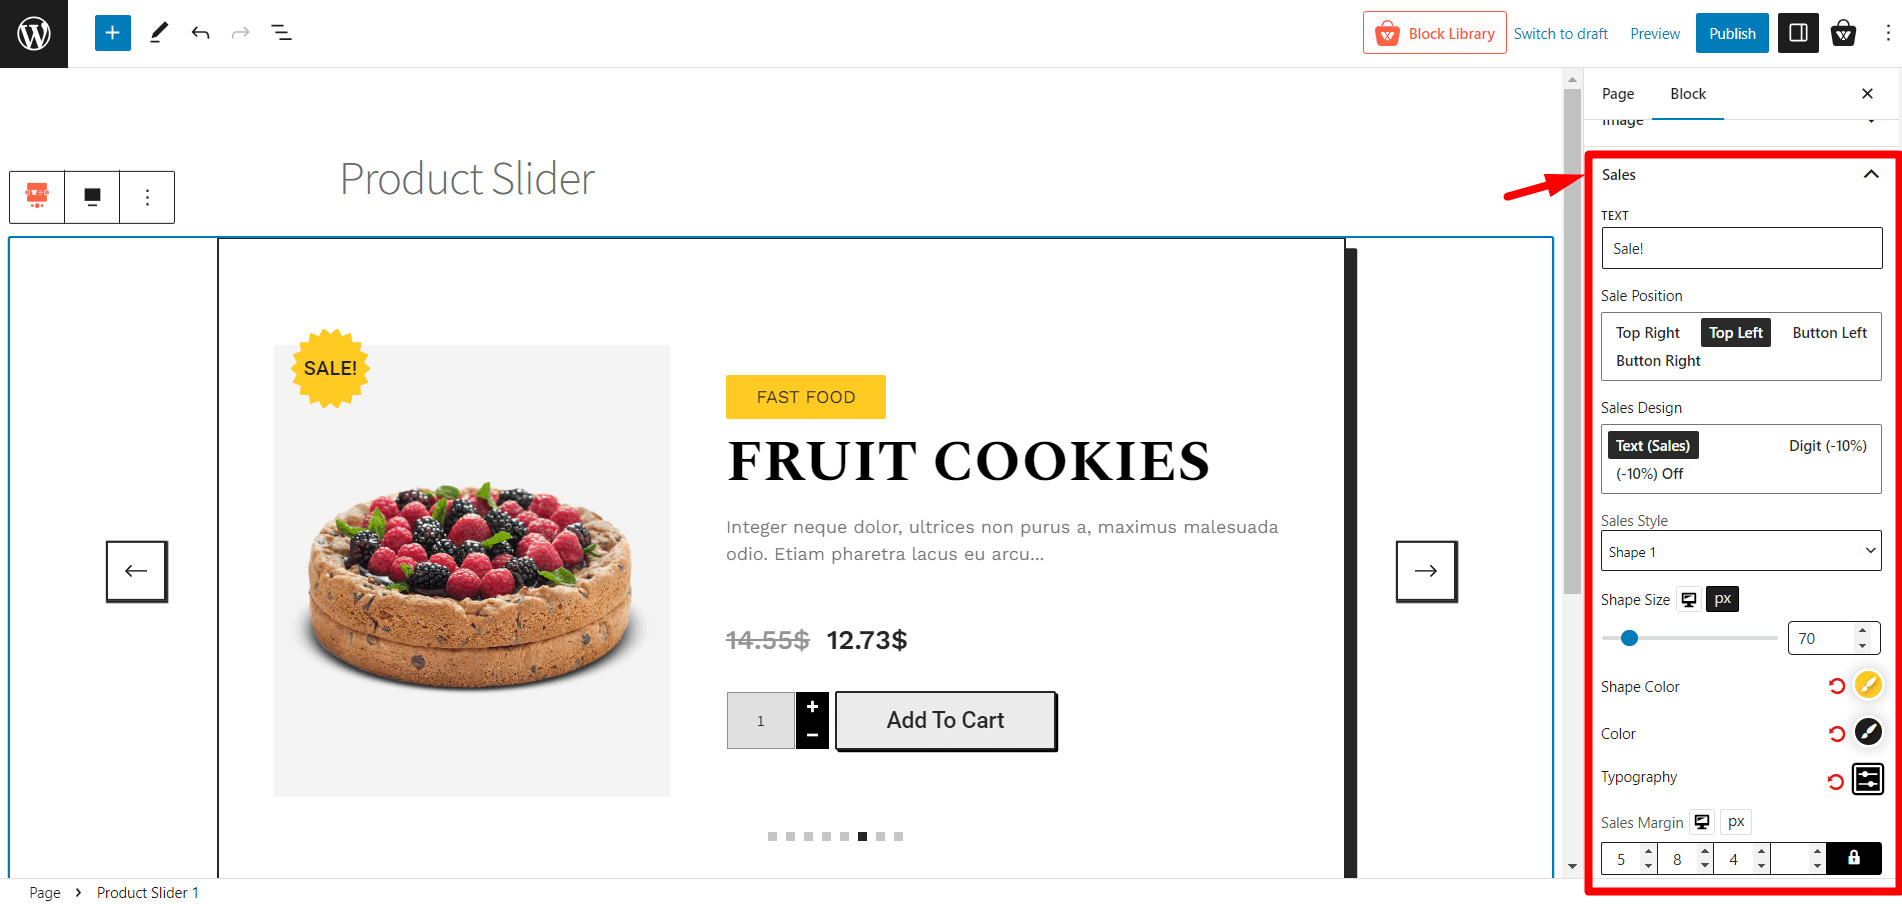
Sale Tag Customization
Change the sales text, position, design, style, size, and colors of the sale tag to draw attention to discounted products.
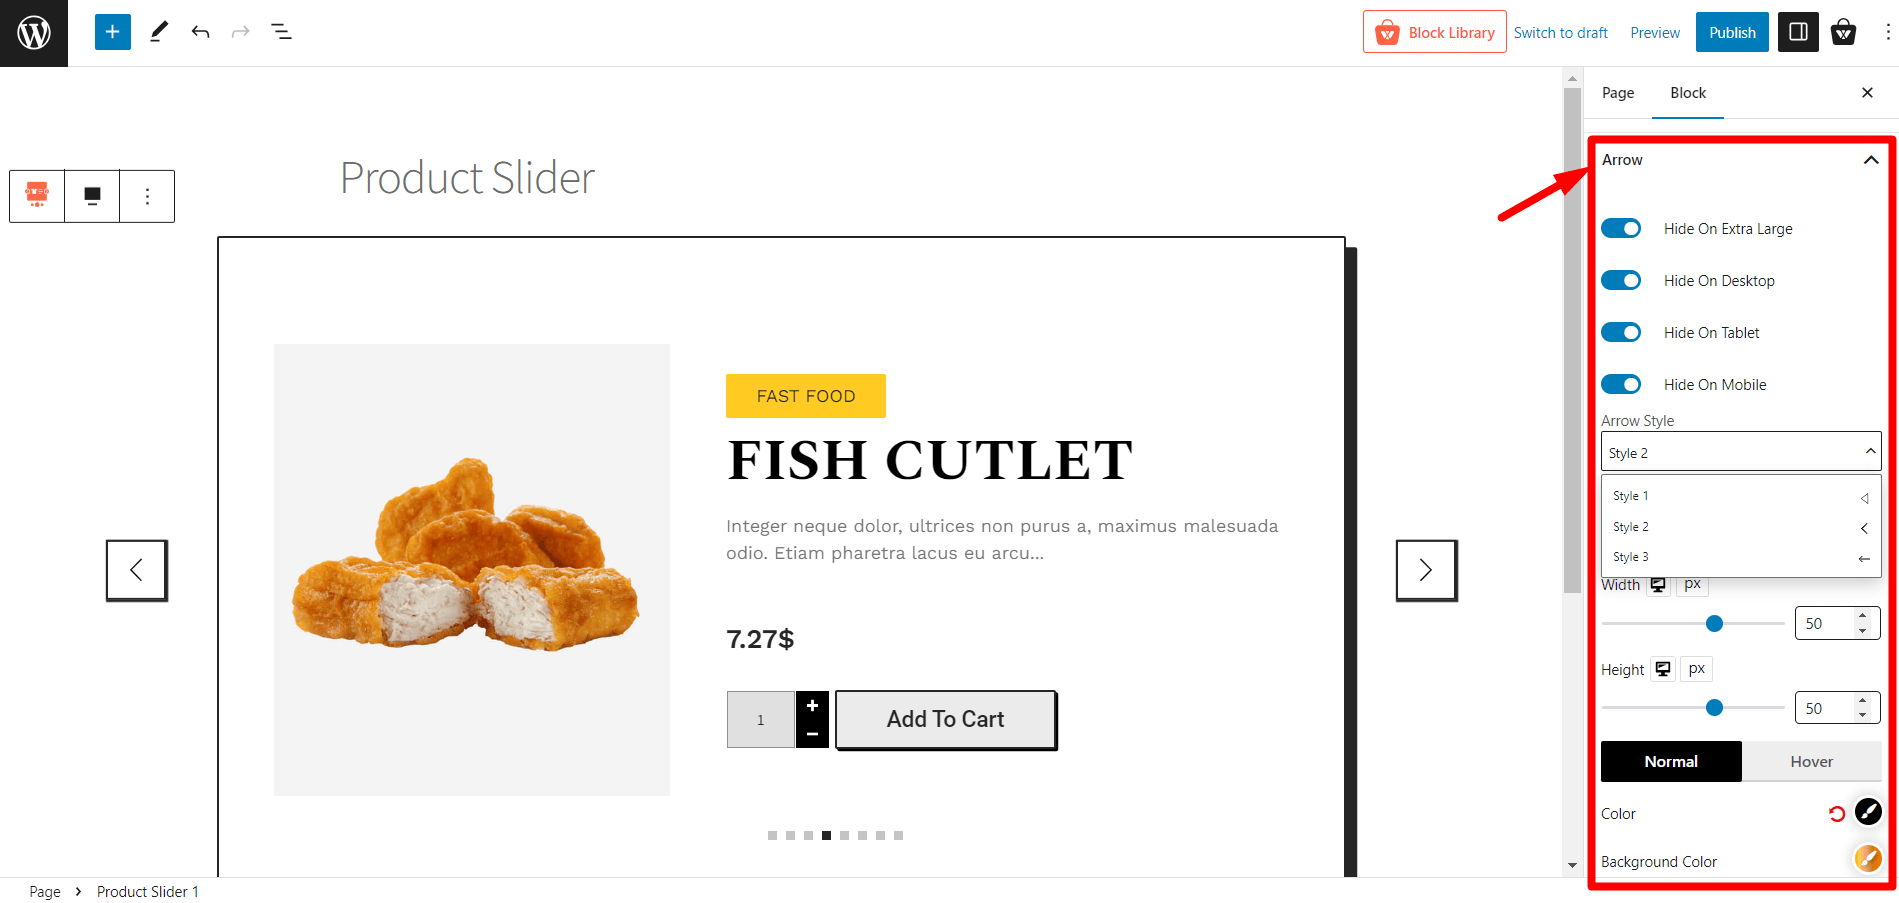
Arrow
Toggle arrows on or off and choose device-specific enable/disable options for a responsive design. Additionally, customize arrow styles, sizes, colors, and positions.
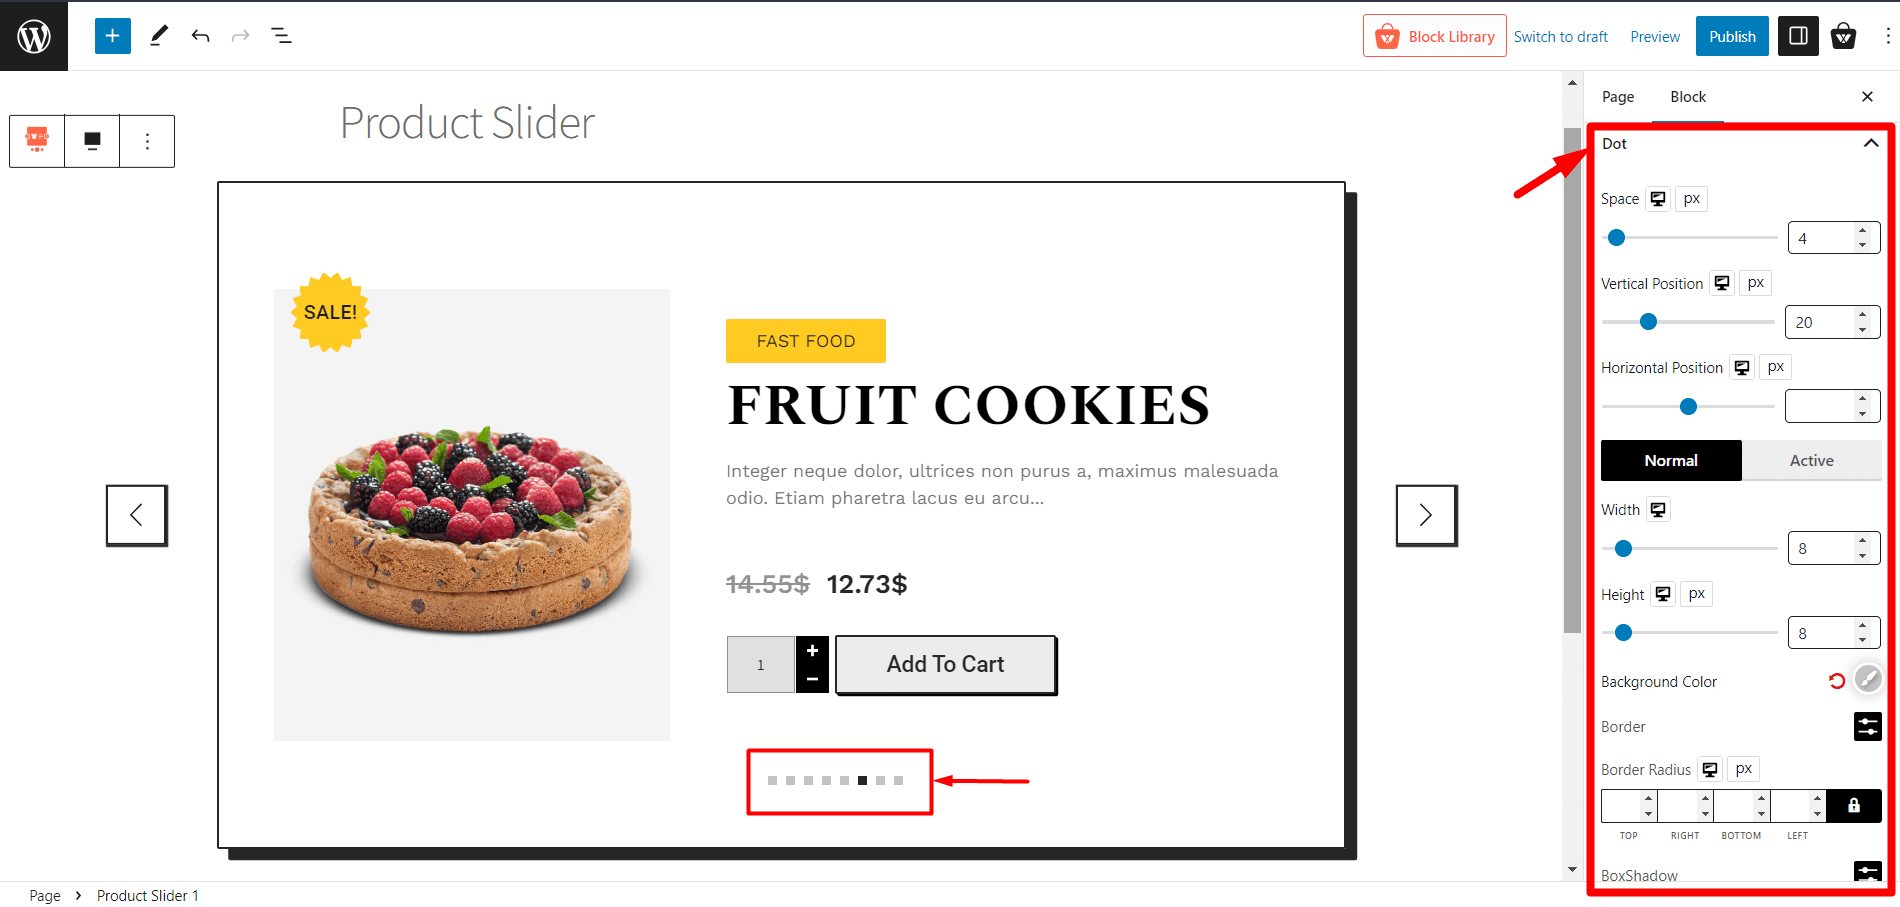
Dots
Enhance the product slider with dots indicating the number of products. Customize the dots’ size, colors, and position according to your preferences.
WowStore offers an intuitive interface for easy customization. Experiment with different settings and combinations to create a professional-looking and visually engaging product slider that matches your website’s style.
Step 4: Publish the Page
Once you are happy with the customizations, click the Publish button to publish your page.
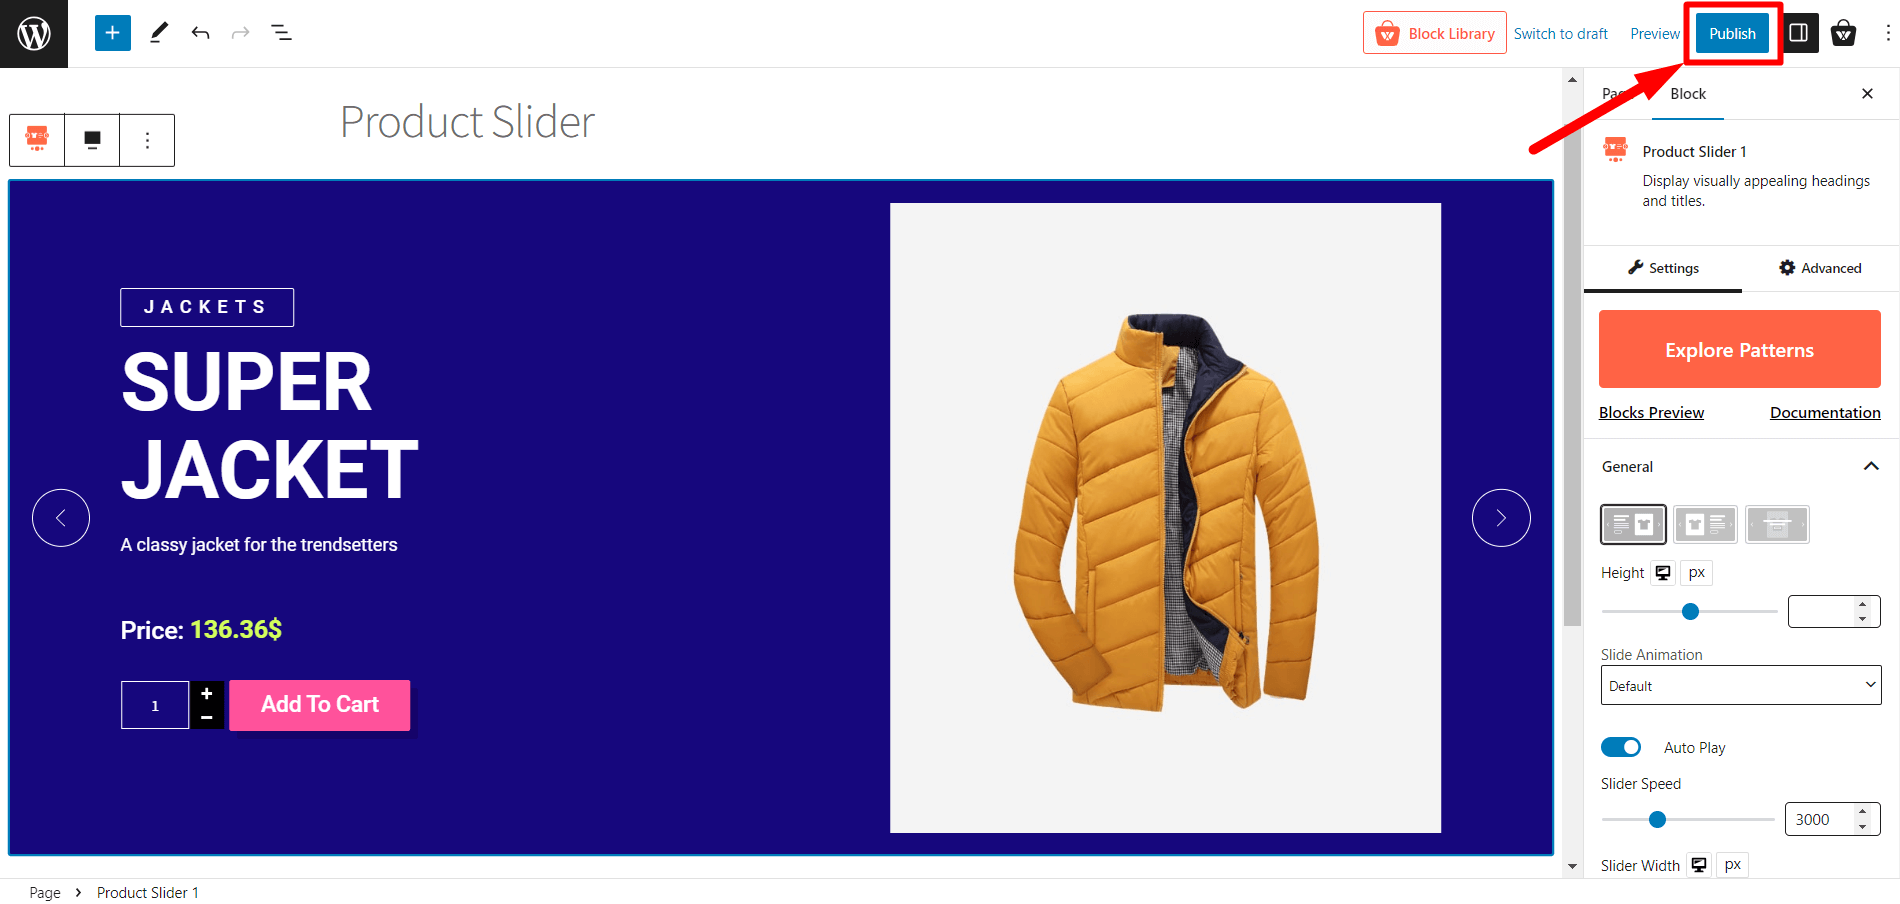
And that is how you can add a WooCommerce product slider in your store. If you need further assistance, do not hesitate to contact our live chat support from our website.
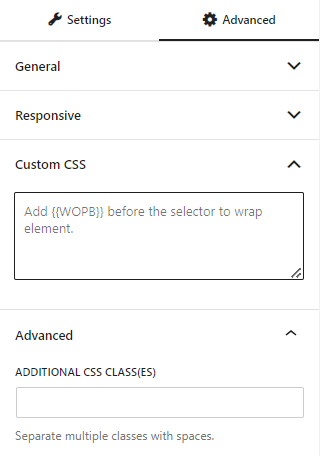
Advanced Settings
In the advanced tab, you will get settings for the following:
- General
- Responsive
- Custom CSS
- Advanced

General
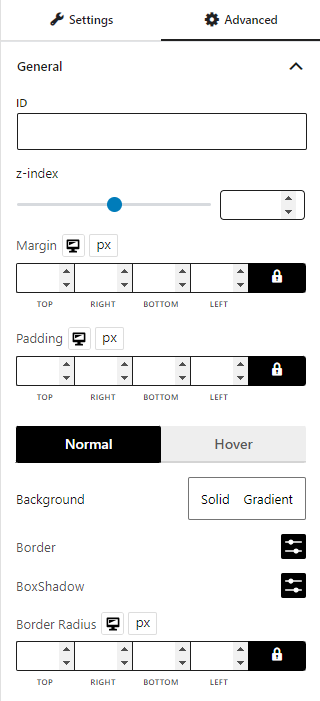
You can modify class ID, z-index, margin, padding, normal & hover colors, border, box shadow, and border radius from the general settings.
Responsive
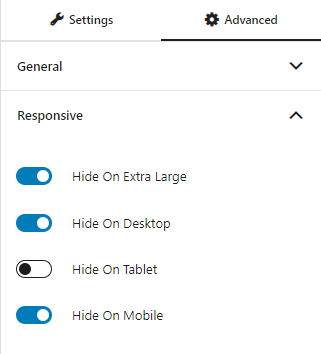
You will have the responsiveness settings for the blocks if you want to show the block on particular devices or not.
Use the toggle bar to enable the following options:
- Hide On Extra Large
- Hide On Desktop
- Hide On Tablet
- Hide On Mobile
Custom CSS & Advanced
You can manually add your custom CSS to modify your blocks in the custom CSS field. And in the advanced field, you can add custom CSS classes.
