ProductX is a WooCommerce blocks plugin that allows you maximum customizability over your E-store. From a design standpoint, it’s one of the best product grid plugins for WooCommerce simply because of its lightweight footprint and feature set.
So you want to know how to create a WooCommerce Product List View with ProductX?
In order to create a WooCommerce Product list, you’ll need to:
- Download and Activate the ProductX plugin.
- Choose a design preset from the ProductX Block Library.
- Start Customizing the Block to showcase products just the way you want them!
And that’s all there is to it. We will be talking you through each of these steps to show how easy it is to work with ProductX.
Step 1: Download and Activate ProductX
Downloading and activating productX is the same as working with any other plugin. All you have to do is:
- Go to Plugins> Add New on your WordPress dashboard.

- Search for ProductX using the Search Bar.
- Once ProductX appears, just hit Install.
- Finally, click on Activate.
Once activated, you’ll have a ProductX Settings Menu. From here, you can activate the ProductX addons, update your license and access your saved templates. If you wish to upgrade to a Pro Plan (it comes with a lot more features than the free version), you can check out the documentation.
Step 2: Add a Design Preset from the ProductX Block Library
ProductX comes with a healthy library of blocks and pre-made layout designs. All of these have different design customization features. And you get the option to choose your favorite design from the block library (there are design limitations with the free version, you know!).
To do this:
- Go to the Block Library on the top left.
- Here, you can choose from free and paid product blocks and layouts. We’ll be choosing a free list layout (Product list #1) to take you through the basics.

- We’ll hit Import for the design we want to choose. It will be added to your page/post.
Once that’s out of the way, we can start customizing the block to showcase the products we want.
Step 3: Start Customizing the WooCommerce Product List View Block
You may consider this as the main part of the whole process. You see, without any customizable options, there’s no point in showing you any of this.
But ProductX has a very useful set of feature customization tools. And we’ll try and take advantage of all of these settings. Let’s start!
Once you import the block of your choice (in our case, it’s the Product list #1 block), you’ll see 3-different settings tabs on the left.
The Design tab and Advanced Tab are mostly for the base design purpose. You can choose to replace the design, add additional CSS properties, play with the universal design properties for the product block. You can explore these design properties.
For now, we’ll focus on changing the design of the blocks to make them more appealing to the end-user.
- Under the General tab, you’ll find options to Activate/Deactivate features. Also, you can change the Row and Column properties.

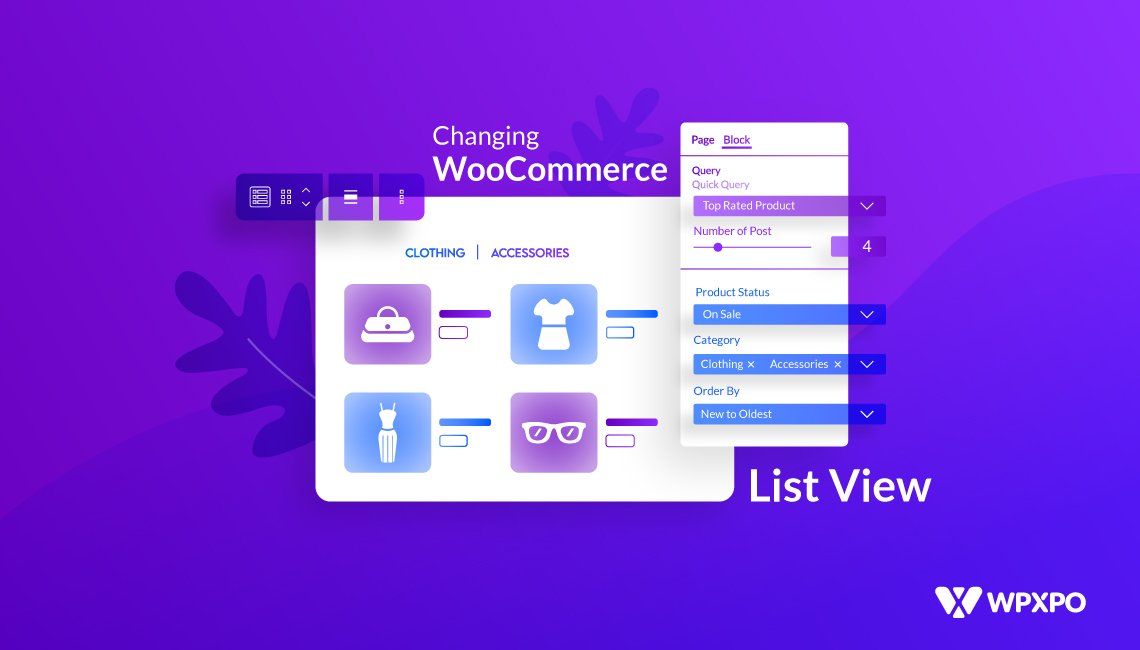
- The Advanced Query is the first useful feature we want to talk about. You can choose a condition from the Quick Query Dropdown to show the exact products that satisfy your condition. We are showing the Clothing which is On Sale. Furthermore, we’re choosing the order to New to Oldest from the Order Dropdown.

- Next, we want to set the AJAX Filtering for the products we want to show. We’re choosing Clothing as the Category to show. Also, we’re choosing to show it by category. We’re also changing the hover properties, which you can see below:

- Both the Price and Review have color and other relevant design properties. We’re keeping them default.
- Then comes to Cart Settings. Many of you want to know how to change the WooCommerce Add to Cart Button Text. Well, ProductX has this option built-in. We changed the text from “Add to Cart” to “BUY IT” which shows up on the page. We also made some customizations to the hover property, which shows up in the preview.

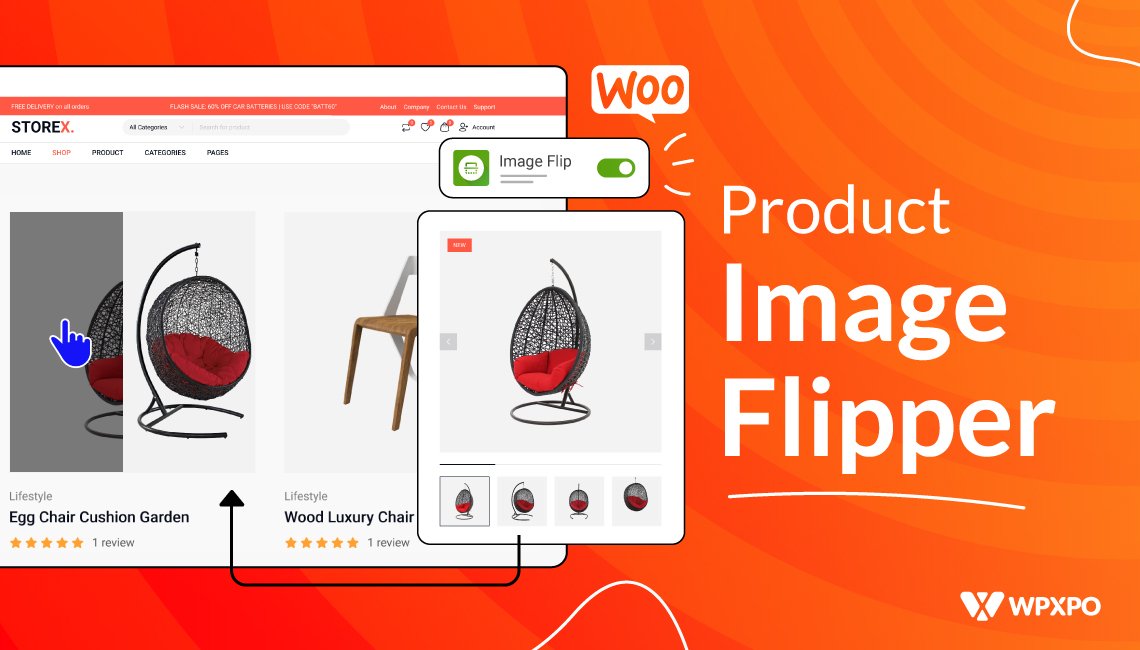
- In the product Image Settings, you can make different changes. For now, we’re changing the image width and setting an animation from the Hover Animation dropdown. We’re also keeping the Image Flip feature option ‘On’, a super handy feature for a WooCommerce Product Page.

- Finally, there’s the Heading and Title Settings. Both of these settings have similar design settings like alignment, typography, color, border, etc.
This is more of an overview of how you can design a custom WooCommerce Product Page with a list view layout. It’s simple, intuitive, and most importantly, doesn’t require you to be a Rocket Scientist!
There are plenty of design options available for you to choose from. As a matter of fact, new product design blocks are constantly being added each day. In short, the possibilities are endless!
Although the free version of ProductX is well-equipped with all the core features, you’ll need an activated pro license to take advantage of features like Wishlist addon, Image Flip addon, quick-view addon, saved template addon, and more.
All these features unlock more creative options for the user. With these features, you can build more professional-looking E-commerce product pages with ease.
FAQ
Q: Can I create a Product List View layout manually for WooCommerce?
Ans.: Yes, you sure can. But if you have no prior coding knowledge, then it’s probably better to stick with ProductX, as it’s a fairly lightweight plugin with excellent addons and customization features. With ProductX, you don’t need any prior coding knowledge. It’s just a matter of a few clicks.
Q: How many Products can I add to a single Gutenberg product block?
Ans.: There are no limitations whatsoever. You have the reins. You can keep as many products in the list view as you wish. You can also set the design parameters individually for each block on a particular page.
Q: I want to add dynamic sliders to showcase my products. Can I do that?
Ans.: Yes, ProductX has pre-made Gutenberg blocks for this particular purpose. You can select these designs and set the Dynamic Slider design properties as per your choice.
Q: Does ProductX come with support for Shortcodes?
Ans.: Like some of the more premium WooCommerce plugins, ProductX does support custom shortcodes. You can save your designs as templates. The custom shortcodes will be generated for you to use on other pages.
Q: How do I get access to New Gutenberg Product Blocks and Layouts?
Ans.: If you keep the ProductX plugin up to date, then you can easily get access to the latest Paid designs and layouts. ProductX releases updates frequently. So, you may want to keep the plugin up to date.
Finally,
One may argue that there are better WooCommerce Product List View plugins than ProductX. That may be true to some extent.
But this customizable Gutenberg Product Blocks Plugin is unique in its own right. There are very few plugins out there with so much control over customization.
Why not give it a try and see if we’re telling the truth!
