A few months ago, I noticed that my website itself was causing problems for my visitors. They visited my site, read a post or two, and then left. I needed clarification! It took some time to realize that visitors struggled to navigate through my ever-growing posts. They faced issues finding what they were looking for.
I found that a simple addition – a post carousel – could help me solve this navigation issue and boost user engagement on my website.
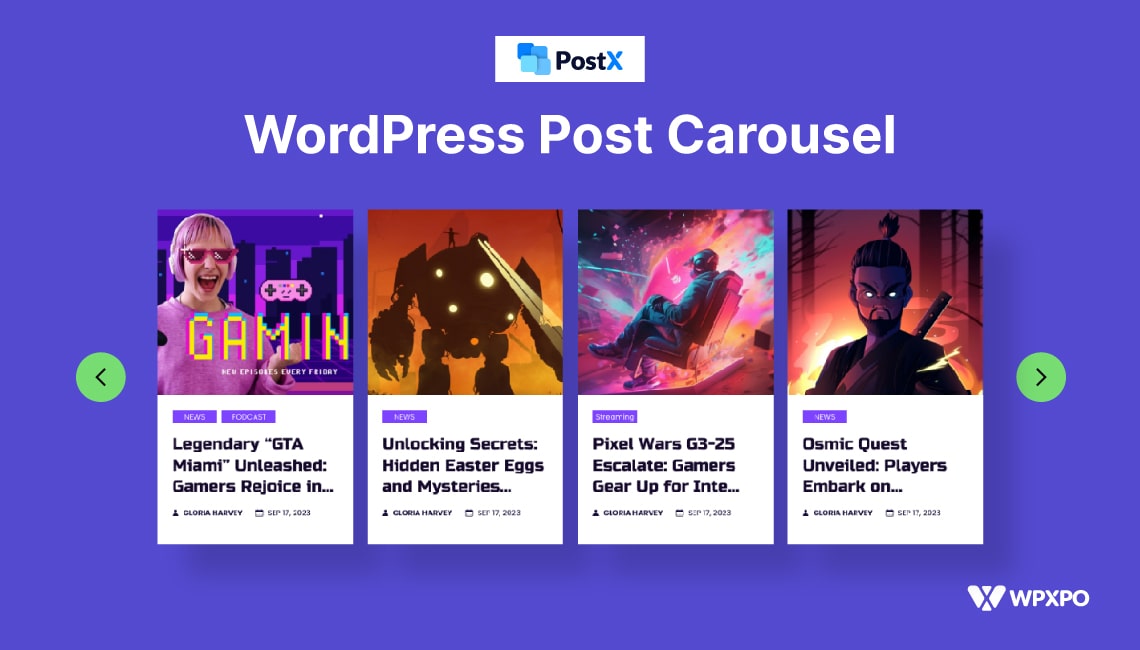
It is an exciting feature in WordPress that organizes and displays multiple contents within a single slideshow. WordPress does not come with a Post Carousel by default, so many users found it difficult to add one.
But, I assure you that after reading this complete guide, you’ll be able to do it in the simplest method possible.
Let’s get started.
What’s the Difference Between A Post Slider and a Post Carousel?
Sliders and carousels may look similar, but serve different purposes and offer unique user experiences.
The main difference lies in how they operate. Sliders show one content at a time, while carousels are like slideshows with multiple contents.

Sliders are more suited for a focused and in-depth look at a single item. Imagine showcasing a travel photo on your blog. Viewers can appreciate the details and immerse themselves in the image.

On the other hand, carousels offer a wider view of multiple items. It is perfect for showcasing various blog posts, products, or testimonials. It also enables visitors to navigate swiftly and find something that captures their attention.
In summary, both sliders and carousels are effective ways to display content. Choosing between a slider and a post carousel depends on your website’s design and desired user experience.
Benefits of Adding a Post Carousel?
Before we get technical, let’s see how adding a post carousel can benefit you.
- Post carousels put your best contents front and center. This is a great way to feature new posts, share customer testimonials, or promote special offers.
- It lets you show off several eye-catching posts at once. This enables viewers to navigate easily and explore your content further.
- Carousels don’t just boost views – they make your site shine! The clean and organized format keeps visitors engaged and coming back for more.
- The post carousel showcases related content together. It enables visitors to discover other content they might love without the chance of missing out.
- Carousels are generally optimized for mobile devices. It provides a seamless user experience on smartphones and tablets.
Choosing the Right Plugin for Post Carousel First
Adding a post carousel on your WordPress site is simple with the right plugin. But, the plugin must be updated, well-coded, and optimized for SEO. It ensures that your site runs smoothly without slowdowns or crashes.
There are many options to choose from, which can make finding the ideal plugin quite frustrating. But don’t worry, I researched and picked out a few good ones for you.
PostX – #1 Gutenberg Blocks Builder
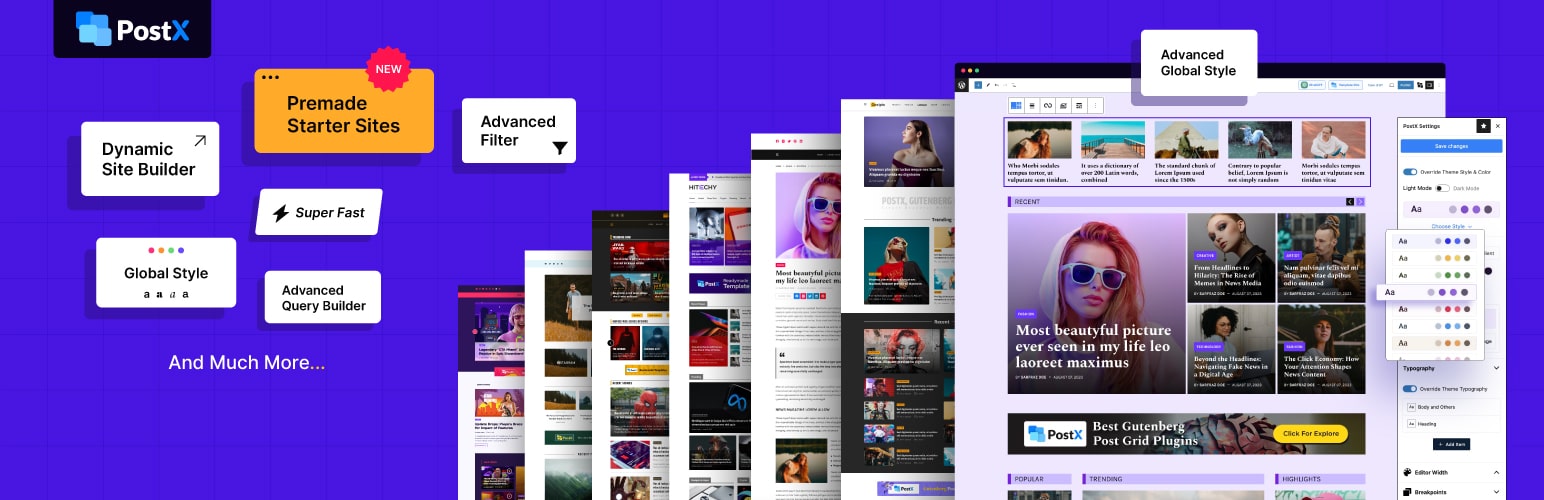
PostX is an all-in-one Gutenberg Blocks Builder Solution that allows you to create online news sites, magazine hubs, online blogs, portals, and more.
It’s an excellent plugin that allows you to add a post carousel within minutes. PostX also offers a bunch of basic and advanced customization options to make your carousel stand out.
Smart Post Show

This plugin helps you display your blog posts in fancy grids, sliders, and lists. It’s easy to use and makes your site look great on any device. You can choose what content to show and customize how it looks with Smart Post Show.
WP Carousel Pro
The plugin simplifies creating carousels, sliders, and galleries on your WordPress site, making them mobile-friendly as well. It offers a variety of layouts and works with many content types.
AnWp Post Carousel for Elementor
This plugin helps you design your WordPress site with attractive grids and sliders to display your posts. It’s free and easy to use, letting you customize the layout without any coding skills. You can upgrade to a paid version for even more features.
Why PostX Is a Better Choice for Carousels?
PostX is better if you are looking for a Gutenberg Ecosystem to create News, Magazines, or Blogs. If you need only the carousel, choosing the other plugins would be better. Here’s what makes PostX the perfect pick:
- Click or Drag Magic: Forget about coding! Anyone can create an eye-catching carousel with PostX. Simply click or drag the carousel block and the carousel will appear magically.
- Super Customizable: PostX lets you choose exactly what posts show up. Pick them by category, tag, or even select specific ones by ID. It makes your carousel perfect for your website!
- Value for Money: Other plugins charge extra, but PostX gives you carousels and tons of other features for the same/lower price. Why settle just for a carousel when you can have it all with PostX?
- Style It in Your Way: PostX lets you customize the layout, animations, design, and more. This way, the carousel will look great and enhance your website’s overall look.
- Content Freedom: You can show off anything you want. Add blog posts, regular website pages, or even unique content – it’s up to you. With PostX, your carousel is as flexible as your imagination.
How to Add a Post Carousel in WordPress? (A Step-by-Step Guide)
PostX is one of the finest plugins that allows adding a carousel with full customization opportunities in WordPress. So, let’s see how to add this step-by-step→
Step 1: Install and Activate PostX
Head over to the WordPress plugin section and search for “PostX.” Once installed, activate the plugin.

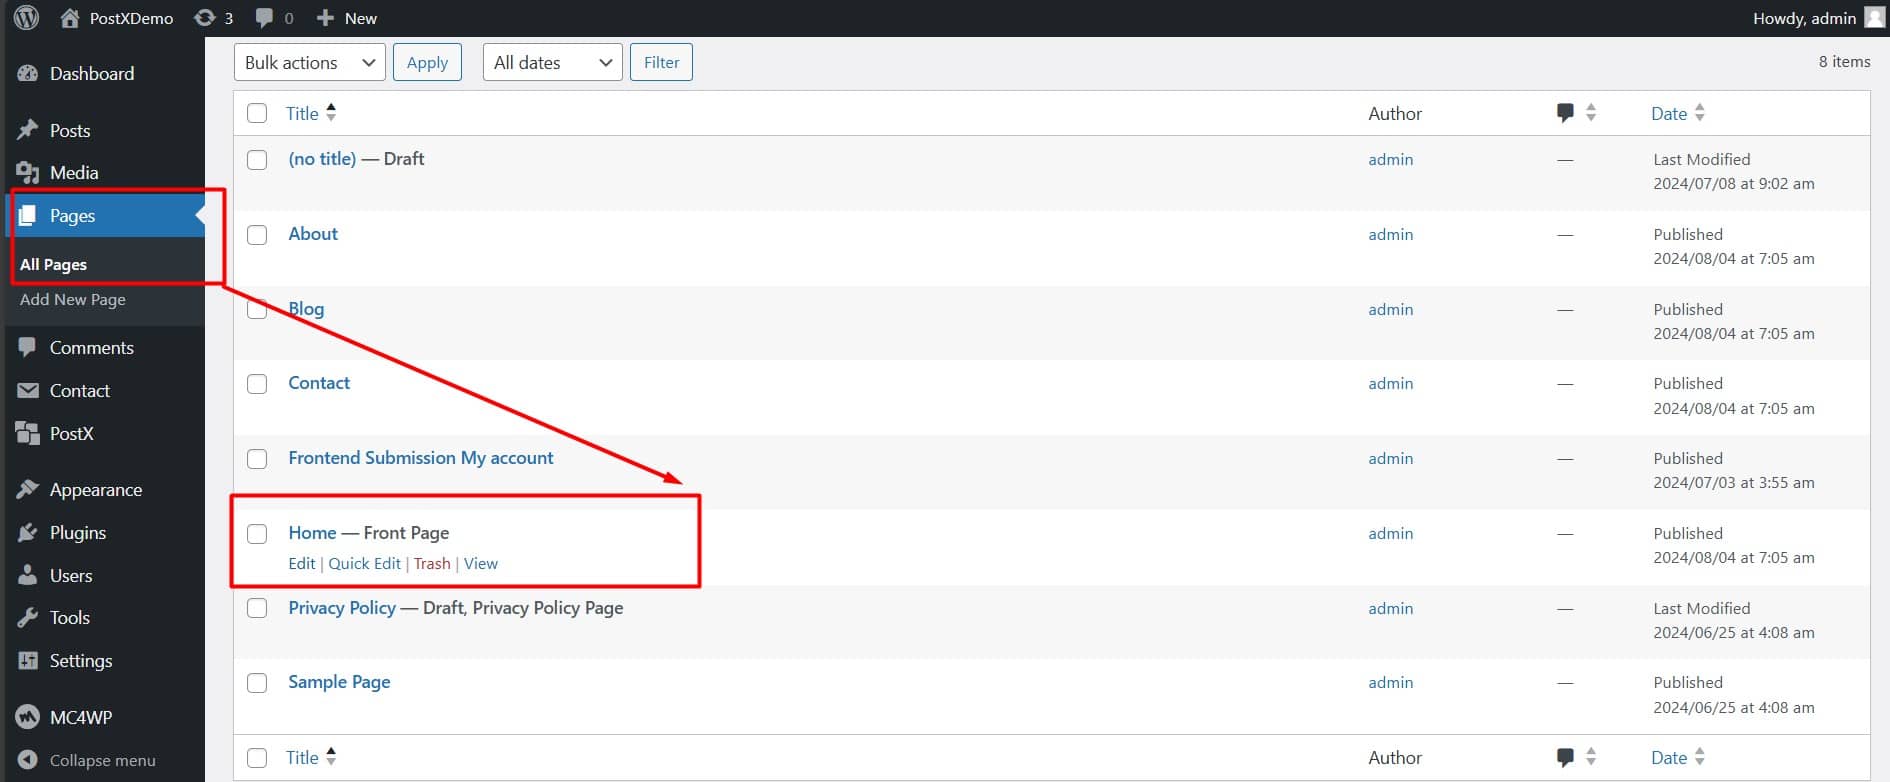
Step 2: Create/Edit Your Page
Decide where you want to display the carousel. In most cases, the carousel is added to the home page to grab attention. So, go to the “Home page” from the “All Pages” option of your dashboard. Press the “Edit’ button. You can also create a custom home page from the “Site Builder’’ using PostX.
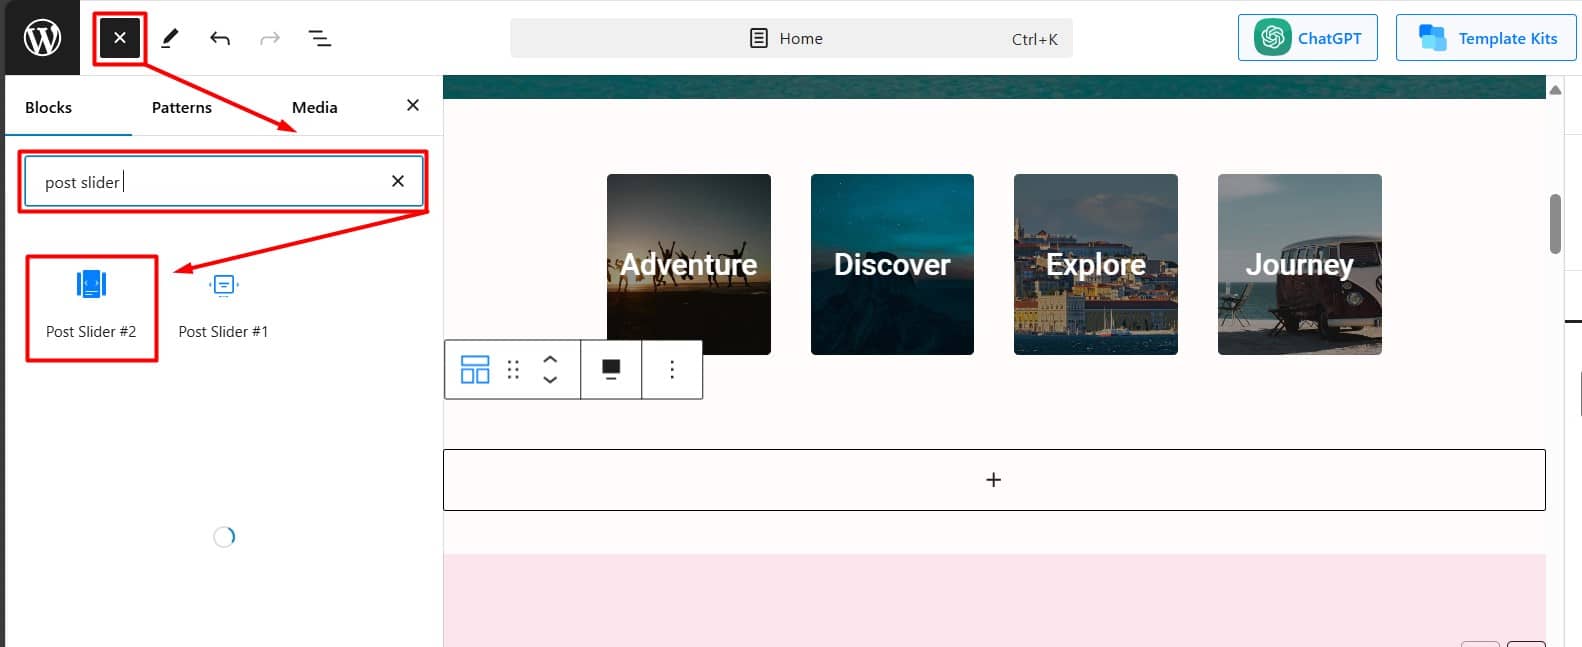
Step 3: Add the Block
After entering the home page just click on the “Add Block (+)” sign, and search the block named “Post Slider #2”. This block will let you use a carousel.
Import Premade Design: After adding the block, You can import premade carousels available in the design library. It will speed up your design process.
Step 4: Customize Your Carousel
The Block Settings offer a wealth of customization options. You can:
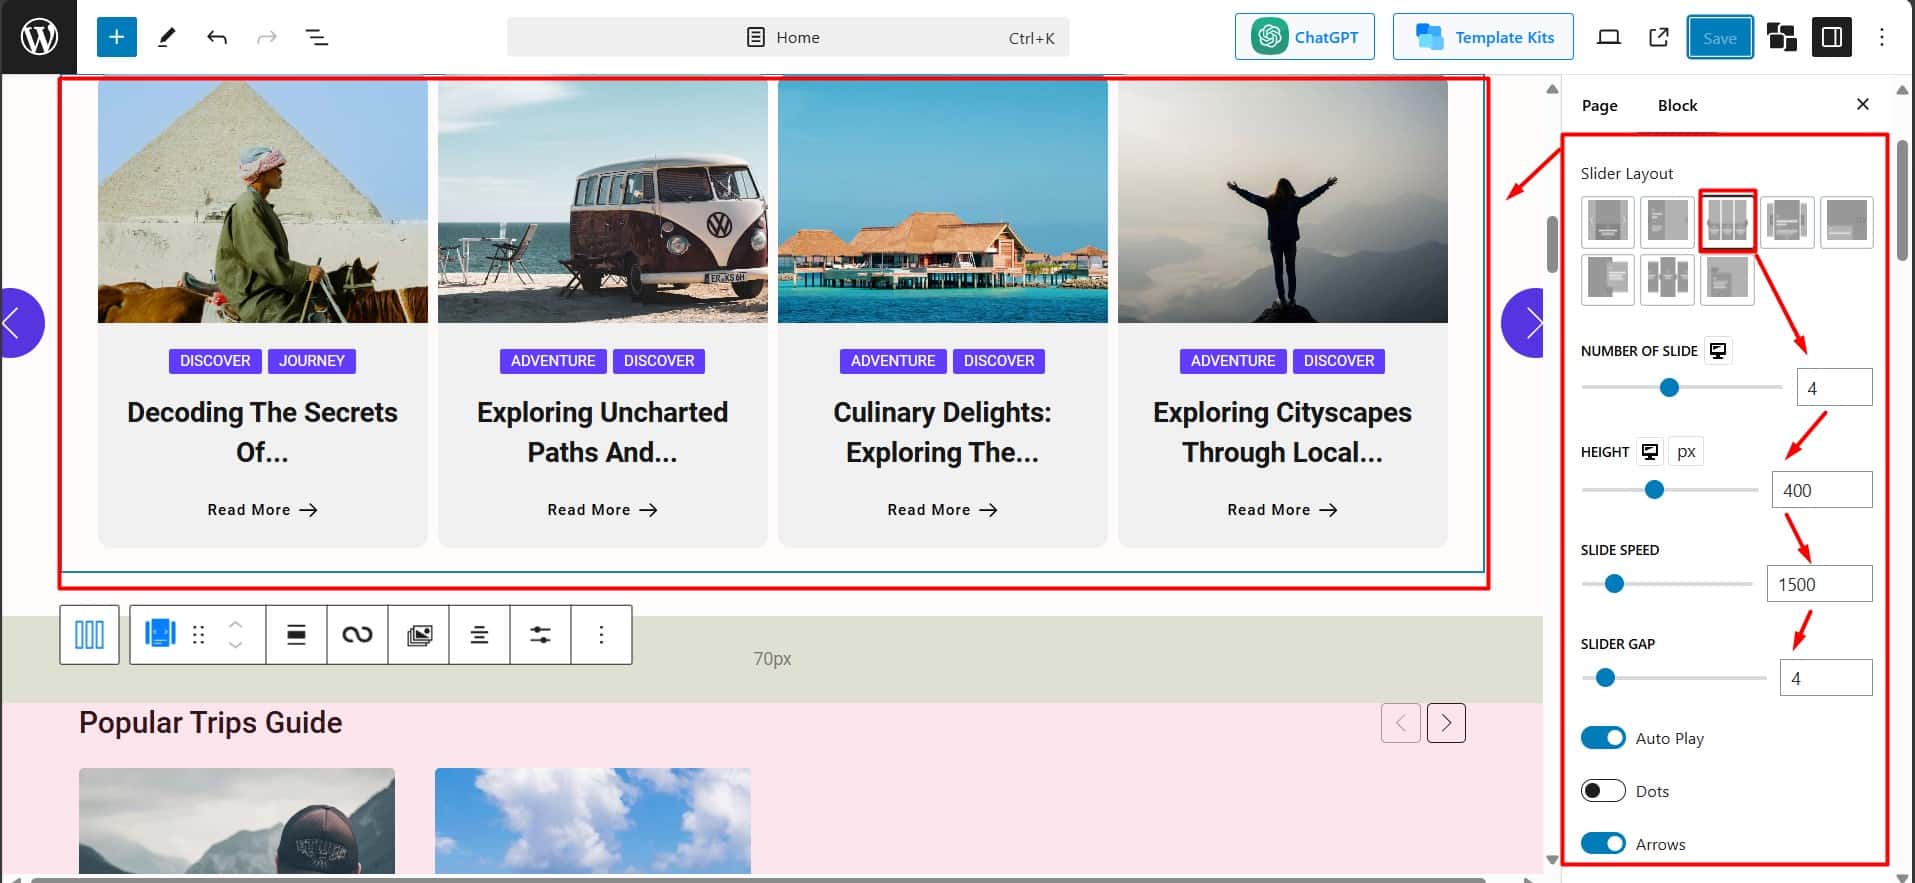
Select Carousel Layout: Under the “General” Tab, choose from various carousel styles to match your website’s design.
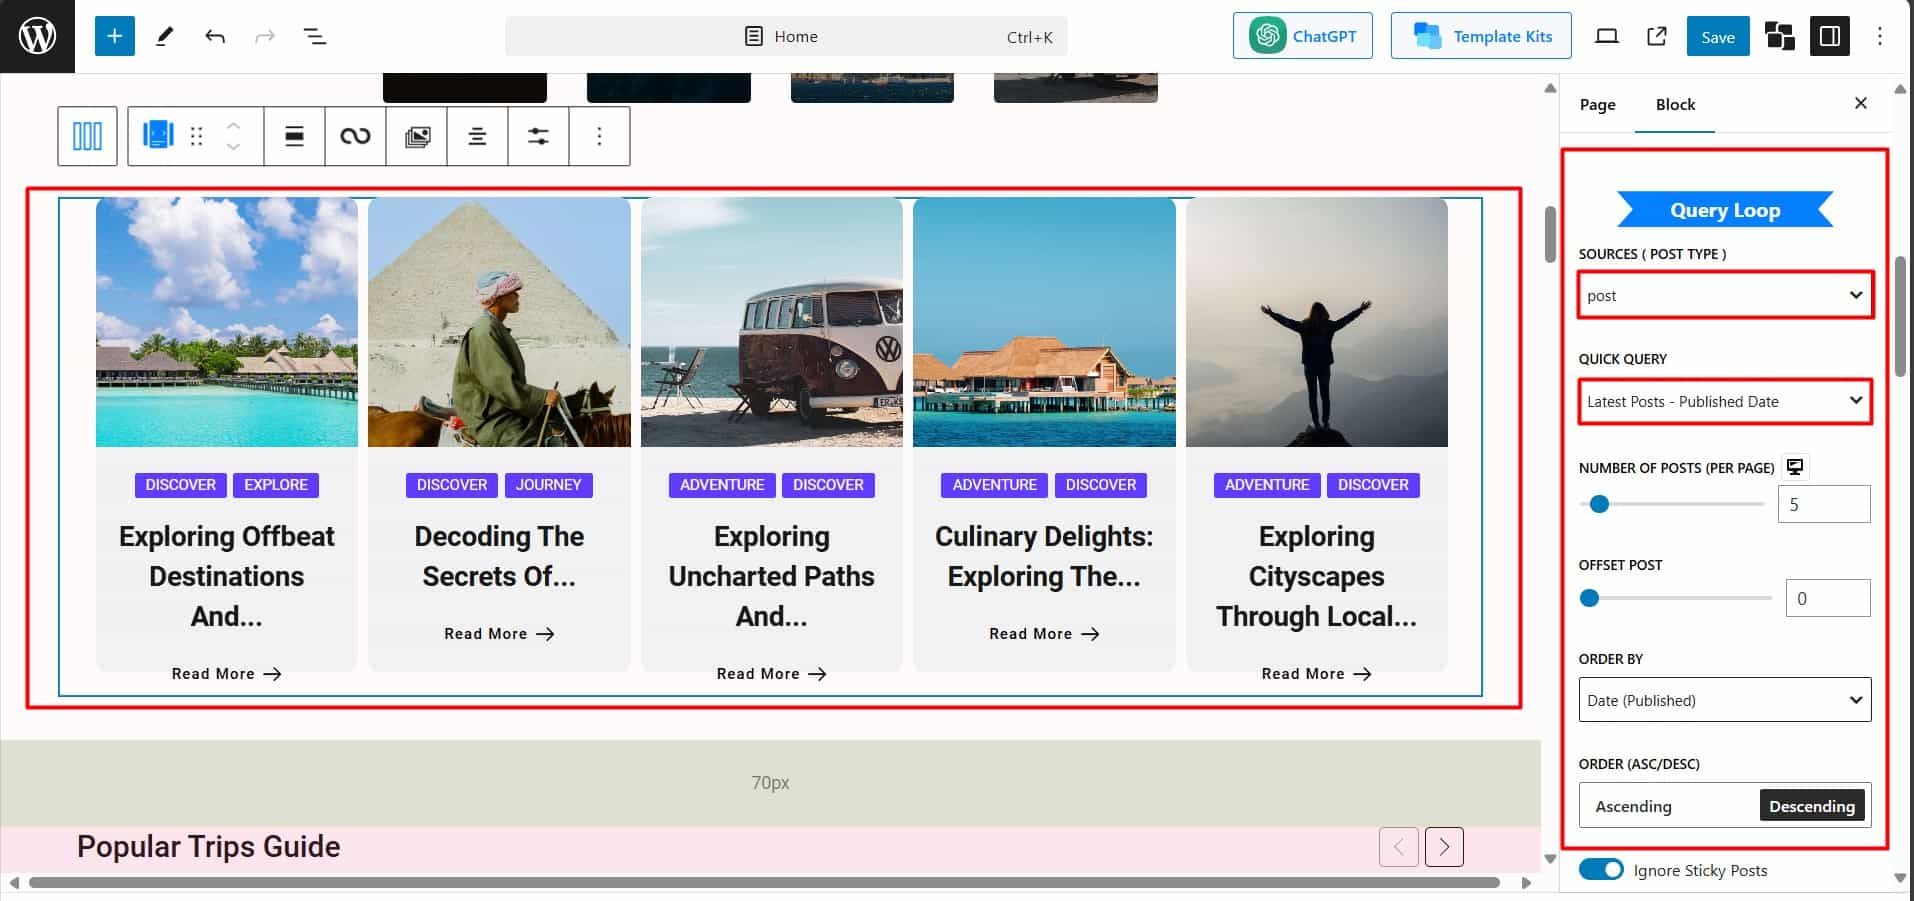
Choose Content Source: Scroll down to the “Query Loop” section and select the content source among custom selections, specific posts, posts, and pages. You can also filter by category, tag, or specific post IDs.
Use Quick Query: After selecting the source in the “Query Loop” you’ll find a “Quick Query” option. Play with the vast options including:
- Latest Posts
- Popular Posts
- Random Posts
- Featured Posts
- Most Commented and More
Adjust Carousel Settings: Play with options like the number of slides, slide speed, height, and more.
Step 5: Publish and Shine!
Once you’re happy with the look and feel, hit “Publish/Update” to make it live!

How to Display Specific Posts in Your Carousel?
You can choose by specific category, specific tags, specific author, or even a mix of them. To enable this, you can follow the steps below.
Step 1: Source Selection
Under the “General” tab, scroll down to the “Query Loop”. Click on “Sources” to unveil a variety of options. Among them select the “Specific Posts” option. Then select the posts you want to showcase. That’s it!
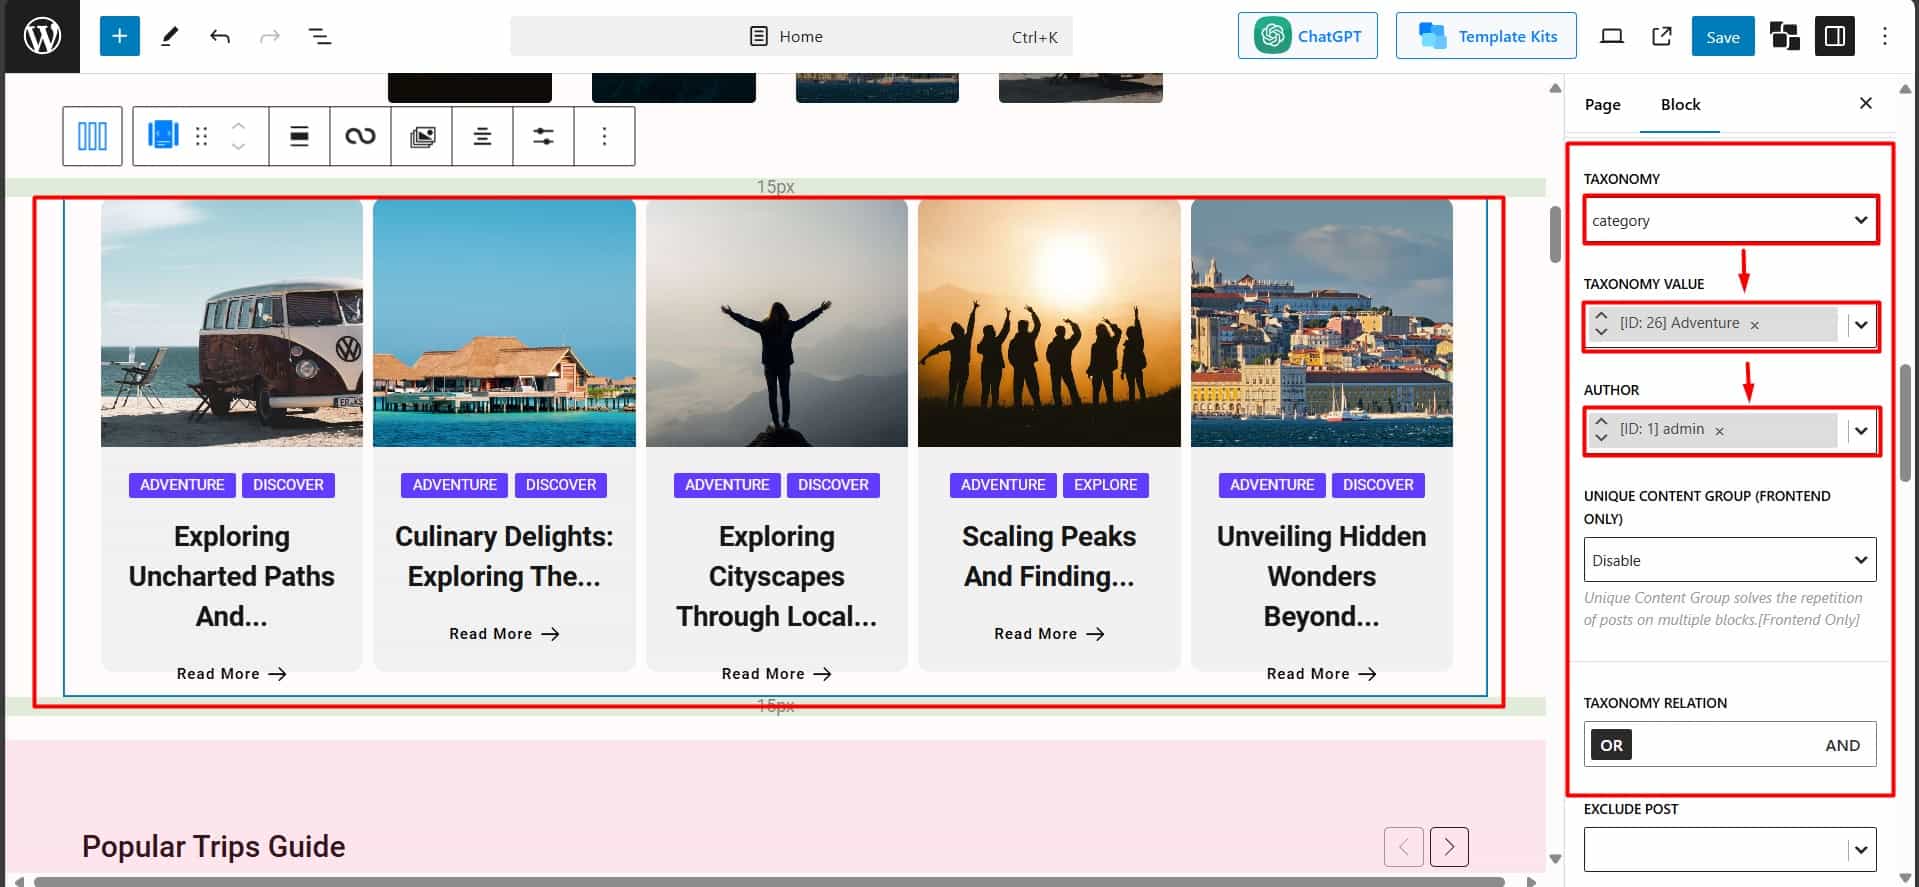
Step 2: Targeting by Category, Tags, Author, or Mix of them
You can highlight posts based on their category, Tags, Author, or Mix of them. To enable this, just click on the “Category” option under the “Query Loop” section. Then, you need to select “Taxonomy Value” from the lower box. Here select the category or tag you want to show on the carousel. Then you can also choose posts from the Specific Authors.
Step 3: Update and Shine!
Once you’ve selected your desired targeting criteria, simply hit the “update” button. Your carousel will be updated to display the posts that perfectly align with your selections.
You can also watch our video guide on the post carousel below:
How to Customize Post Carousel in WordPress?
You have enormous customization opportunities. You will find them under the “Block Settings” in an organized way. Here are the various options you can try on.
Title: Under the Title tab, you can customize the title tag, typography, size, color, background, and a lot more. You can even add hover animations for a touch of dynamism.
Arrows & Dot: Under these tabs, you can enable or disable the carousel’s navigation Arrows and Dot with a single click. You can further customize their appearance by adjusting size, color, border, and background.
Image Settings: Under the image tab, you can take complete control over the appearance of your carousel images. You can modify their size, height, width, and even apply hover effects to create a visually engaging experience.
Meta Customization: Under the meta tab, you can customize meta information like author name, date, comment count, views, and reading time. You can also customize their appearance from the style tab.
Excerpts: Under the excerpts tab, you can include summaries of your posts. Set the excerpt limit and customize its typography, color, and padding. You can showcase meta descriptions instead of summaries too.
Read More: Under the Read More tab, you can add a “Read More” button to help your audience navigate into details. You can change the default Read More text and icon style and their appearance too.
Taxonomy/Category: Under this tab, you can decide whether to display the relevant post category or tag on the carousel or not. Just select between category or tag and style it to your liking.
Content Wrap: This setting plays a significant role in the overall look of your carousel. It allows you to adjust the content area within a background. You can further personalize it by modifying the wrap’s height, radius, padding, and background color.
So, without any confusion, You can see that you have complete freedom to customize a post carousel.
Pro Tips for a Winning Post Carouse!
Here are 3 quick tips to grab attention and keep viewers engaged:
- Select High-Quality Images: Use captivating visuals that motivate viewers to click and explore your posts.
- Keep it short: Include compelling post excerpts, but avoid overwhelming viewers with too much text.
- Target Your Audience: Consider the interests of your visitors when selecting content for the carousel.
With these steps and tips, you can create a post carousel that will enhance engagement and improve the website’s traffic.
Start Adding Carousel in WordPress Post!
So yeah, that’s how I added a post carousel on my website.
It helps me ease navigation, improve user engagement, and boost traffic on my website. It can help you too.
In this article, I showed the difference between sliders and carousels. Then I outlined the advantages of using a post carousel. Finally, I provided a step-by-step guide for creating and customizing a post carousel with the PostX Plugin for WordPress.
Remember, PostX offers extensive customization options. So play around with the settings and get creative. Even the free version has tons of design options. Why not try it out?