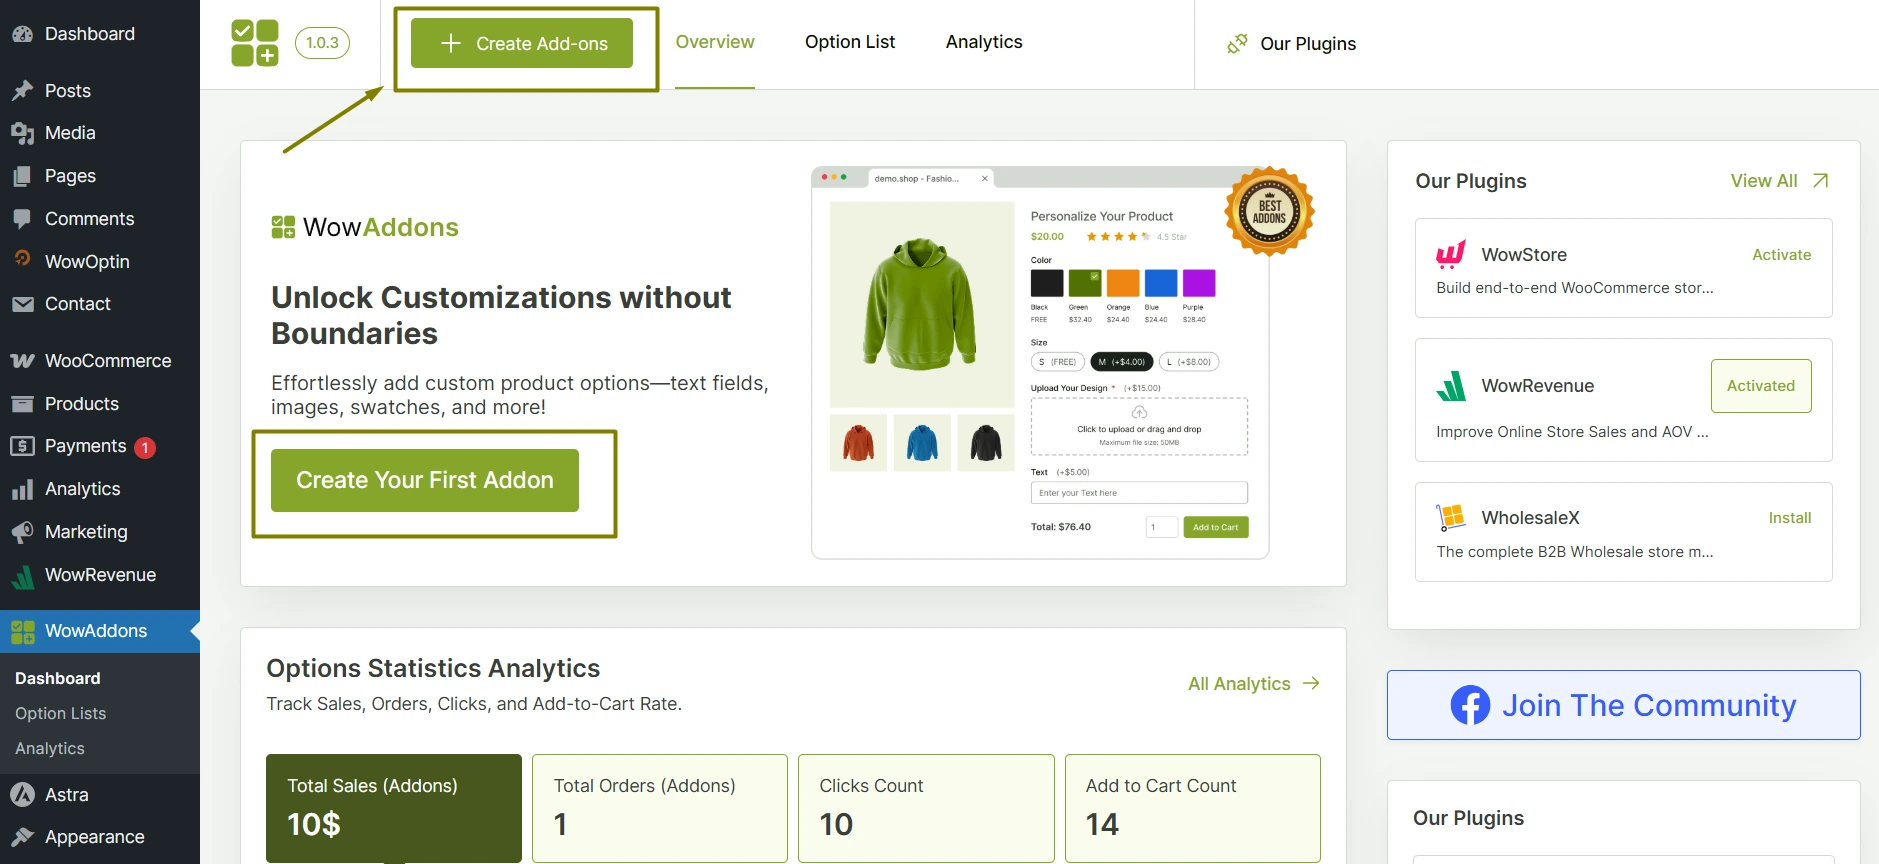
To create a product addon for your WooCommerce store, make sure you have WowAddons installed and activated. Then, go to the WowAddons dashboard and click on the Create Add-ons or Create Your First Addon button. It will direct you to the addon creation page.
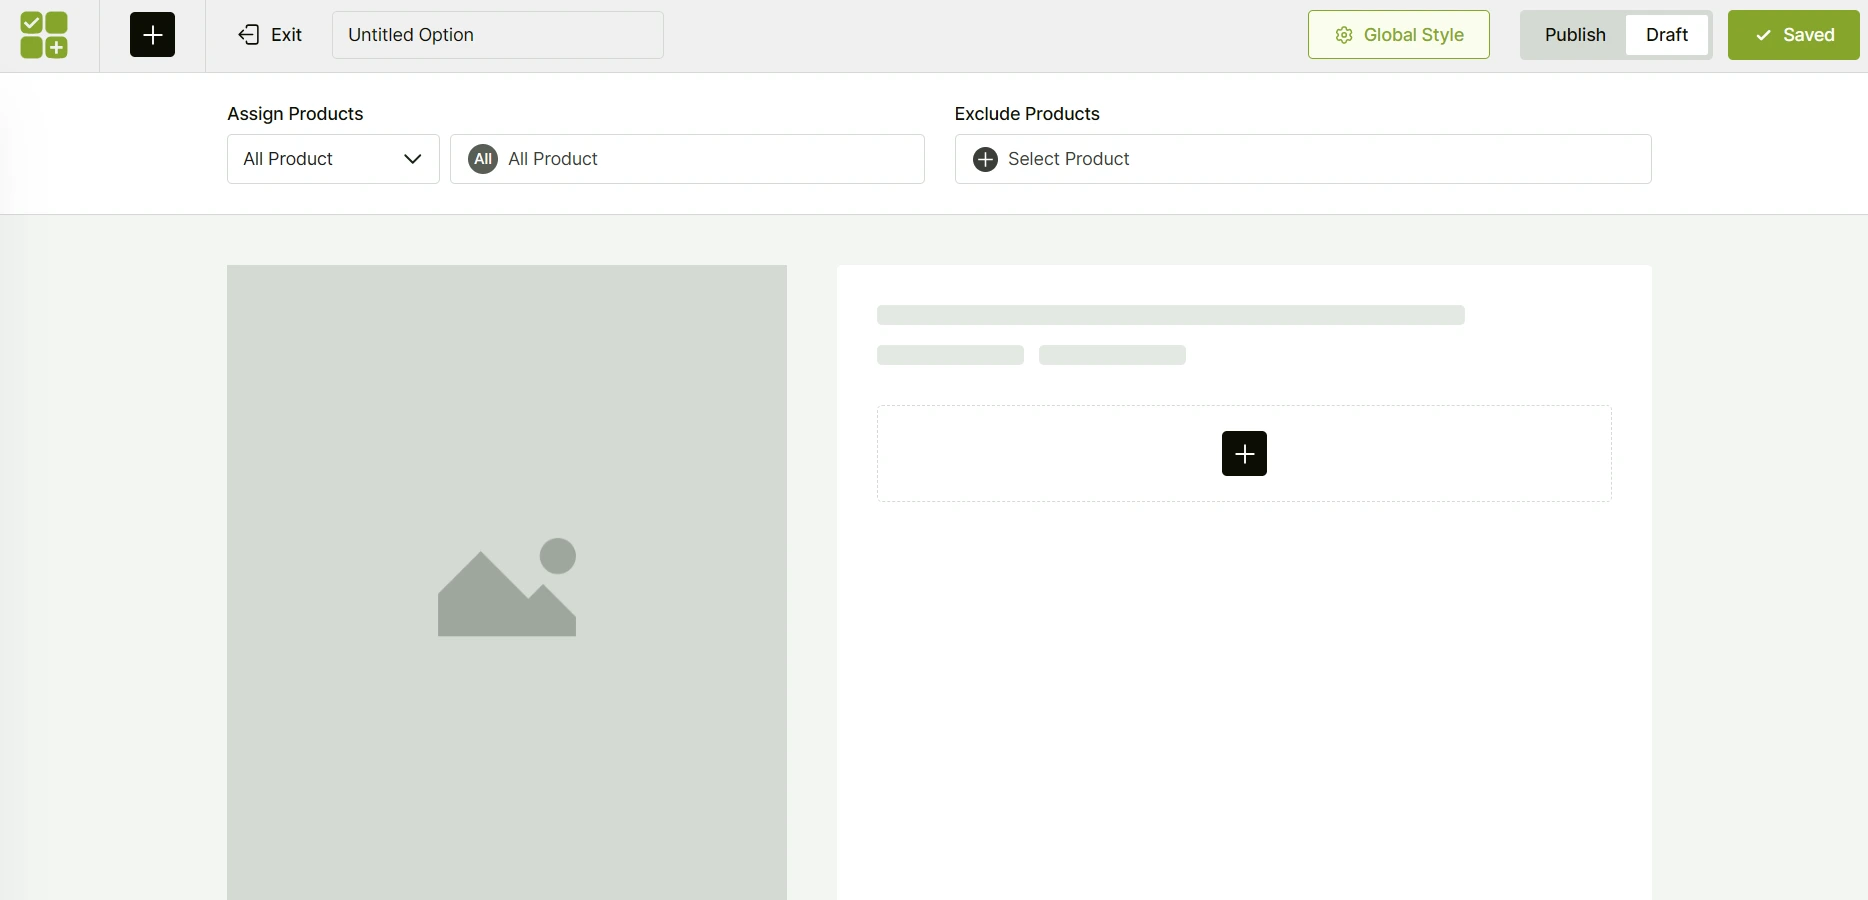
You should see a blank addon creation page like the following.
Now, here are the next steps to create a high-performing addon:
Step 1: Choose the target products for the addon
Under the Assign Products settings, choose All Product, Specific Product, or Specific Category.
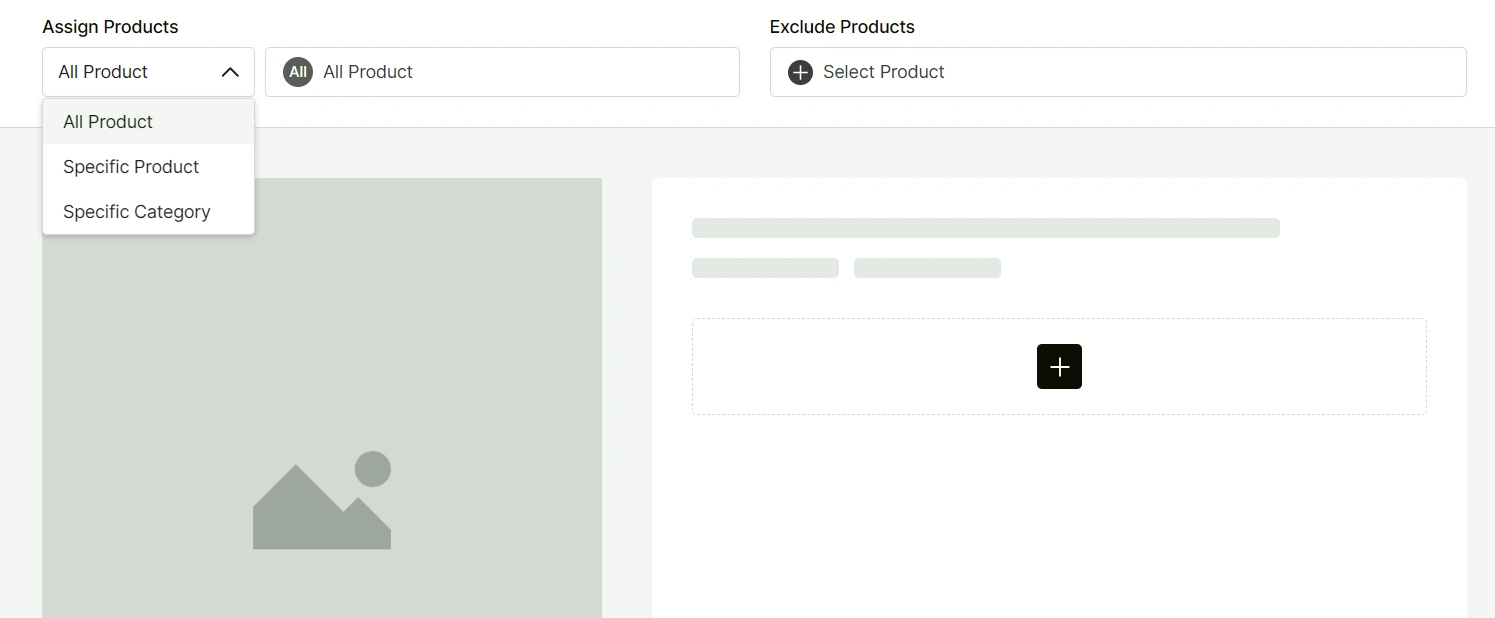
Specific Product lets you choose one or multiple products. Choosing a specific category will allow you to use the addons for the products only from that category.
Step 2: Add the desired product addons
Click on the “+” icon shown in the following image, and it will present a list of available product options provided by WowAddons.
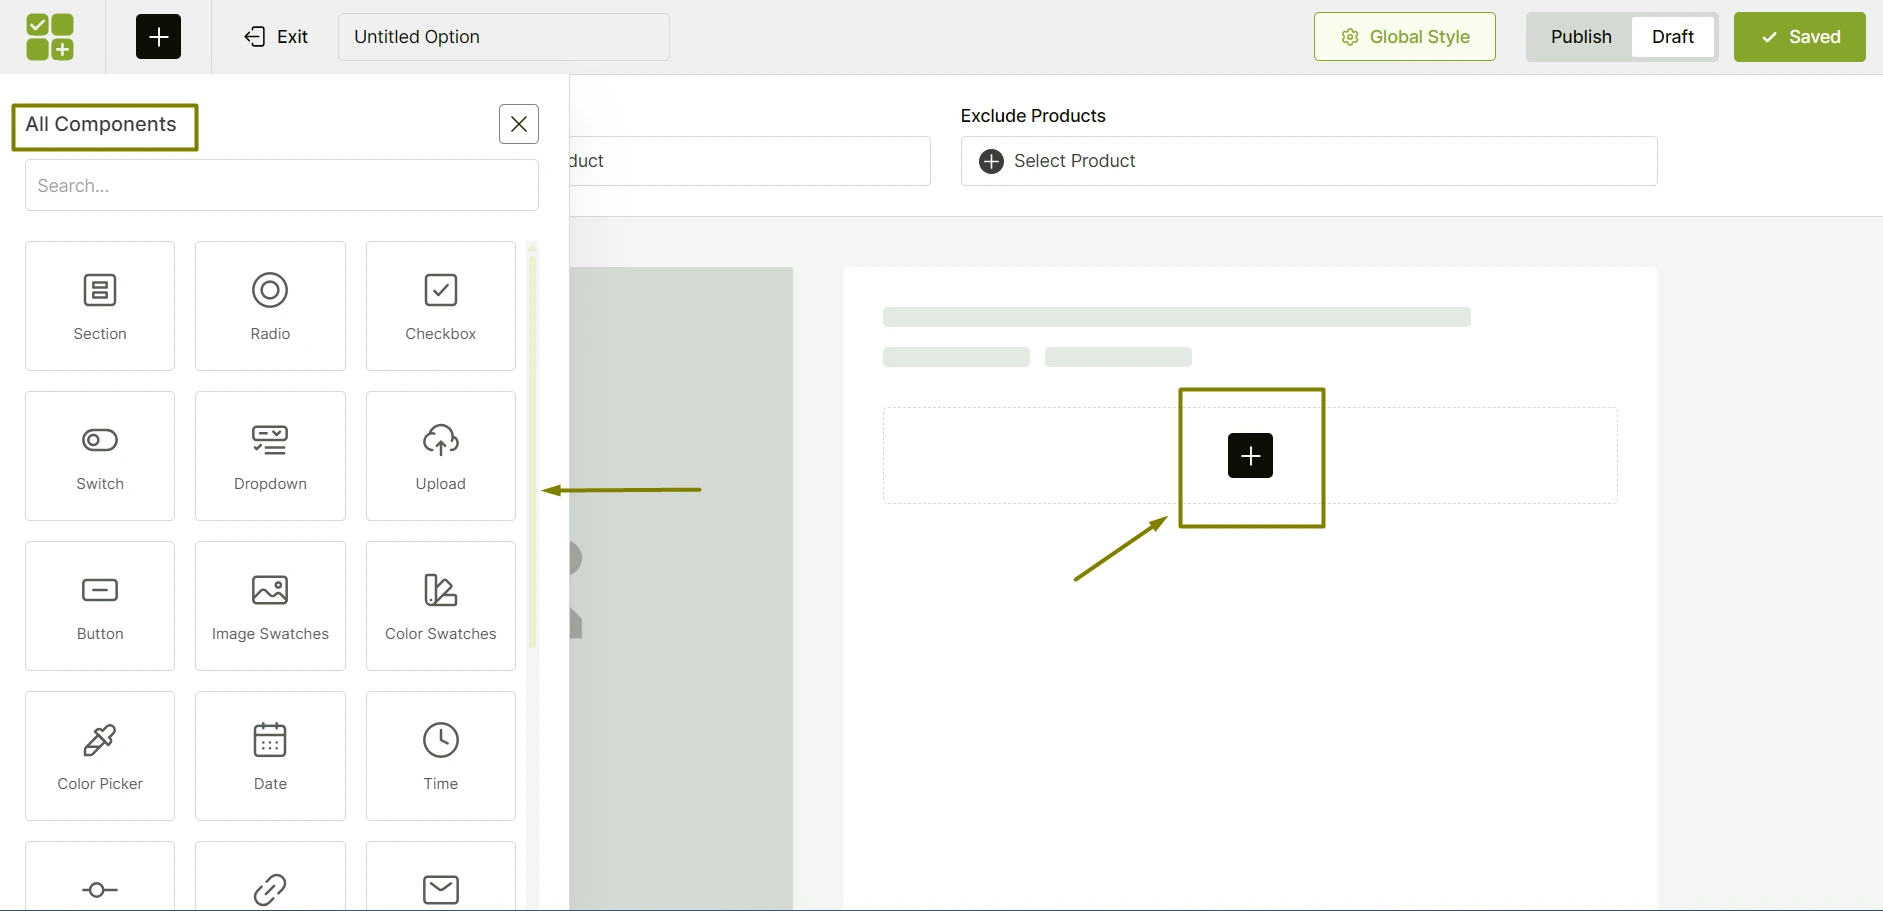
Choose the custom fields to your preferences, and they will show up on your target product pages. You can add multiple product fields and modify each one easily.
Step 3: Customize settings for the individual addon
After adding an addon, its corresponding settings can be found on the left side. Under Select Settings, there are General and Conditional Logic Settings.
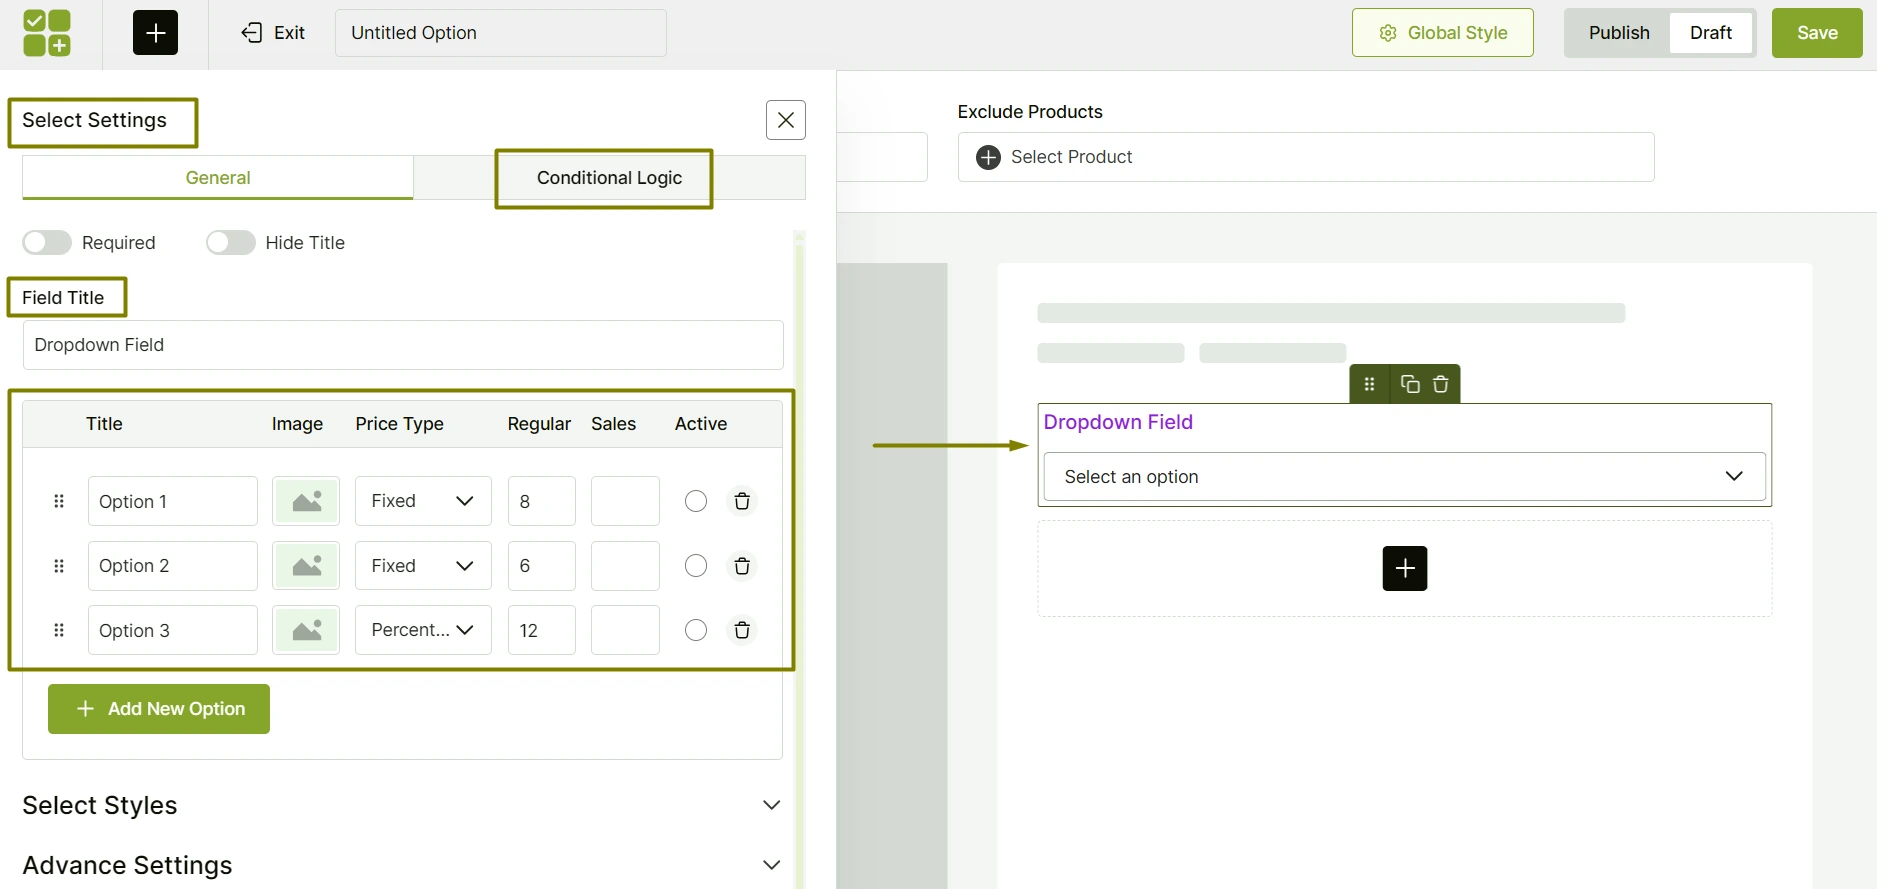
From the General Settings, you can modify several important things for the addon. For instance, if you add the Dropdown addon, you can change the Field Title, modify each dropdown’s title, its image, price type, price amount, and so on.
You can add more dropdown options or delete existing ones.
From the Conditional Settings, you can apply rules on the addons that will decide the display of an addon based on how customers interact with other addons. More details about it can be found in our Conditional Logic documentation.
In addition to these customization options, you can also customize the images you add to the addons. For instance, if you add the dropdown, radio, checkbox, switch, you will find a setting section “Select Styles”. Under the Image Styles, you can customize these options:
- Height (px): Sets the vertical height of all option images.
- Width (px): Sets the horizontal width of all option images.
- Border Radius (px): Controls the roundness of image corners.
- Gap (px): Sets the spacing between the image and its text label.
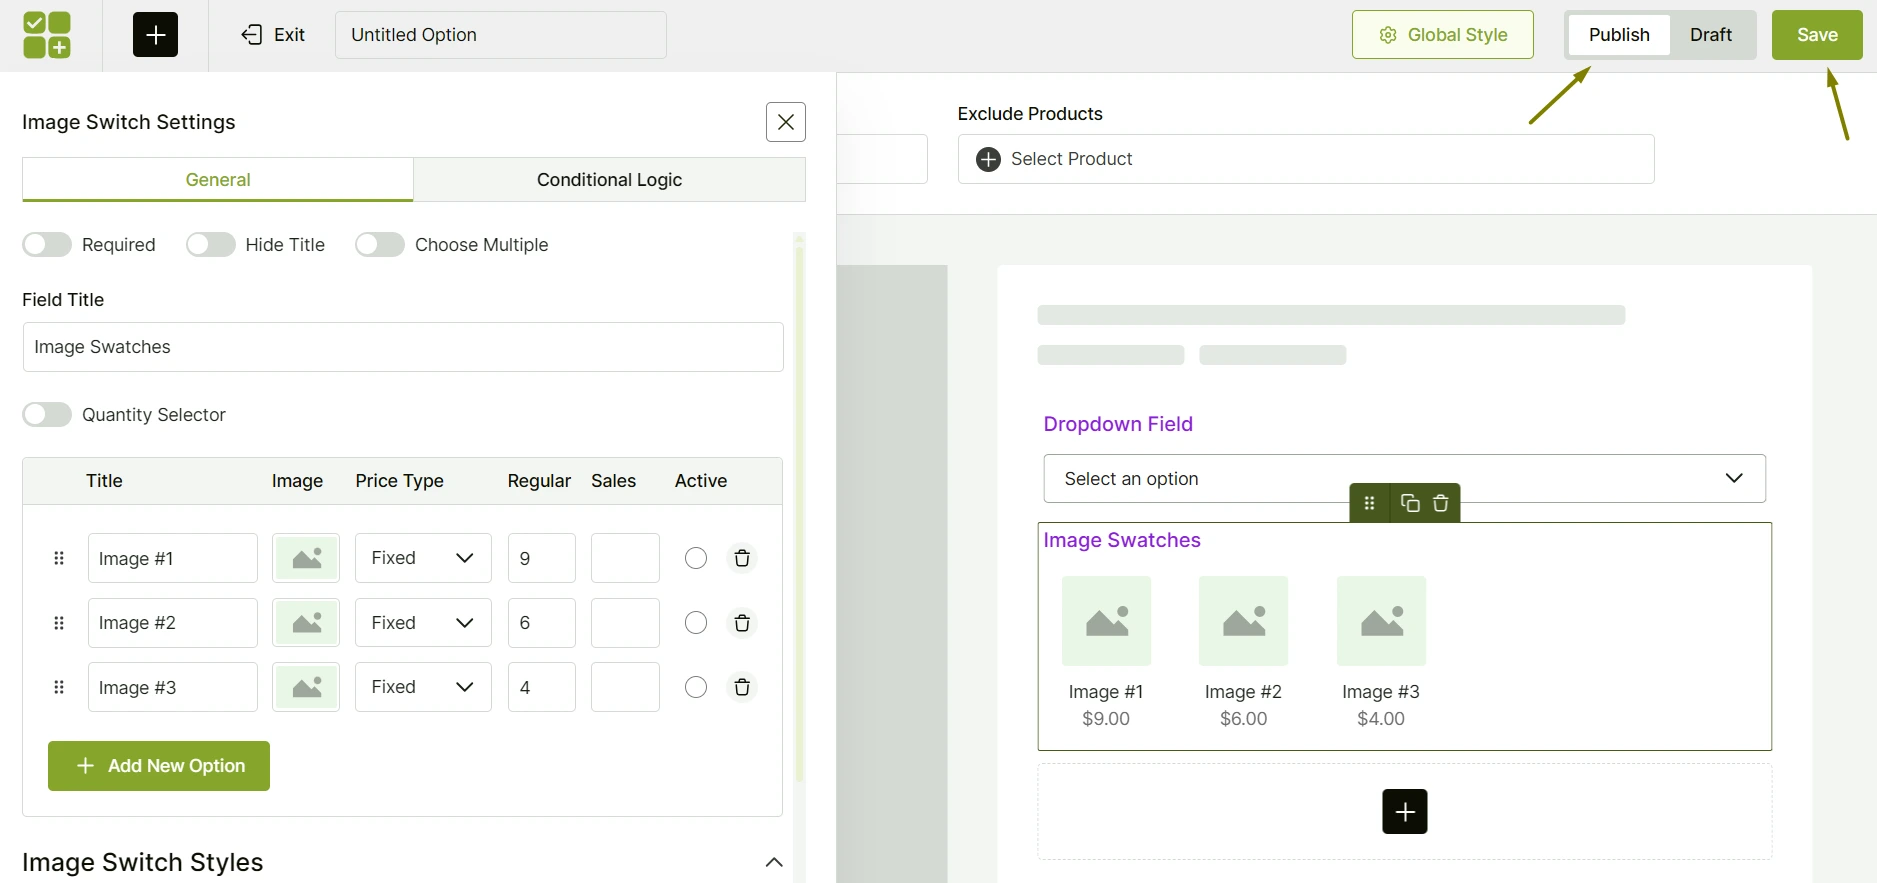
Step 4: Save Settings and Publish
After modifying the add-ons settings, click on the Save button to see the changes in effect. Make sure to turn the addon from Draft status to Publish status.
[Optional] Change Global Style Settings
If you want to modify the default look for addons, click on the Global Style button.
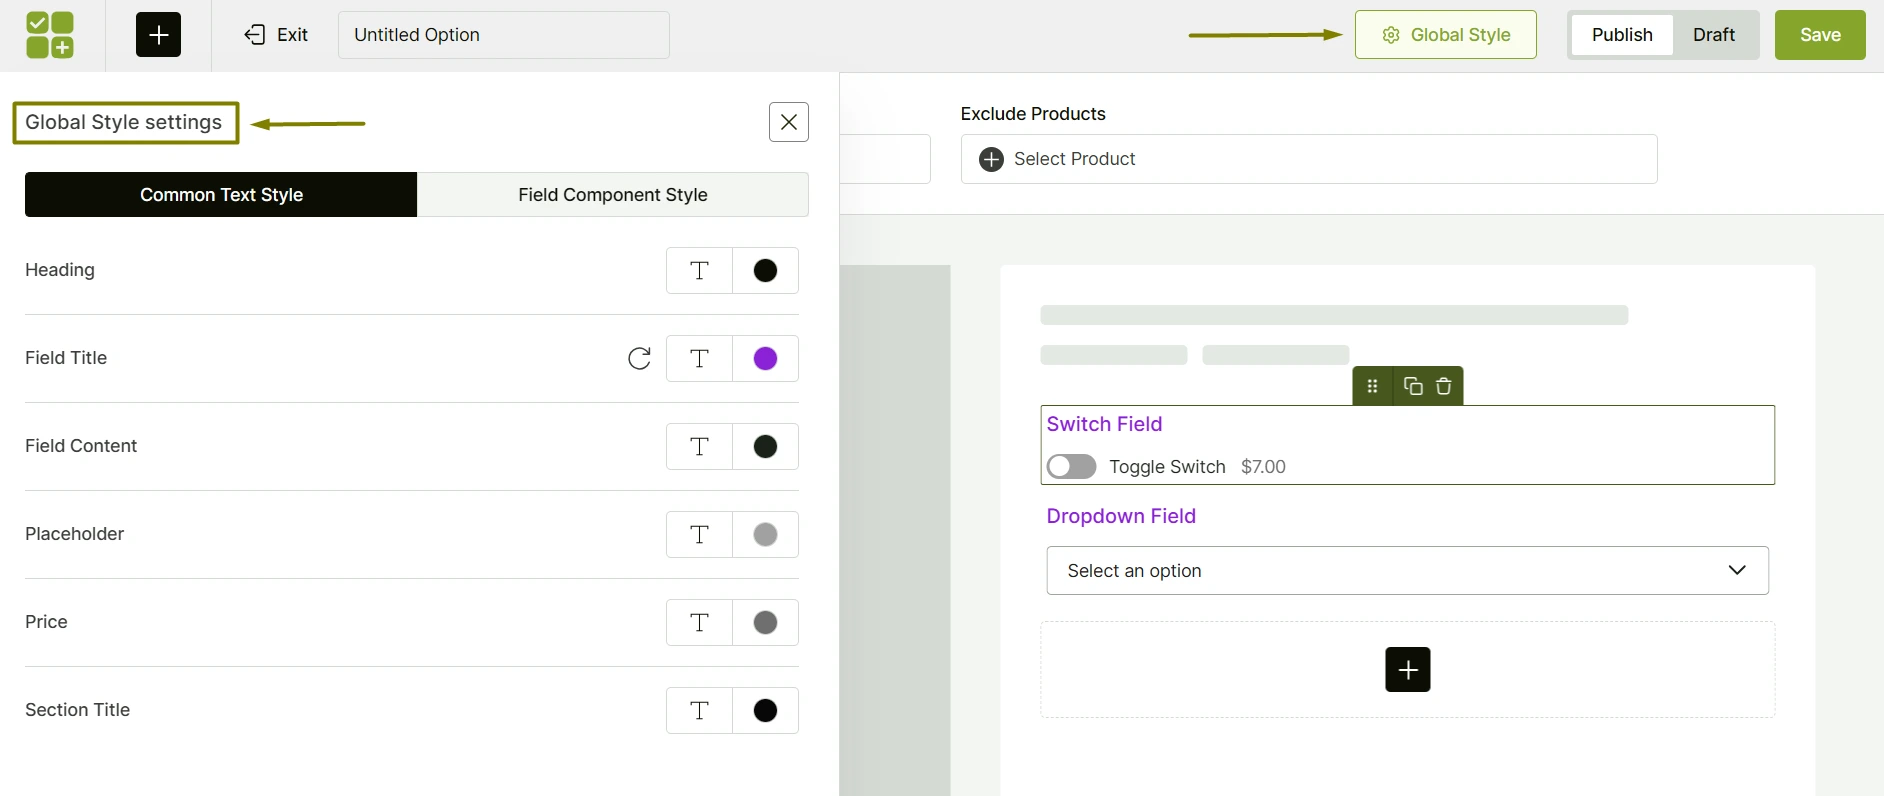
There are two types of settings: Common Text Style and Field Component Style.
From these settings, you can modify text, color, and more for different addon components like field title, field content, price, and so on.
[For Advanced Users] Advanced Settings
At the bottom of each field’s customization settings, you’ll find the Advanced Settings section. This section is mainly for users who want more control over styling or want to target specific fields using custom CSS or JavaScript.
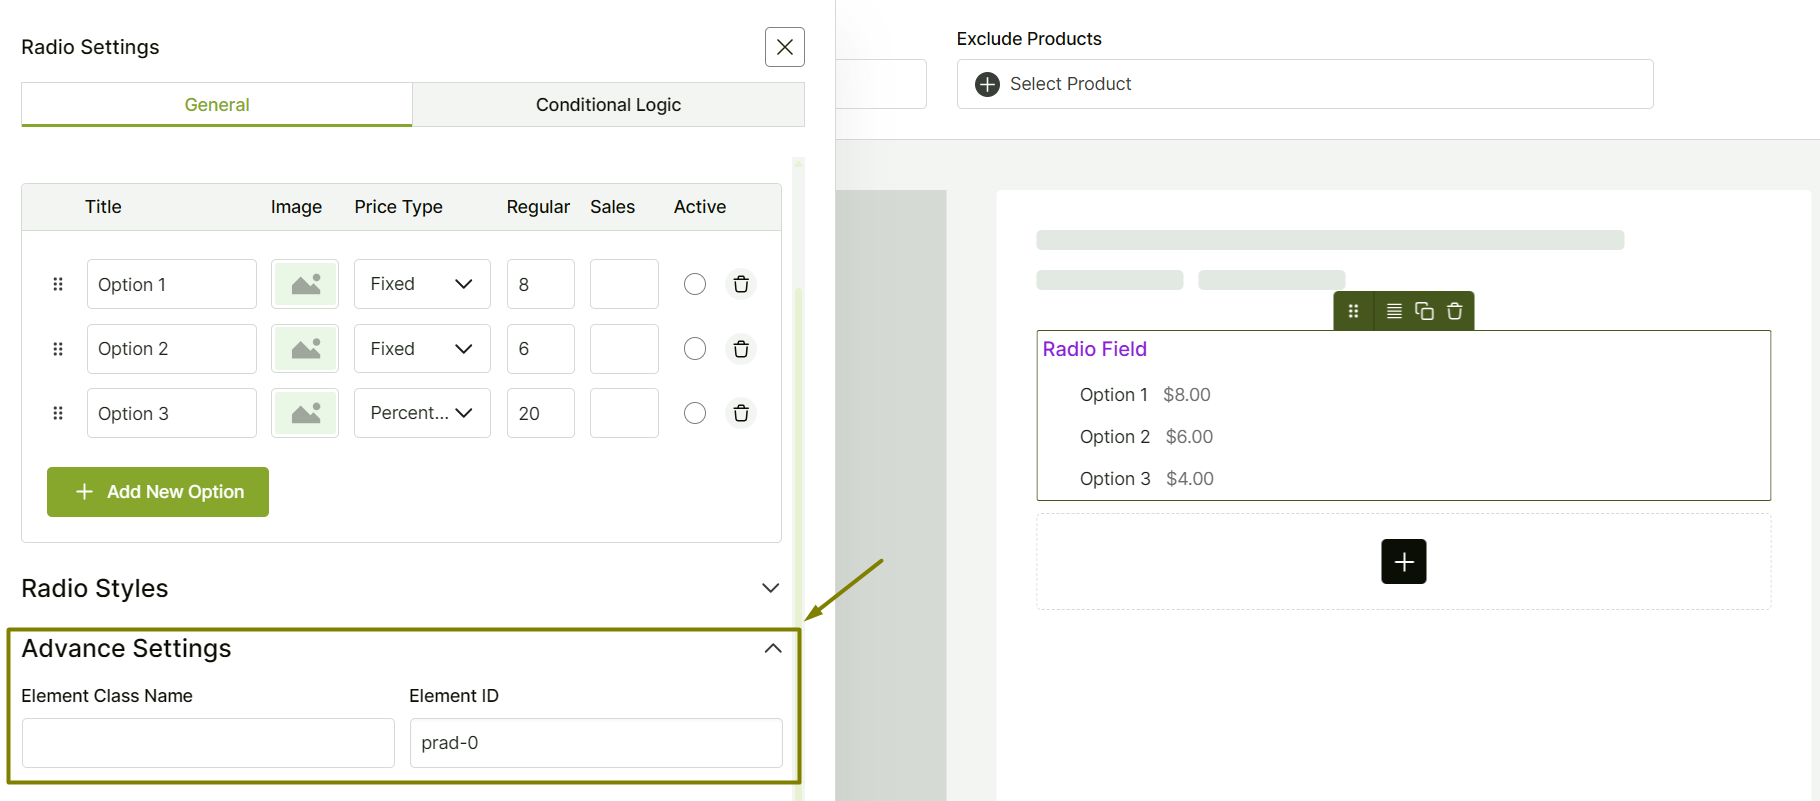
Element Class Name: You can add your own custom class name here. This is useful if you want to apply custom styles to the field using CSS or manipulate it with scripts.
Element ID: This is a unique identifier automatically generated for the field (e.g., prad-2). You can use this ID for advanced customization or when you need to reference this specific addon element in your code.